Using the HTML content libraries
A content library is a powerful tool to store HTML content that can be used for designing e-mail campaigns.
These dynamic content blocks can be referenced in your e-mails, where specific blocks can be assigned to profiles thanks to personalization (based on your Data Model, a personalization file or the API call).
The content blocks are only available for e-mail campaigns designed by coding HTML.
Aside from hyper personalized content, content blocks can be really useful to quickly update several e-mails that use the same content (logo, terms and conditions, …), or to update the content of an active scenarized e-mail by API.
You can access the 'Content libraries' app through the Apps center (Apps > E-mails campaigns > Content libraries).

From the 'Content libraries' app, you will be able to:
- Create a content library
- Edit a content library
- View a content library
- Delete a content library
Getting started with the Content libraries app
From the 'Content libraries' app you can either create a new content library or perform a series of actions on already existing content libraries.
You can also view what content has been created by API.
To create content library and content blocks via API, please check the technical documentation on: https://developers.actito.com/api-reference/campaigns-v5/#tag/Content-Libraries
Creating a Content library
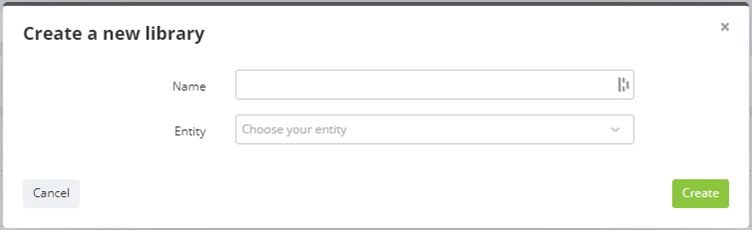
To create a content library, click on the '+ Create content library' button.

Give your library a name and select the entity of the library.
Creating blocks in the content library
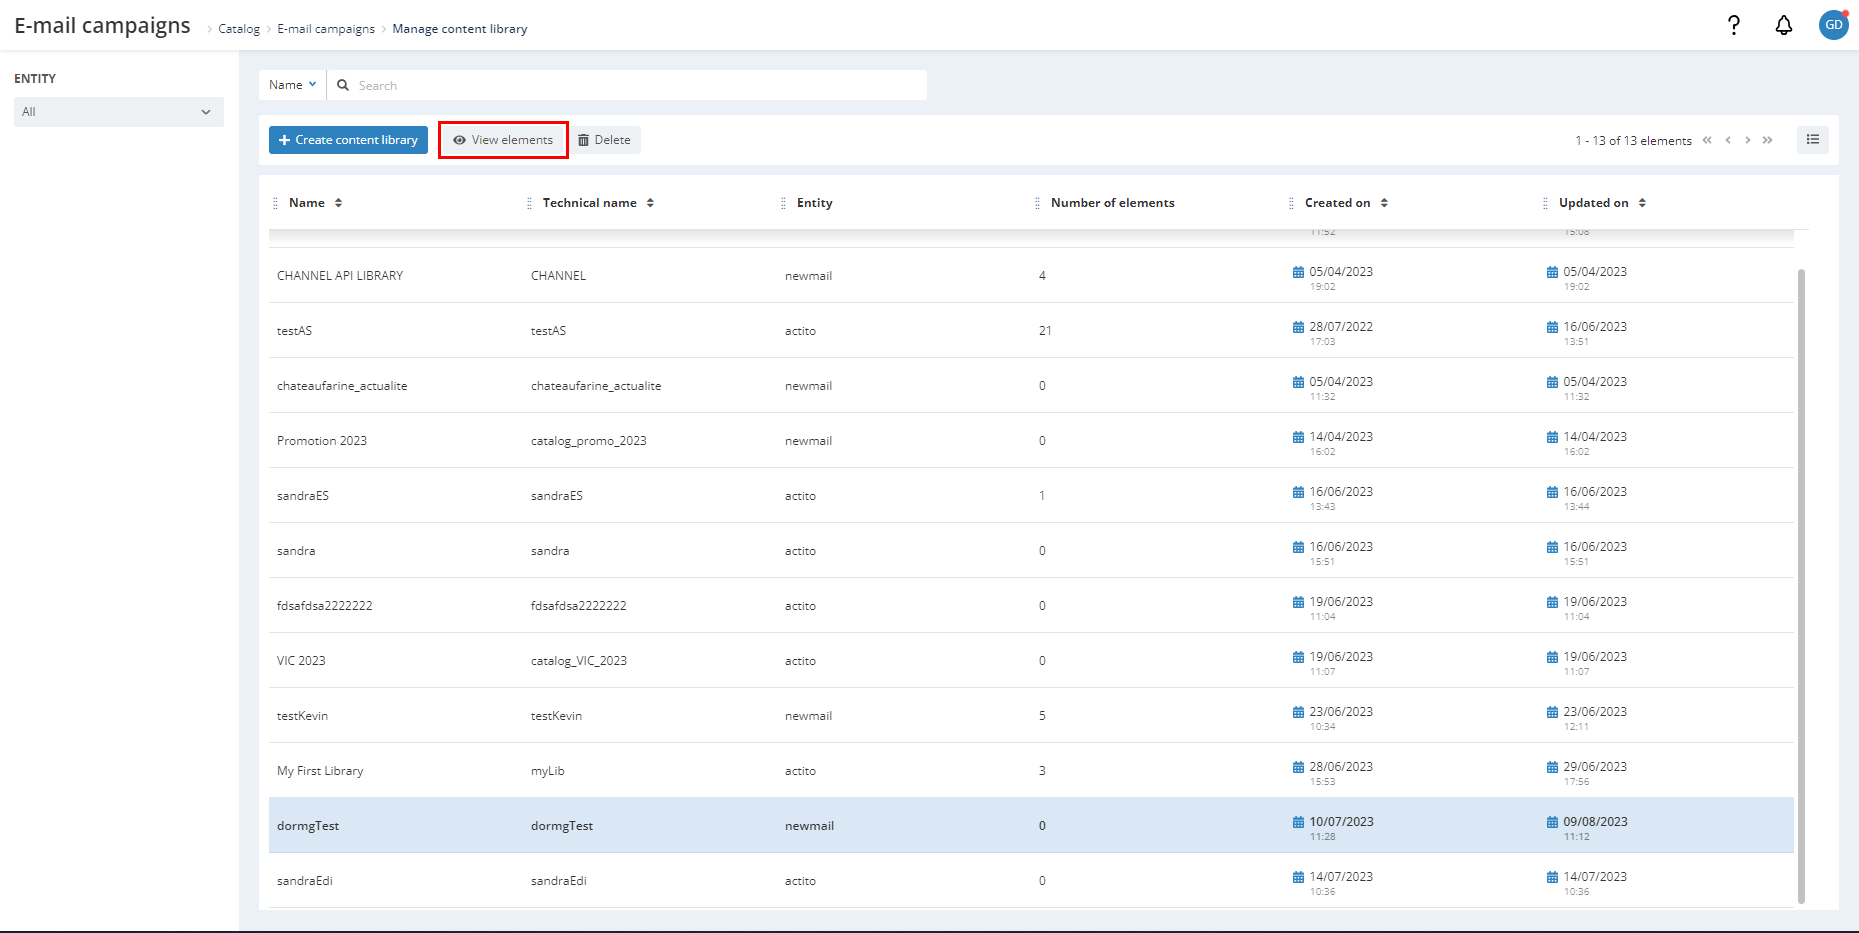
Once your library is created, you can now create blocks in the library.
To create new blocks, select the library in which you like to create the blocks and click on 'View elements'.
Then, click on the '+ Create content element' button.

A library can contain up to 1500 content blocks.
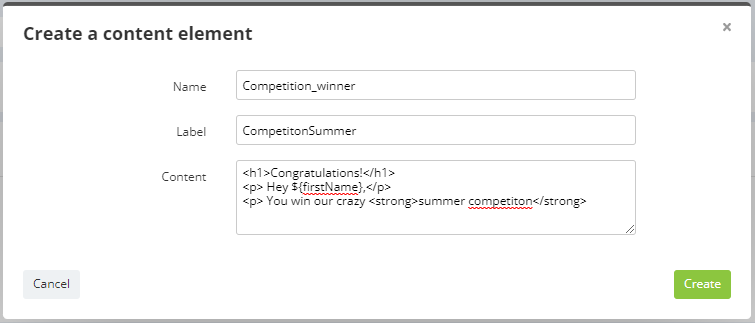
At this step, you will be able to define the name, the label and the content of your block.
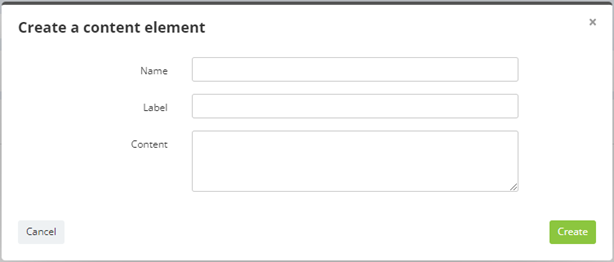
- Name: Specify the name of your block. It should be unambiguous, as it will be used later to reference the blocks in your e-mail.
- Label (optional): They are used to find blocks more easily in the library.
- Content: There you can put the HTML content of the block. It can be just a few lines of code, or a large section of the e-mail, depending on your use cases for the block library.
The HTML code must be valid. The usual validators are applied to the blocks.
The code of the block should be logical inside the general HTML code of the e-mail, so usually it should be inside <table></table> or <td></td> tags.
View a content block
Once you have created a content block, you can see the rendering of the HTML and see the details.
Select the content block you like to have information about and click on the 'View' button.
On the right panel you can navigate between the tabs 'Preview' and 'Details'.
Preview
In this tab you can have a preview of your HTML content block. It allows you to see what will be displayed in the e-mails.
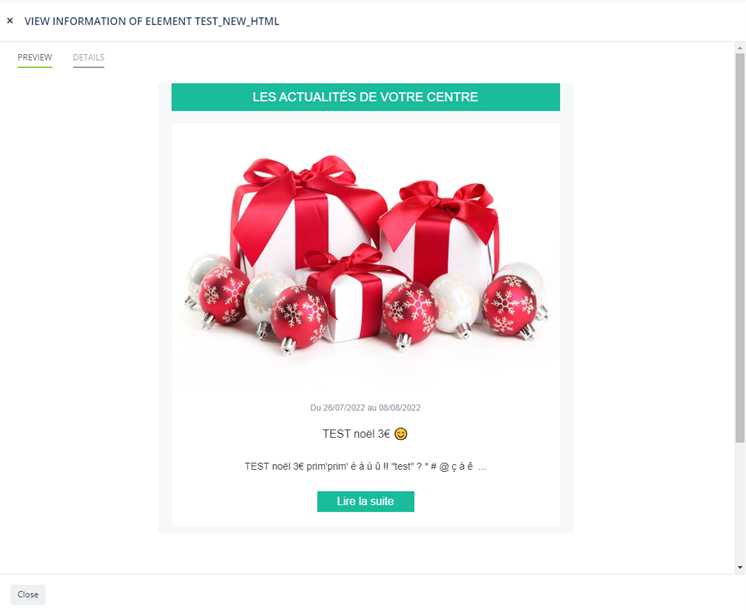
It is a preview of the HTML content, therefore it is not possible to test the links or your call to action.
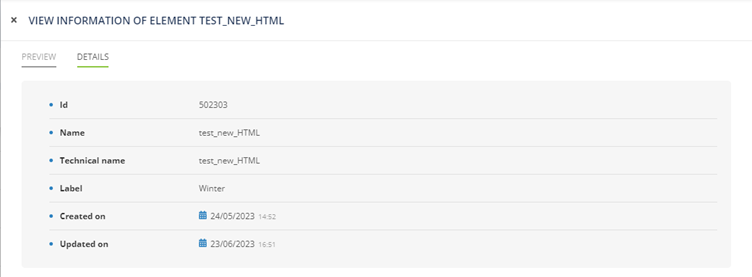
Details
In this tab, you will find various information about your content block.
Edit a content block
You can edit an existing content block in the 'Content libraries' app or via API.
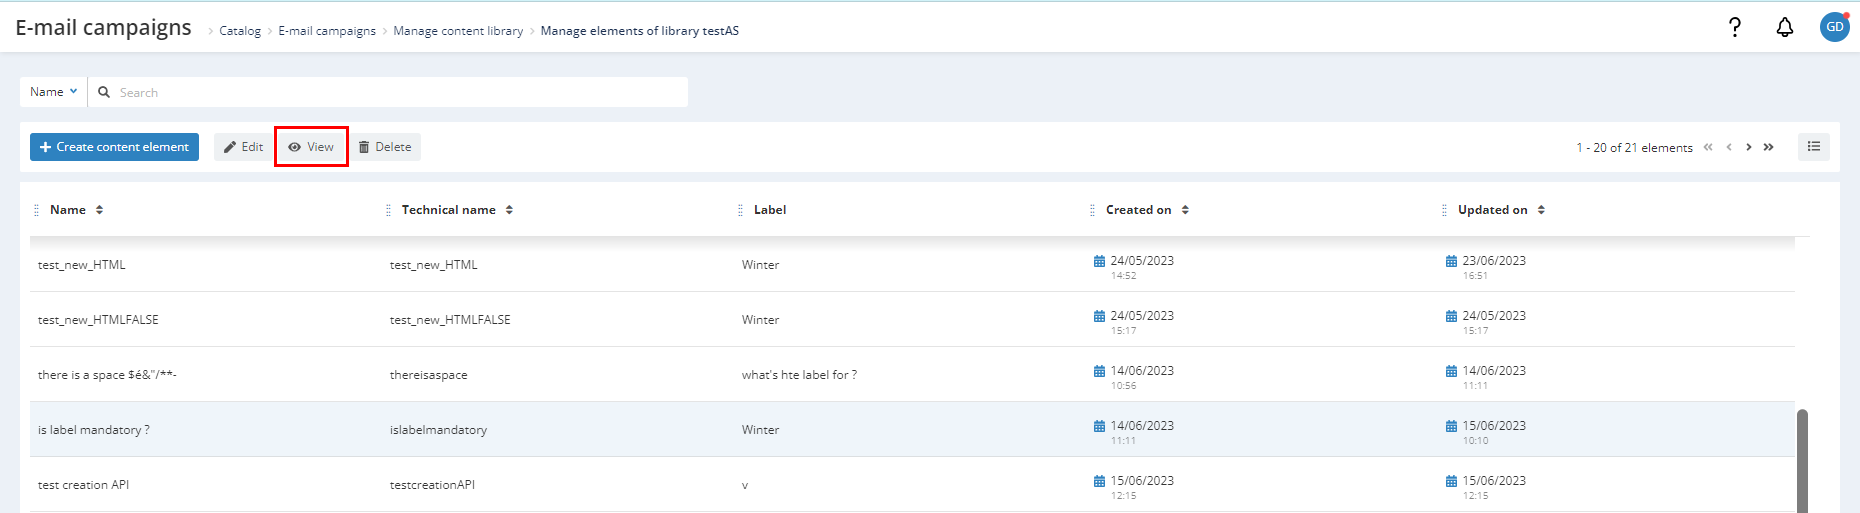
Select the library in which you like to edit a block and click on the 'View elements' button.
Then select the block you like to edit and click on the 'Edit' button.
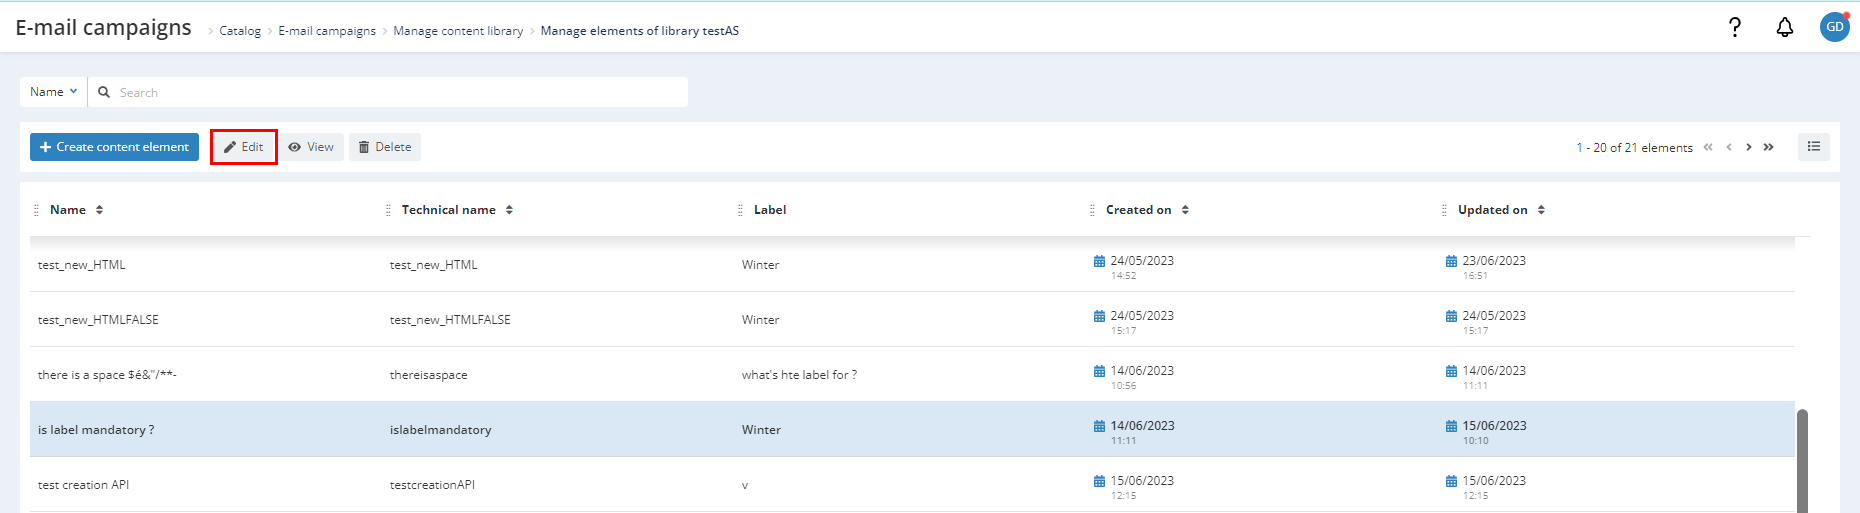
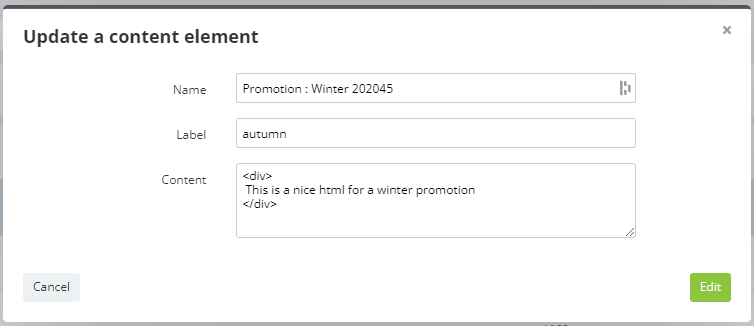
You can edit the name, label and content of your content block.
Deleting a content library
You cannot delete a non-empty library.
To delete a content block, select the one you need to delete and click on the 'Delete' button. A confirmation message will pop up.
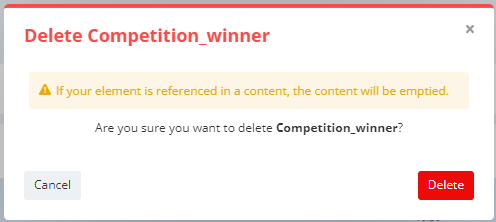
If an element of the block is referenced in a content, the content will be emptied from the e-mail.
Once the library is emptied, you can delete it.
To do so, select the content library you want to delete and click on the 'Delete' button. A confirmation message will pop up.

Content block in e-mails campaigns
When creating email campaigns, you can refer to the content library in HTML campaigns as well as in campaigns created from Actito standard templates.
For campaigns generated from a template
When you create email campaigns from a standard template, you can refer to the HTML content library using specific modules from the library of modules.
To do so, go to the module library and select one of the modules from the Actito 'Content Library' library.

Once you have added your module to your campaign, click on 'Edit content' to configure the block.

A window will open allowing you to define the HTML content blocks from the library that will be referenced in the block.

To do so, enter the name of your library and the technical name of the blocks you want to reference in your email.
You can find the technical names of your blocks in the Content Libraries app.
Once your blocks have been defined, you can preview your email with the content of your HTML blocks by exiting the email editor menu.

For campaigns generated from HTML
When you create email campaigns with HTML, you can refer to the content library using the 'data-actito-content' tag and the technical name of the blocks.
The technical names of the content blocks are the same the names you give to your blocks when you created them.
When you click on the 'Edit source' button, you will have access to the HTML code of the campaign where you can add content block or see what blocks are used in the campaign.

To add a block, there are two possibilities:
- The content block reference is hard-coded in the HTML. All recipients will therefore see the same content. This method is especially useful if you need to update the content of an active e-mail by patching the blocks.
<span data-actito-content="@{content:libraryTechnicalNameI#blockTechnicalName}">
- The content block reference is dynamic through a personalization for the block name, allowing you to display highly personalized content for each profile. The value for the personalization can be calculated from your data model, a personalization file, or an API call triggering an e-mail.
<span data-actito-content="@{content:libraryTechnicalNameI#${personalizedContentBlock}}">
After you add the tag, do not forget to click on the 'Save' button.

In the preview, you can notice that the content of static blocks is already replaced. On the other hand, for dynamic blocks, the placeholder is displayed because the personalization tag will be resolved during the sending
Using personalization in a content block
The HTML stored in the content blocks can include personalization variables using the usual ${variable} syntax.
For instance:
Any personalization used in the dynamic content block must also be used in the fixed part of the HTML, otherwise the variable will not be calculated.
Advanced features such as loop personalizations can be combined with content blocks to create a very personalized e-mail, where several blocks of content are repeated one after the other, depending on the values stored for the profile.
Let's take a practical example: a movie theatre company uses the content block library to store information about the timetable of their theatres.
- The film schedules are automatically updated in the block by API.
- The company sends e-mails to their subscribers about the program of their favourite theatres. A subscriber can have several favourite theatres (stored in a Linked Data table).
- To display the program of all the favourite theatres of a profile, the content blocks can be integrated in a loop personalization. For example:
<div data-actito-each="theater:${favoriteTheaters}">
<span> Favourite cinema code : ${theater.code} </span>
<span> Name : ${theater.name} </span>
<span data-actito-content="@{content:showtimeBlock#${theater.code}}" data-actito-link-id="link_2"> </span>
</div>
Map the personalization tag
The personalization tag used in the content tag for a dynamic block is detected by Actito and has to be defined.
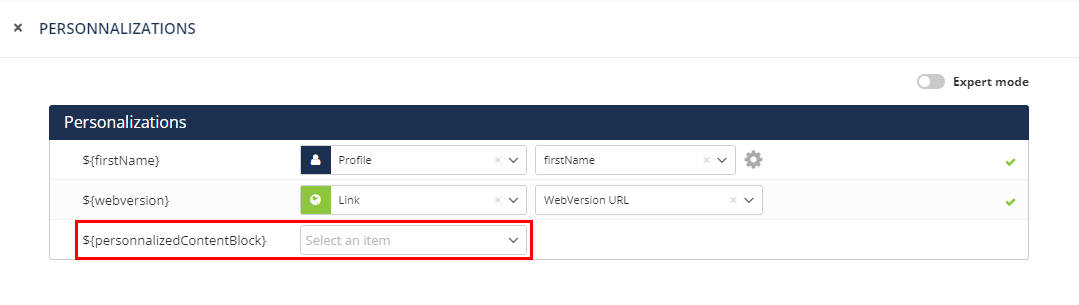
You can use personalization tag to refer to data of a custom table, such as the favorite store, a product recommendation, … You can define this personalization manually in Actito.
It is also possible to automate the personalization in the API. To have more information about the automation of personalization in API, check on the technical documentation : https://developers.actito.com/api-reference/campaigns-v4/#operation/emailcampaigns-personalizationfile-update-multipart
Sending a (test) e-mail
When you send an e-mail test to your mailbox, you will notice that the dynamic block was also replaced as the personalization was resolved for the sending of the test email.

Reporting
When an email message refers 'content blocks' that contains links, if a profile clicks on that link, you can track those clicks.
Both in the reporting and in the 'link checker', an html tag that refers a 'content-block' is considered as a clickable element (regardless whether it really contains a link or not) that will be tracked.
The content block is tracked as a whole. If it contains several links, it is not possible to show on which one was clicked. The click will be recorded on the whole block.
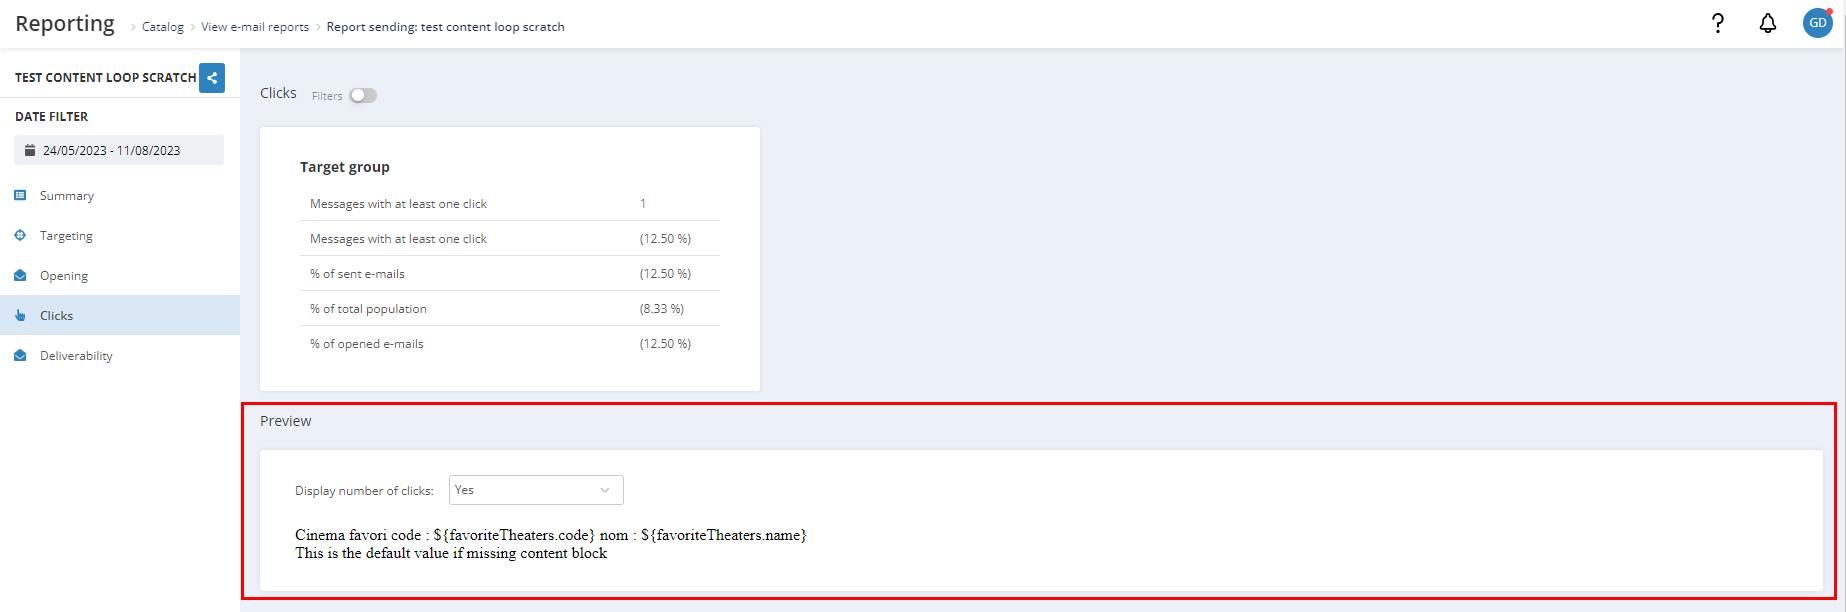
In the reporting
In the report of your campaign, go to the 'Clicks' tab.
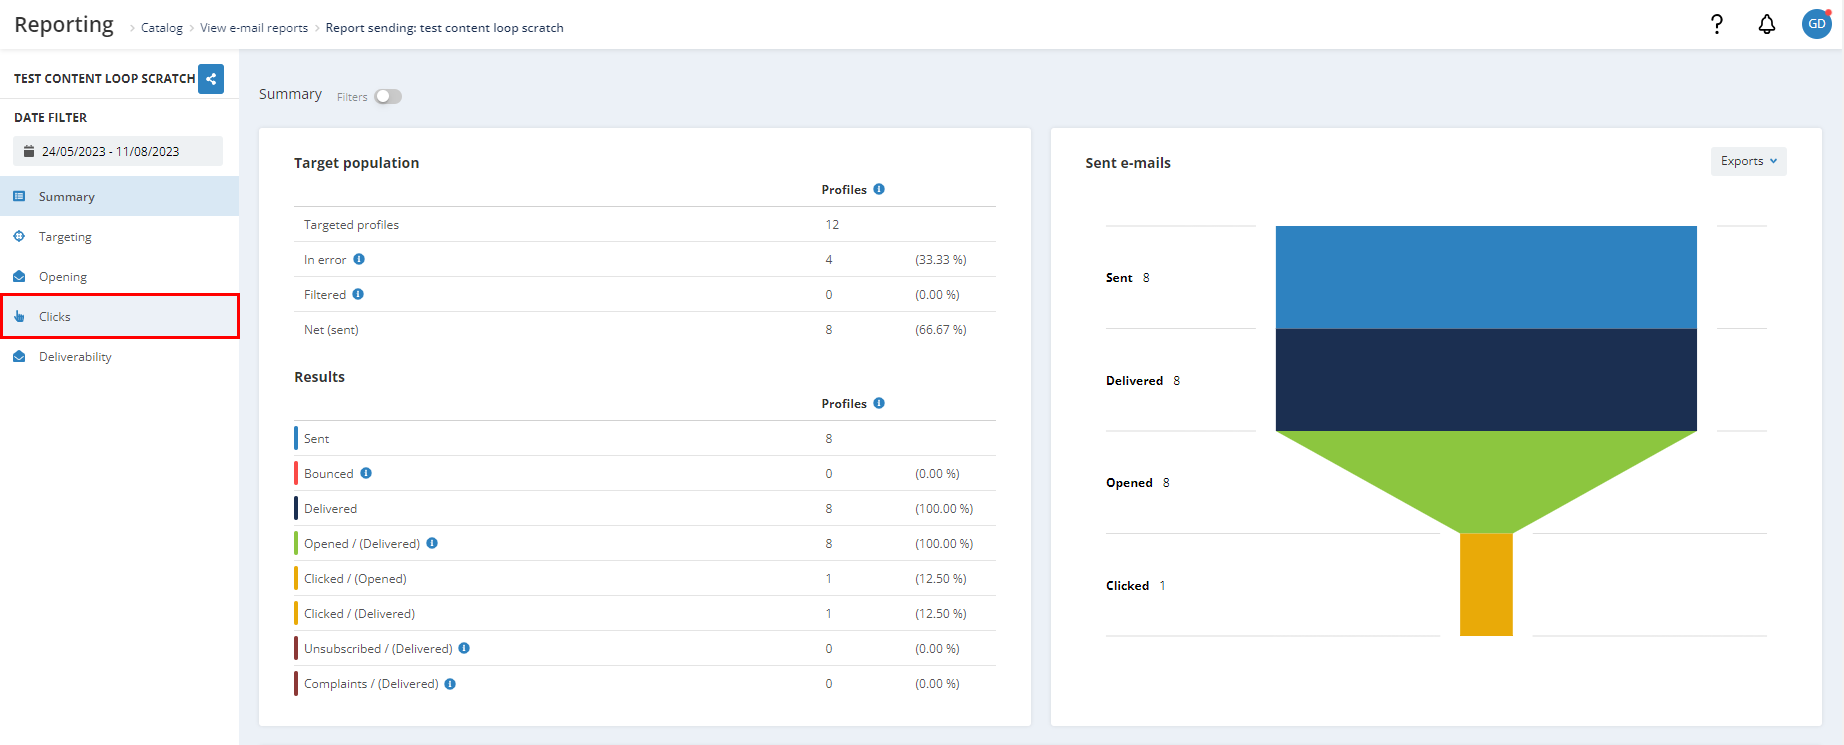
In this tab, you will find information on your click rates as well as a preview of the HTML of your content block.
In the link checker
When you click on the 'Check links' button in the step 3 of a creation of a campaign, you will reach a new page which contains the list of every link found in your e-mail, including the HTML tag of your content block.
