Google Ads audiences
The Custom Audiences module enables you to synchronize profiles of your Actito database with audiences on Google, allowing you to use data from Actito to create the target of your ads, and to integrate them in a multi-channel strategy.
You are able to do the set-up in full autonomy, as it involves linking your Google Ads account directly to Actito through the Google Login.
To use the Actito Custom Audience module, you need a Google Ads account.
Linking your Google Ads account to Actito
Creating an integration
Admin users of your license can start the integration in the License configuration.
Select the 'Integrations' app to start the process.

Then click on 'Create an integration'.
![]()
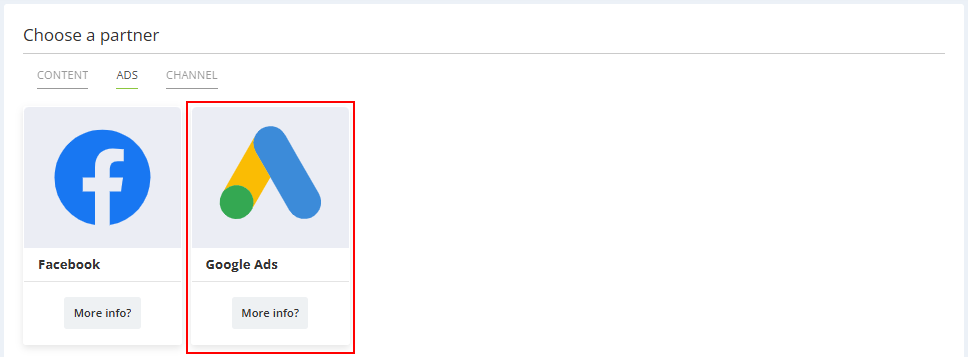
In the Ads tab, choose the partner with which you want to create an integration: Google Ads in this case.
General data
You can now define the setting of your Google Ads integration.
An integration is defined as the link between 1 Actito database and 1 Google Ads account.
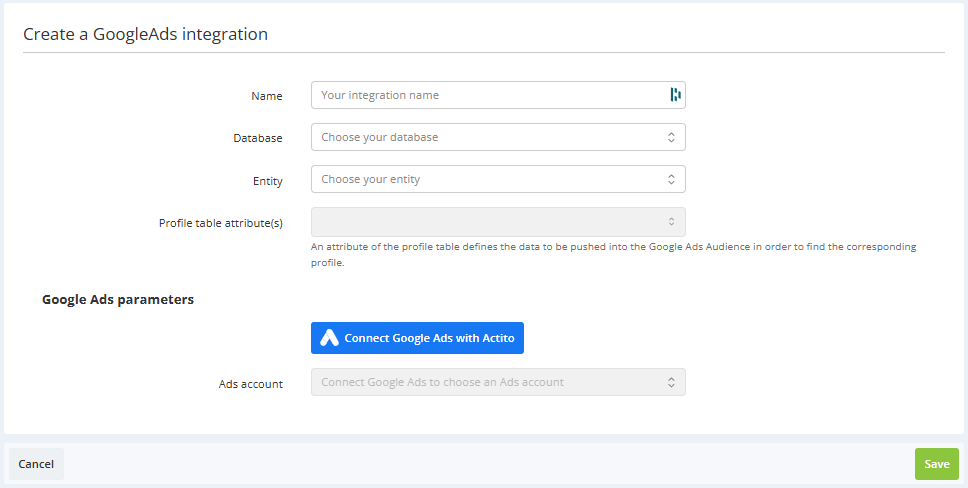
- First give a name to the integration. If you have several Ad accounts for your different brands/pages, you will need to set-up an integration for each one. The name is useful is differentiate them.
- Choose the database to which the integration will be linked, and the entity on which it is stored. Each integration can only be linked to one database.
It is possible to set up an integration to the same Ad account with several databases (for example, if you have 'Clients' and 'Prospects' databases tied to the same Google Ads account).
In this case, you should however be careful to assign different audiences to the databases, in order to avoid overwriting data.
- Select the profile table attribute used to do the reconciliation between Actito and Google Ads.
The profile attribute must be either the e-mail address or the mobile phone number (or both), because these are the possible identifiers used when someone creates a Google account. The chosen attribute must be based on the predefined attributes "emailAddress" or "gsmNumber".
Google Ads parameters
Next, click on the blue 'Connect Google Ads with Actito' button to link a Google account to your license using the secure proprietary Google Login application.
![]()
A pop-up window will prompt you to enter your Google credentials.
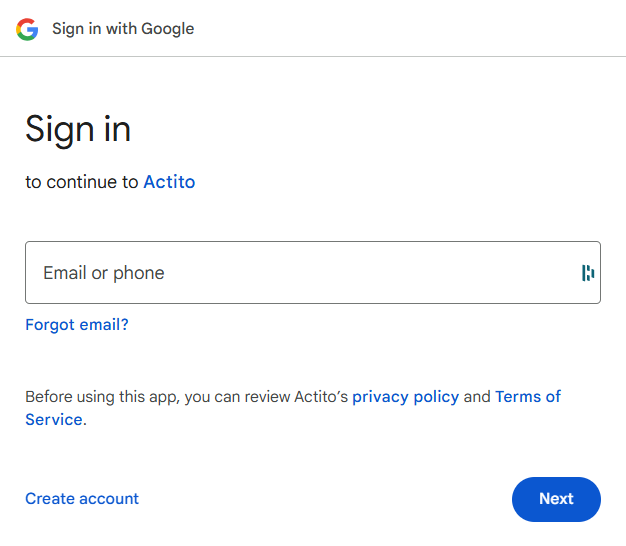
If the Google 2-factors authentication is activated on this account, you will also have to enter it.
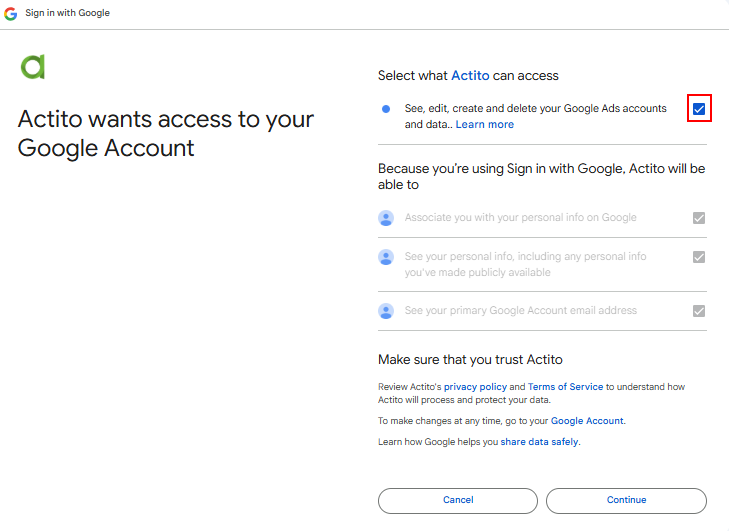
After logging in, you will have to accept to share your name, email address, language preferences and profile pictures with Actito, by clicking on 'Continue'.
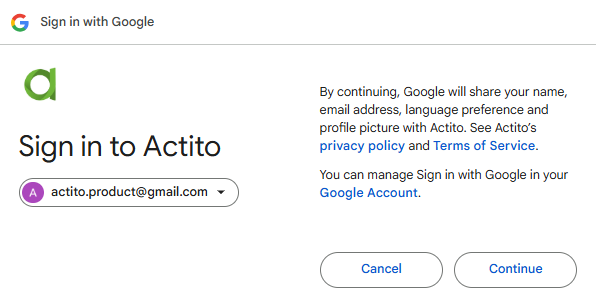
Thereafter, you will have to select what Actito can access. Thick the box "See, edit, create and delete your Google Ads accounts and data" and then, click on 'Continue'.
Once te connection with your Google account is done, you will have to select the Google Ads account that you want to connect to this integration.
![]()
Note that the creation and management of your ads, as well as associating them with audiences, will remain entirely done in Google Ads.
Do not forget to click on 'Save' to complete the process!
Reviewing integrations
The ready-to-use integrations are displayed in the 'Integrations' app.
Click on 'View definition' to review the details of the integration, such as the associated database or Google Ads account.
Integrations can be edited to change their name. Other parameters cannot be changed. If you need to modify the database or the ad account tied to the integration, please create a new one and delete the previous one. Please note that deleting an integration will unsynchronize all audiences and associated rules in Actito.

Using an integration
Now that Google has been connected to your license, you can continue the integration.
Go to Creating a Google Ads Custom Audience to create audiences in Google Ads and in Actito.