Custom table creation
To create a custom table, go to the Table structure app (Catalog > Data > Tables structure).

It is also possible to directly create a table from the Datamart Studio, via the top right button.

To begin, click on the "Create table" button.

There are two options available:
- Creating a table from a template
- Create your own table structure
Choosing the template
The "Create table" button will lead you to a page divided into different tabs representing each type of table.
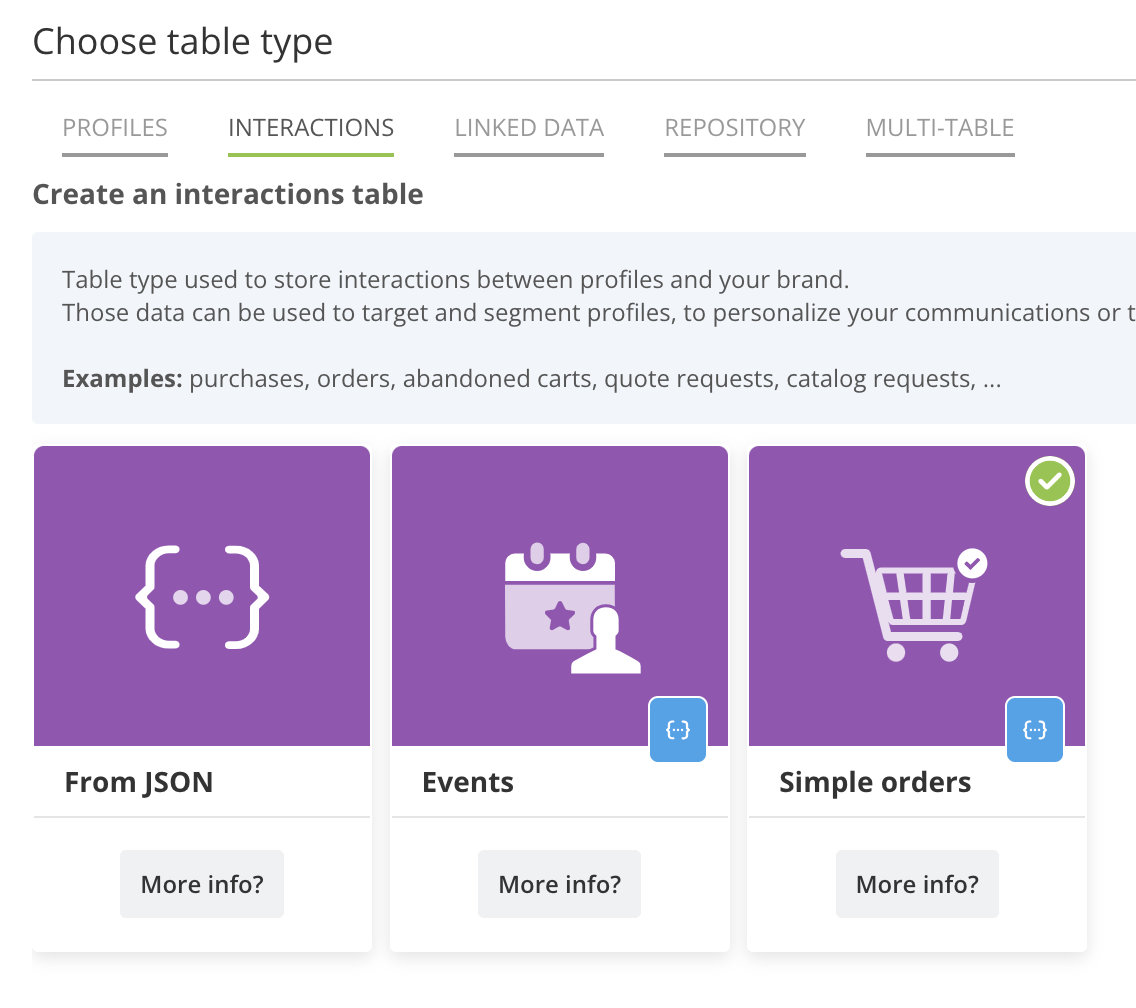
From each tab, you will be able to choose among one or more templates provided by Actito.
- The Event and Simple orders templates for Interactions tables
- The Children, Loyalty, Sponsorship and Vouchers templates for Linked Data tables
- The Companies, Product catalog, Stores and Subscription catalog templates for Repository tables
- The e-Retail, Retail and Subscription orders templates for Multi-tables
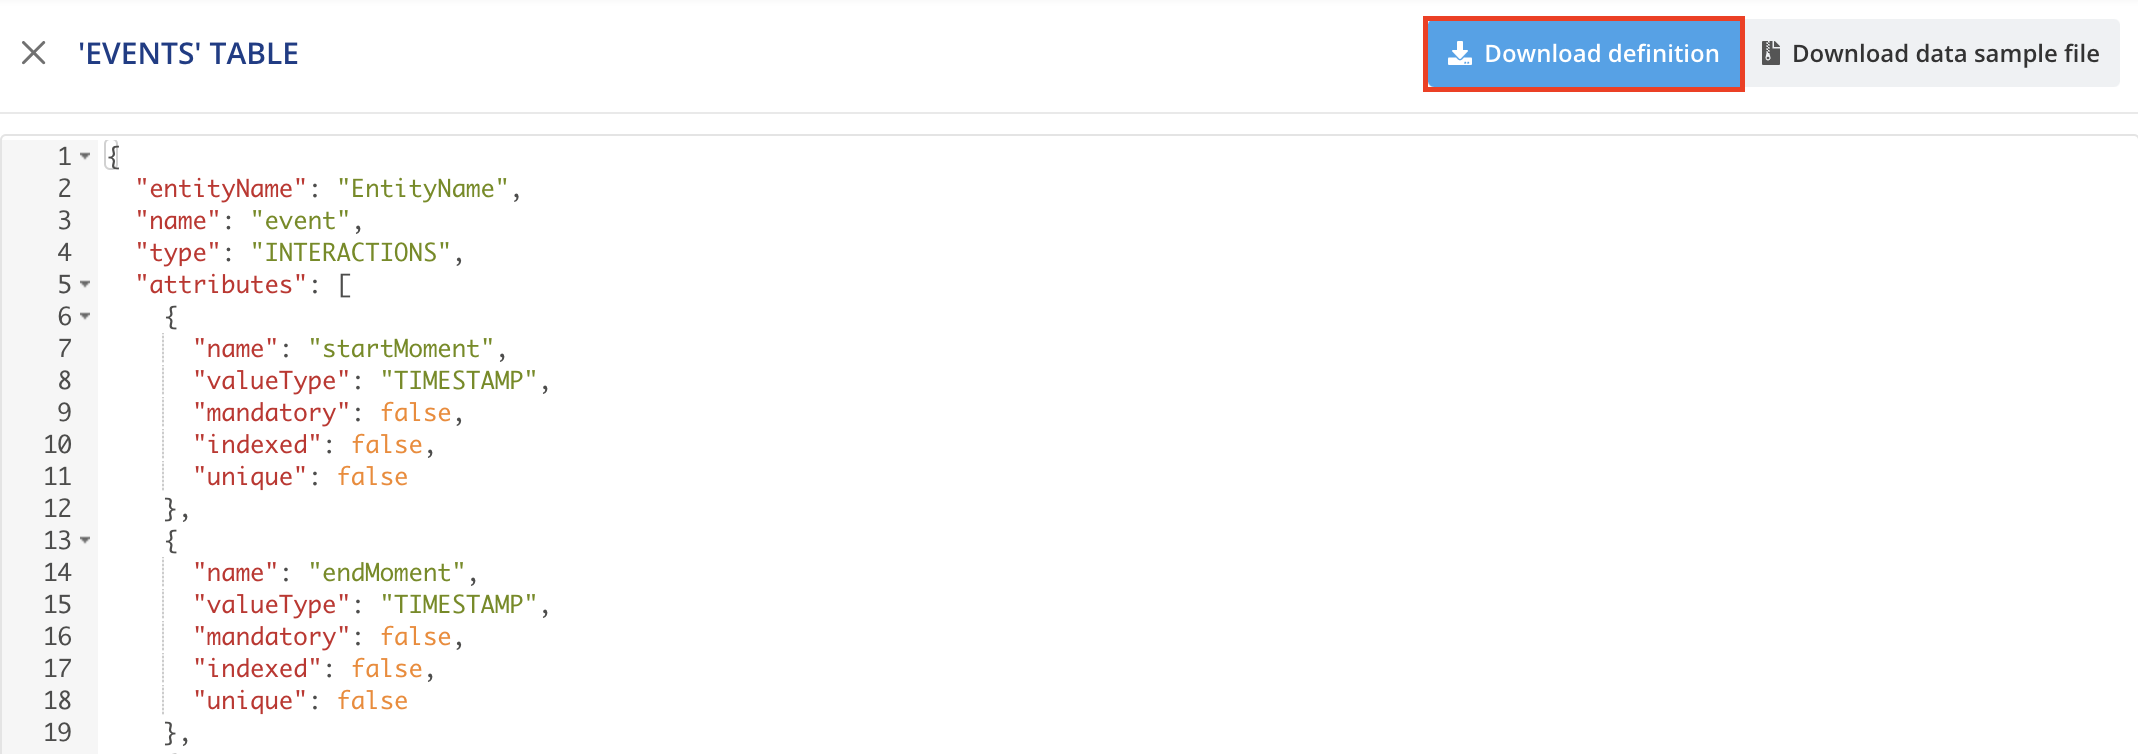
You can also retrieve the definition of these tables using the blue button.
From the screen that opens, you can view the table definition or download it to get a ready-to-use JSON example that you can modify.
For more information about the predefined fields and the use cases of each template, please read the page on "Using a JSON Template".
Creating the table
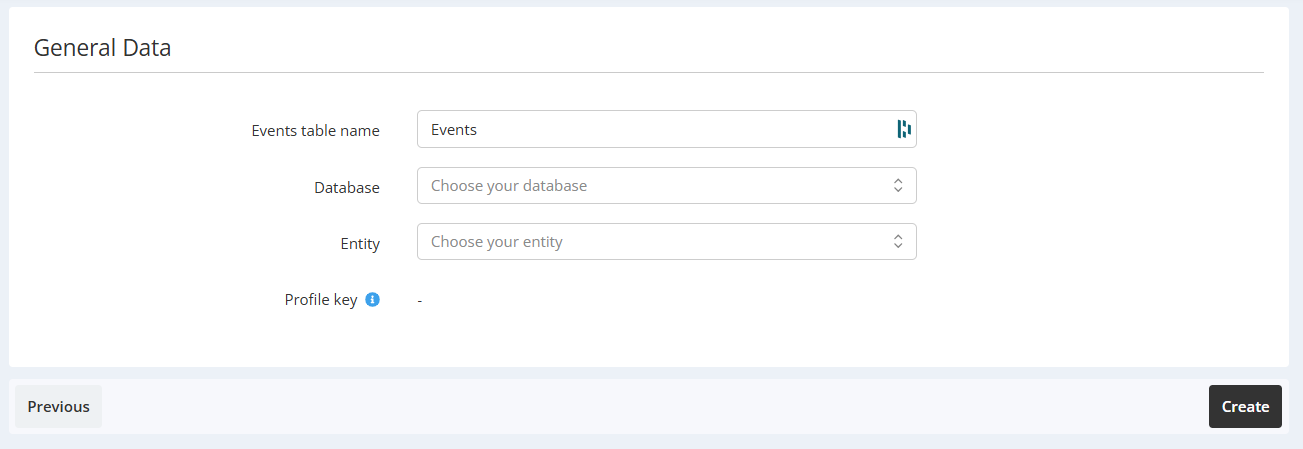
Choose your template, then click on "Select".
By default, the table will take the name of the template, but you can choose to rename it.
For Interactions and Linked Data templates, you will have to select the profile table to which the table must be linked.
Click on "Save" and the table will be created immediately. It will use the technical attribute "profileId" as link with the profile table.
For Repository templates, the link with the profile table must be made afterwards (see below).
Linking a Repository table to a profile table
In order to build this link, it is necessary to add a new attribute in your profile table (to do so, please read "Adding an Attribute to the Profile Table")
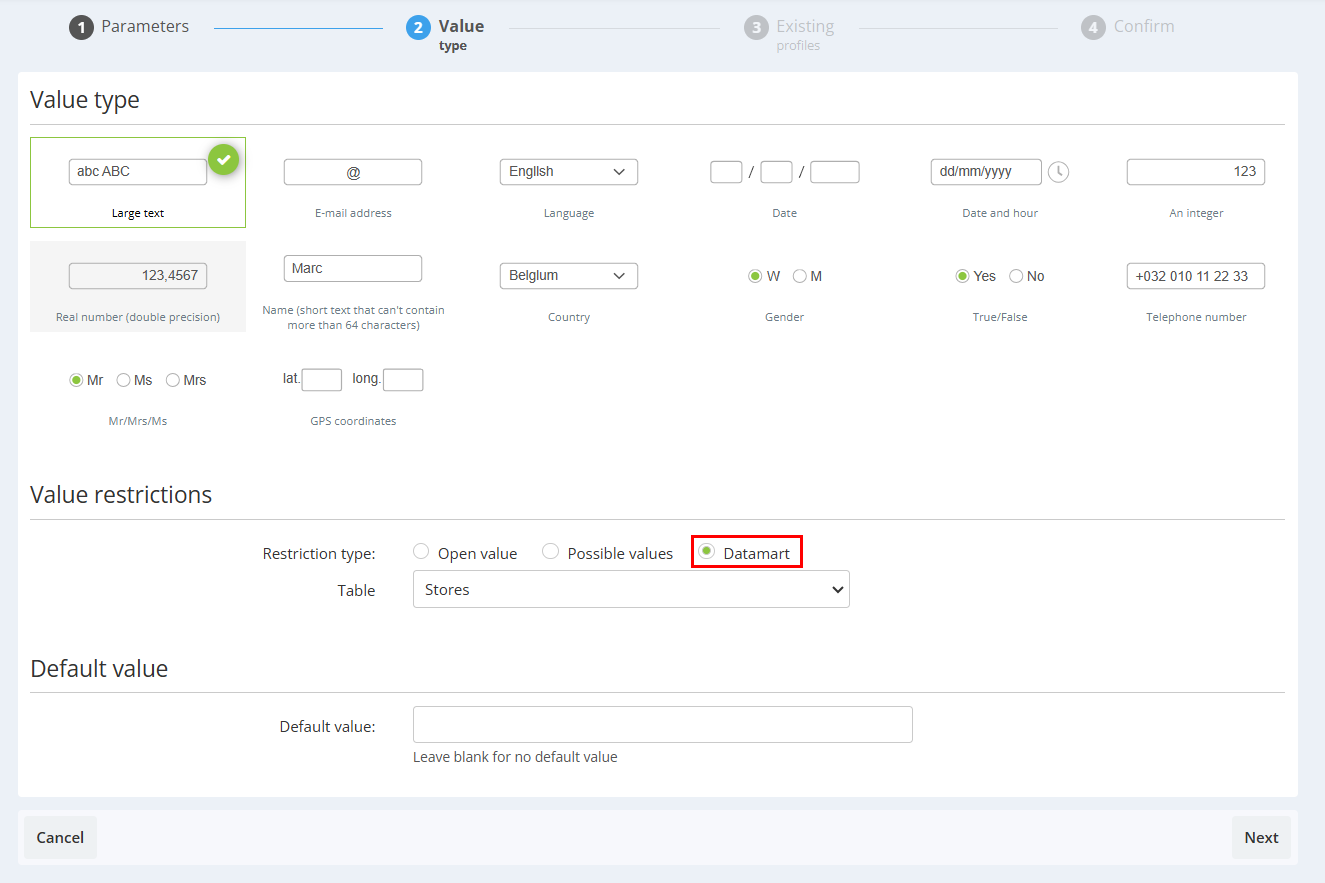
At the second step (Value type), select the "Datamart" button as Restriction type in the Value restrictions section.
You will be able to select your Repository Custom Table in the drop down menu.
Follow up with the attribute creation to confirm this link.
In the profile file, the value taken by this attribute will be the primary key used to identify an entry of the Repository table ("businessKey").