Data deletion
To delete a row in a data table, go to the "Tables data" app (Apps > Tables data)

Delete one or a few rows
Select the relevant table, then click on “View”. You are now in the table where you will be able to select the row(s) to delete.
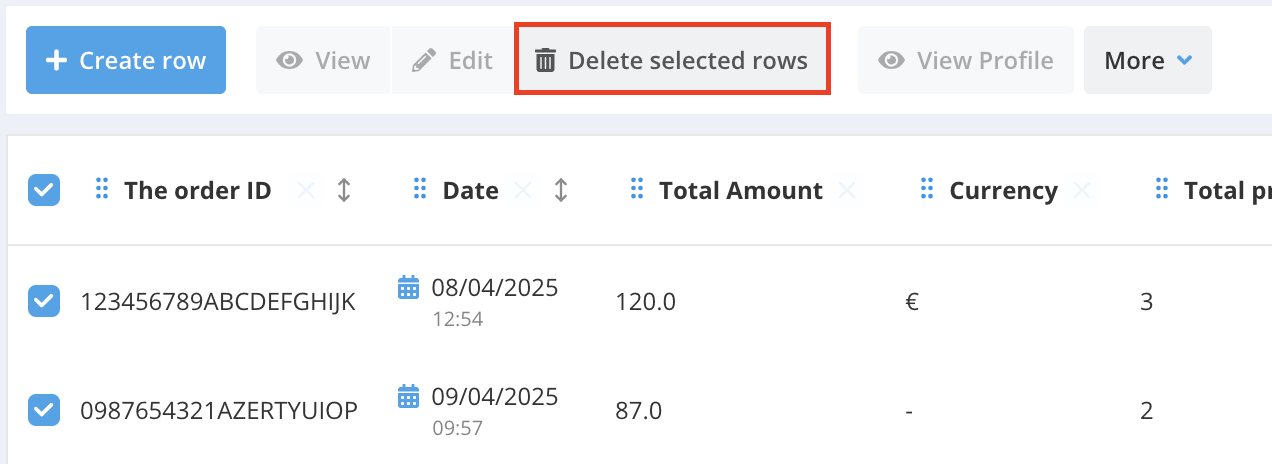
Click on the row(s) you want to delete to select them. Clicking on a selected row will unselect it. You can also click on the checkbox in the header row to select all rows on the page.
Once the row(s) to delete are selected, click on the “Delete selected rows” button.
A pop-up window will appear asking you to confirm the deletion via a checkbox, reminding you that this is an irreversible action.
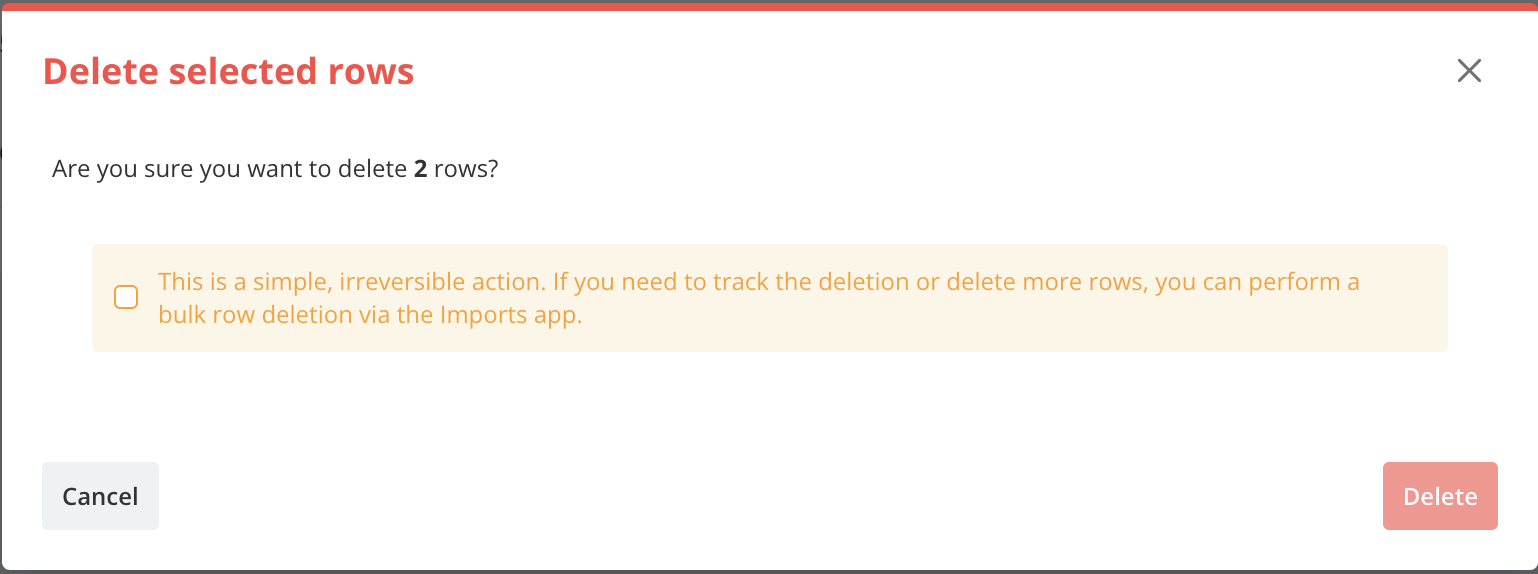
Up to 100 rows can be deleted at once using this method.
Delete rows based on a list
In the “Apps > Tables data” application, select the relevant table and click on the “Delete data” button.
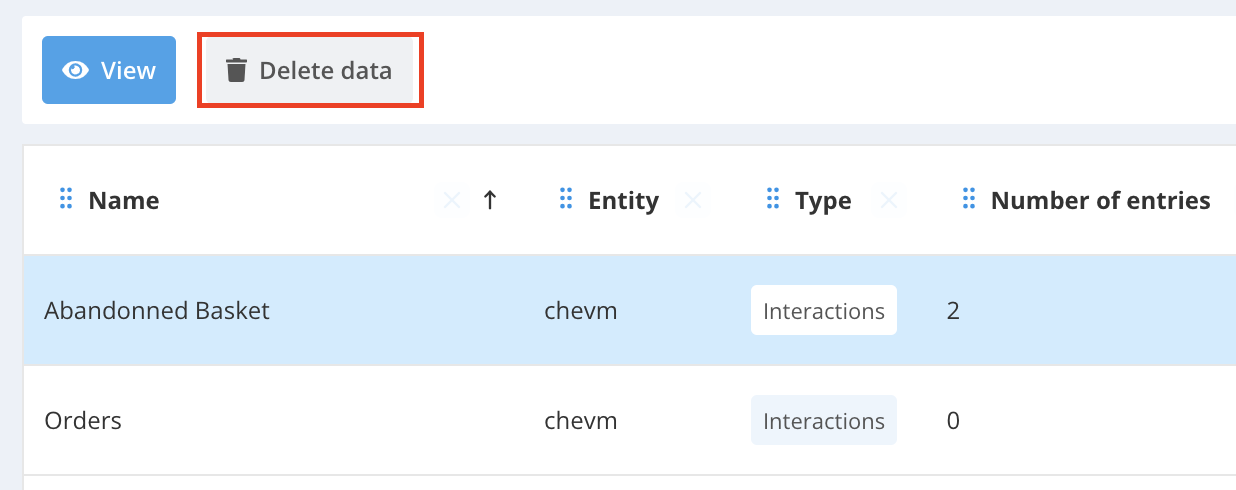
You will then be redirected to a preconfigured data import set up for deleting data from the selected table, at step 3 of this import.
To learn more about how this data import module works, see Importing data via the interface
For deletion purposes, the imported file must contain a key field, meaning one defined as unique in the table. Any other fields in the file will be ignored.
Check the result of your deletion
After launching your deletion import, it will appear under the 'In Progress' tab until it is completed. This may take from a few seconds to a few minutes, depending on the volume of data being deleted.
To check the results of the deletion and review any possible error files, please refer to the Finished executions section in the “Data Import” section.