Attributes
To add an attribute, go to the Tables structure module (Hub > Data > Tables structure).

In Actito, you can add new attributes to your database profiles at any time.
To ensure communication consistency, only users with the rights configuration "Admin" or "Advanced user" can delete or modify attributes by themselves in the interface.
Choosing the table to be edited
Select the profile table whose structure you wish to modify. Then, click on Update.

Choose whether you want to update it through the interface or from a JSON file. Here, we are going to do it from the interface.

Adding an attribute
To add an attribute in the selected table structure, click on the + Add button.

List of predefined attributes
Birthdate
The advantages of using the birthdate predefined attribute to store a birth date instead of creating a normal "date" type attribute are:
- Actito will automatically calculate the age of the profile. For targeting or personalization, you can select "all people between 25 and 55 years old". You will not have to configure your target with a birth date.
- This date will be used for specific reports such as an age pyramid.
Email Address
The predefined attribute emailAddress is the only field that you can use to send emails with Actito.
This field will be created by default as mandatory and unique.
Acceptance rule for an email address field type:
- It must respect the following syntax: xxx@yyy.zzz
- the xxx value (meaning the username before the @) cannot contain the following characters (é,è,à,ç,ù,ï...)
- the zzz value must be part of the international list of authorized extensions
- Please note that:
- the username can contain the following characters: "a -> z", "A -> Z", "0 -> 9", "-", "_", "." and special characters "!#$%&'*+-/=?^_`{|}~"
- use of an "@" is mandatory
- at least 1 character is mandatory before the "@"
- the domain name and the suffix must follow the "@"
- the domain name cannot start or end with "-"
- the suffix must contain at least two characters
- several dots (".") cannot follow each other (e.g. "...")
- Subdomains are allowed (e.g. subdomain.mydomain.com) and accents are allowed in domain names.
Before each sending, Actito will check if the address can be reached (if not, it will be filtered).
Encrypted Email Address
The predefined attributes emailAddressMD5 and emailAddressSHA256 allow you to encrypt the value of the emailAddress with the MD5 or SHA256 hashes.
These algorithms are useful if you need to communicate email addresses to external tools (through link query parameters, as a reconciliation key of an import/export) but do not want to use the clear value for security reasons.
Both hash predefined attributes are special in the sense that they are computed by Actito:
- Their value is automatically calculated from the value of the emailAddress attribute.
- Therefore, they can only be added if the profile table contains an emailAddress attribute, and they must share the same properties (unicity, mandatory).
- Users cannot write the value for a hash attribute in the profile table through any means.
- The hash is calculated on the hexadecimal lowercase value of the emailAddress.
For example, here are the hashed values of the email address "support@actito.com":
- emailAddressMD5: b87e913e711d2211acffdc7a5b1703f0
- emailAddressSHA256: 7e413502940e598d242f58f2c71ac09660c093ecbfc03c3f2b8fe68c3a2316ef
First Name and Last Name
The predefined attributes firstName and lastName are simple text fields (max. 64 characters).
By default, the predefined attribute lastName is a mandatory field.
Mobile Phone Number
The predefined attribute gsmNumber is the only field that you can use to send SMS with Actito.
Only numbers in international format may be contacted:
- France: +33 6 XX XX XX XX
- Belgium: +32 4XX XX XX XX
The acceptance rule for a gsmNumber field type is that it can contain the following characters (and nothing else):
- +().- /0123456789 (Note: the empty space is included)
Mother Language
The predefined attribute motherLanguage is a "language" field type (2-letter country code, called ISO 639-1 code).
This field will be used to send campaigns to profiles in the correct language.
If you do not have a motherLanguage attribute (because all your profiles are contacted in the same language), you will have to untick the preselected "language" box at the targeting stage of your email campaign.
Number of Children
The predefined attribute nbreChildren is an integer field type (equal to or over zero).
Postal Address (addressCountry, addressLocality, addressPostalCode, addressStreet, addressNumber, addressBox)
The combination of these fields allows you to store the partial or complete postal address of a profile.
- The predefined attribute addressCountry is a "country" field type (represented by the two-letter ISO 3166-1 country code)
- The predefined attributes addressLocality, addressPostalCode, addressStreet, addressNumber, addressBox are text fields of maximum 50 characters. This allows you to store English postal codes such as SW15 5PU or house numbers such as "41b".
Profession
The profession predefined attribute is a "large text" field type (max. 50 characters). No default value is defined in Actito.
Sex
The sex field can only contain two possible values: M or F (for Male and Female).
Actito does not offer any predefined attribute such as civility (Mr, Mrs, Ms), because calling a young woman "Ms" is not allowed anymore in some countries.
In personalizations, the gender test will allow the use of the sex field to customize the greeting.
Phone Number
The telephoneNumber predefined attribute is a telephone number field type.
Marketing Consent
The marketingConsent predefined attribute is a Boolean field type.
By default, the marketingConsent is set up as mandatory.
This attribute is used within the framework of the GDPR to store the consent of a profile to be contacted by marketing campaigns (see here for more information).
Tracking Consent
The predefined attribute trackingConsent is a Boolean field type.
It is used to store the consent of a profile for their behaviour to be tracked when they receive a campaign, namely opening or clicking in a campaign, saving information about their type of device, or reaching goals (see here for more information).
Step 1: Parameters
To add an attribute, you have the choice to either:
-
Select one of the attributes predefined by Actito.
The parameters will be pre-filled based on standards defined by Actito.
It is highly recommended to choose predefined attributes.noteIf needed, it is possible to modify some parameters of predefined attributes (for example, the name or whether a field is mandatory). However, the technical name must not be modified.
-
Set up the attribute and its parameters by yourself. It is recommended to define every parameter of your attributes.
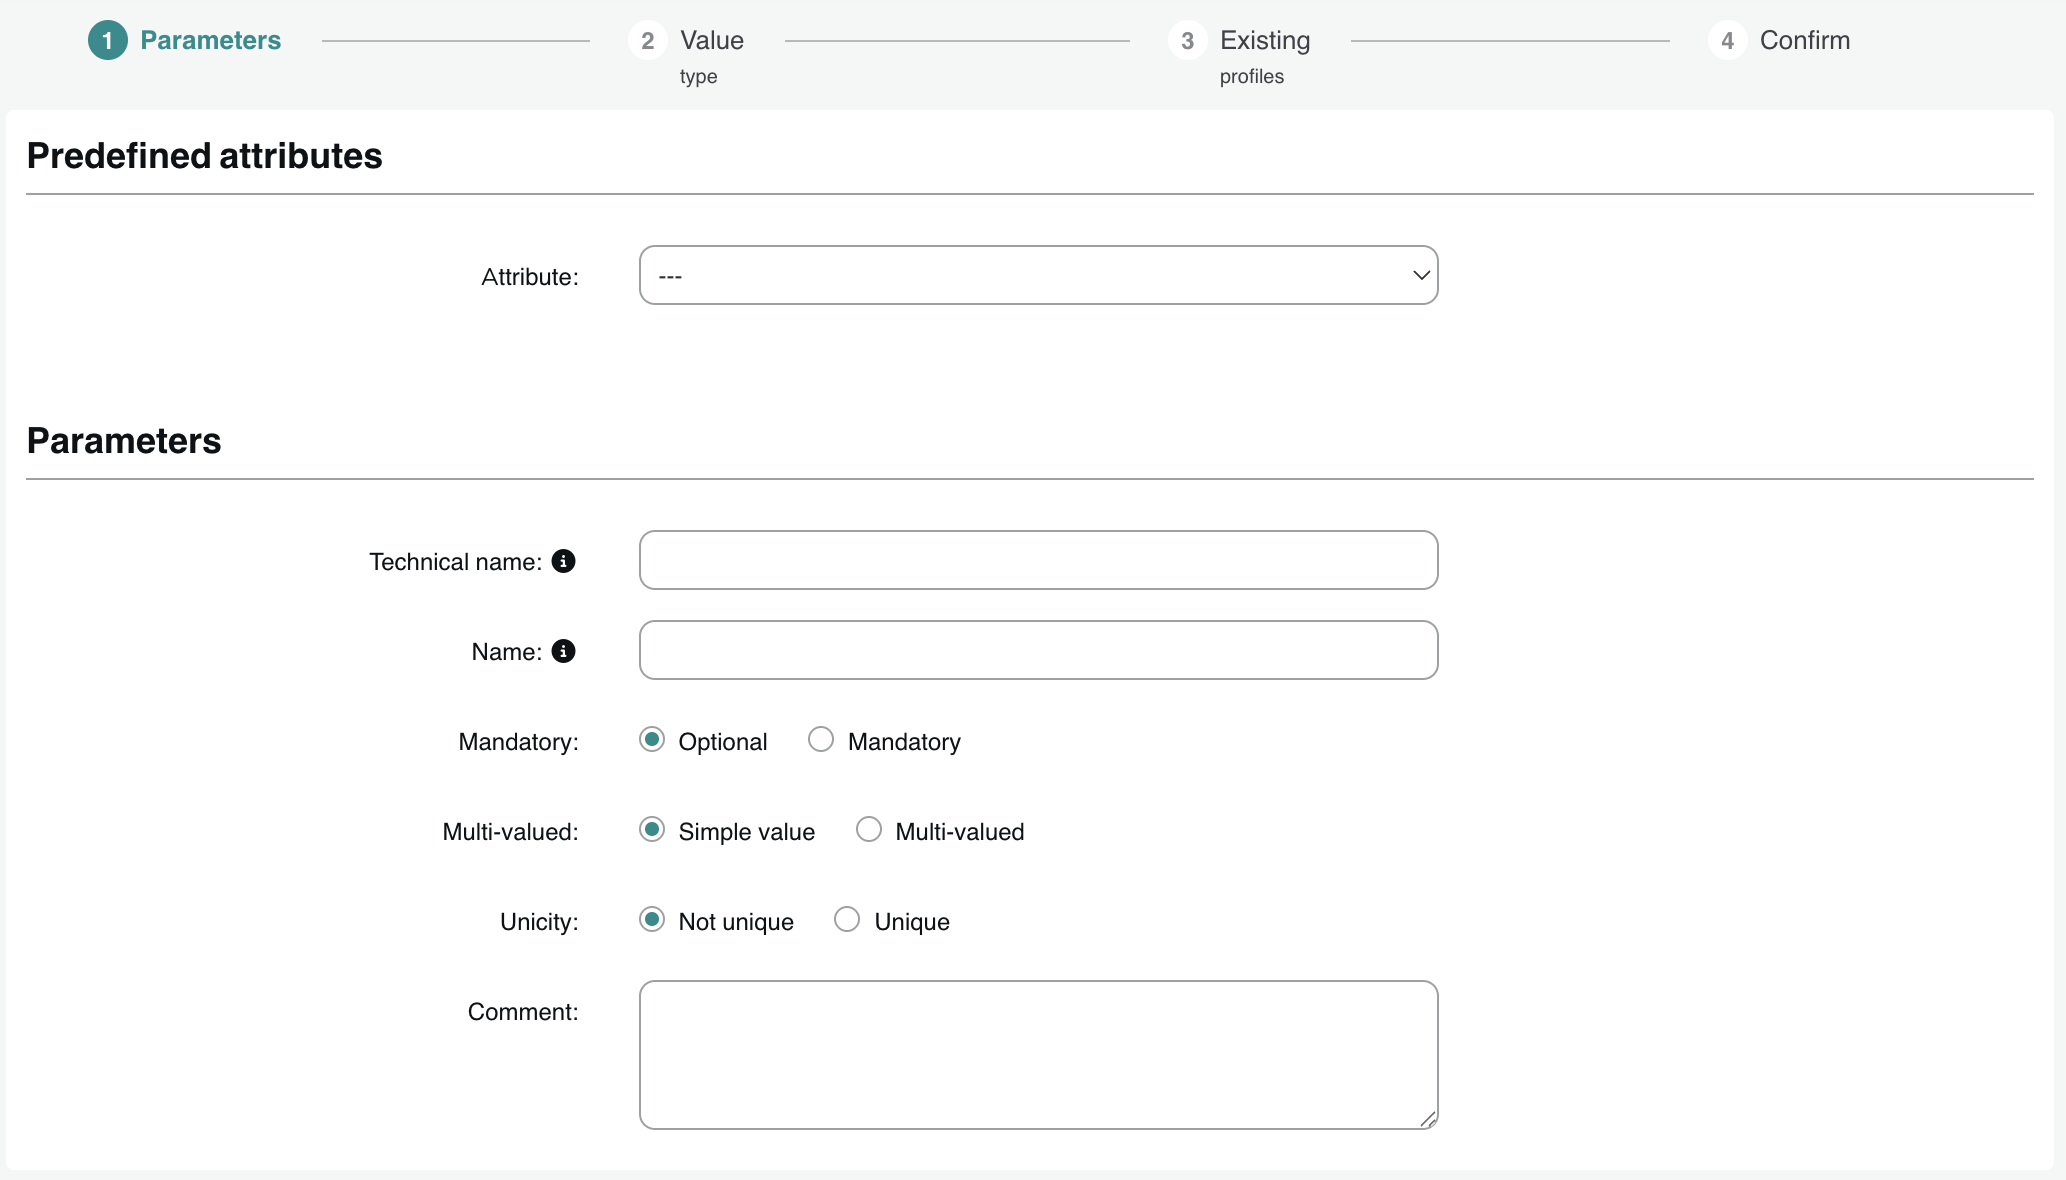
Parameters to be filled in are as follows:
- Technical name: technical ID for each attribute. It cannot be modified later on and predefined attributes must not be modified. It will be used for any "communication" with tools external to Actito (exports, synchronizations, imports, external customization...)
Maximum number of characters: 50 - Name: functional ID of each attribute. It can be modified later on.
- Mandatory: defines the optional or mandatory nature of an attribute
- mandatory: must each profile in my Actito database include this information?
- optional: is this information not required for all profiles in my Actito database?
- Multi-valued: defines the number of values collected for this attribute
- simple valued: only one value will be allowed
- multi-valued: several values can be saved for this attribute (for example: the attribute hobbies can contain: football, theatre, cooking…)
- Unicity: checks the unique nature of this attribute
- non unique: the value can be found several times in the database and be linked to several profiles
- unique: the value of the attribute will be unique in the whole database (for example: client number)
- unique for each profile: only for multi-valued attributes, the value can only be found once in the selected profile. To activate the display of the "unique for each profile", it is necessary to go to step 2 in order to define the possible values, then to go back to step 1 via the breadcrumbs trail at the top of the screen.
- Comment: provides complementary information about the created attribute.
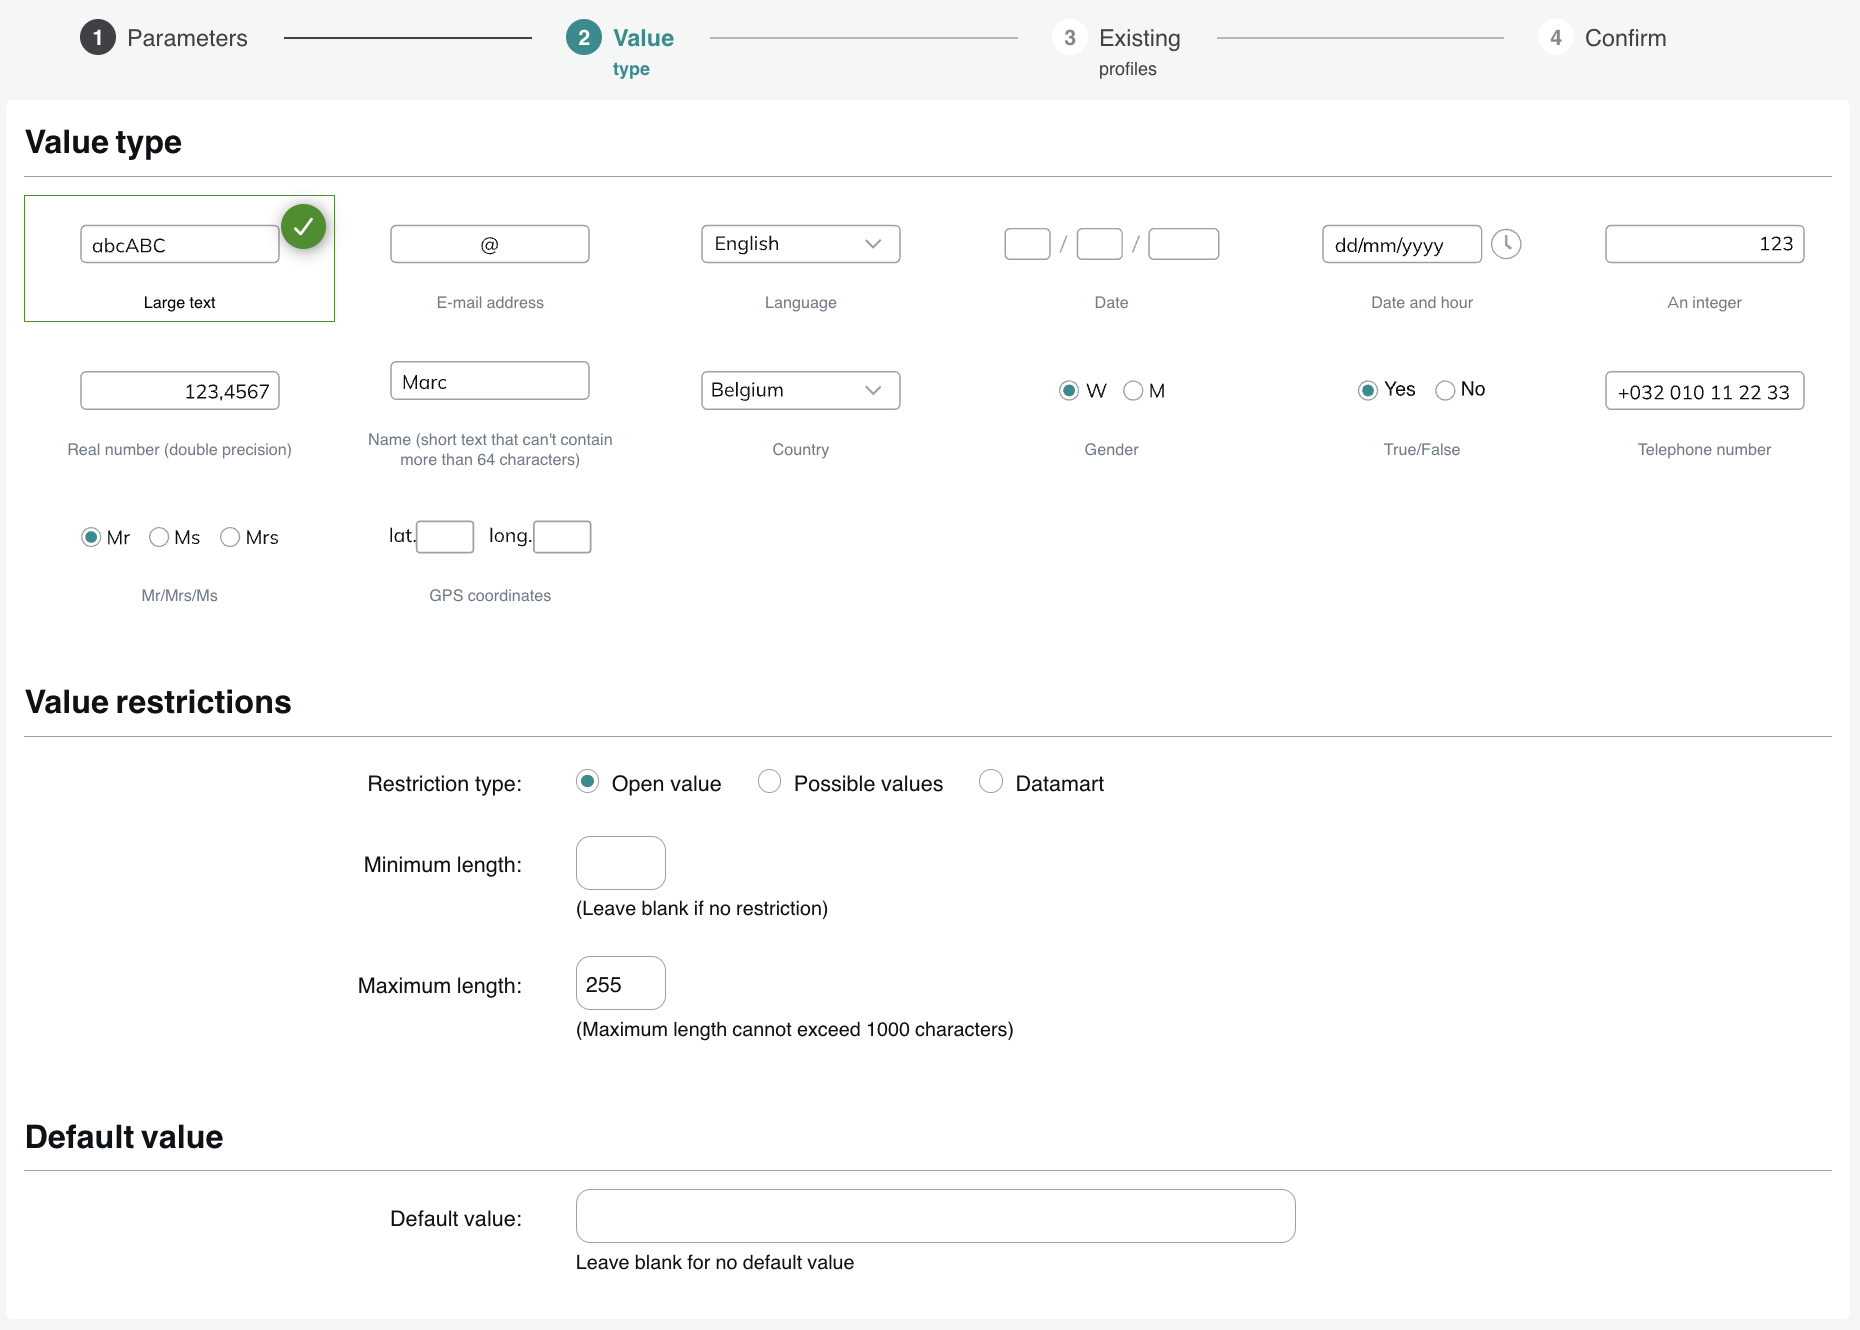
Step 2: Value type
- Value type: You can choose between several types of information to be stored in Actito (text, date, number...). Correctly typing data will allow you to only have relevant data (e.g. an email address must have an "@") and will simplify your targeting (e.g. the target criteria on a date are different from criteria on a number or a text).
- Restrictions: You can define restrictions on possible values. The type of restrictions varies depending on the selected type of value (e.g. a "language" value can be limited to French, English and Dutch if you do not want to communicate in other languages and therefore you do not want other values for this attribute in your profiles).
- Default value: You can define a default value for this attribute. It guarantees the information to be present for each profile. This is important if your attribute is mandatory: in this case, if the data is missing at profile creation, the default value will be given.
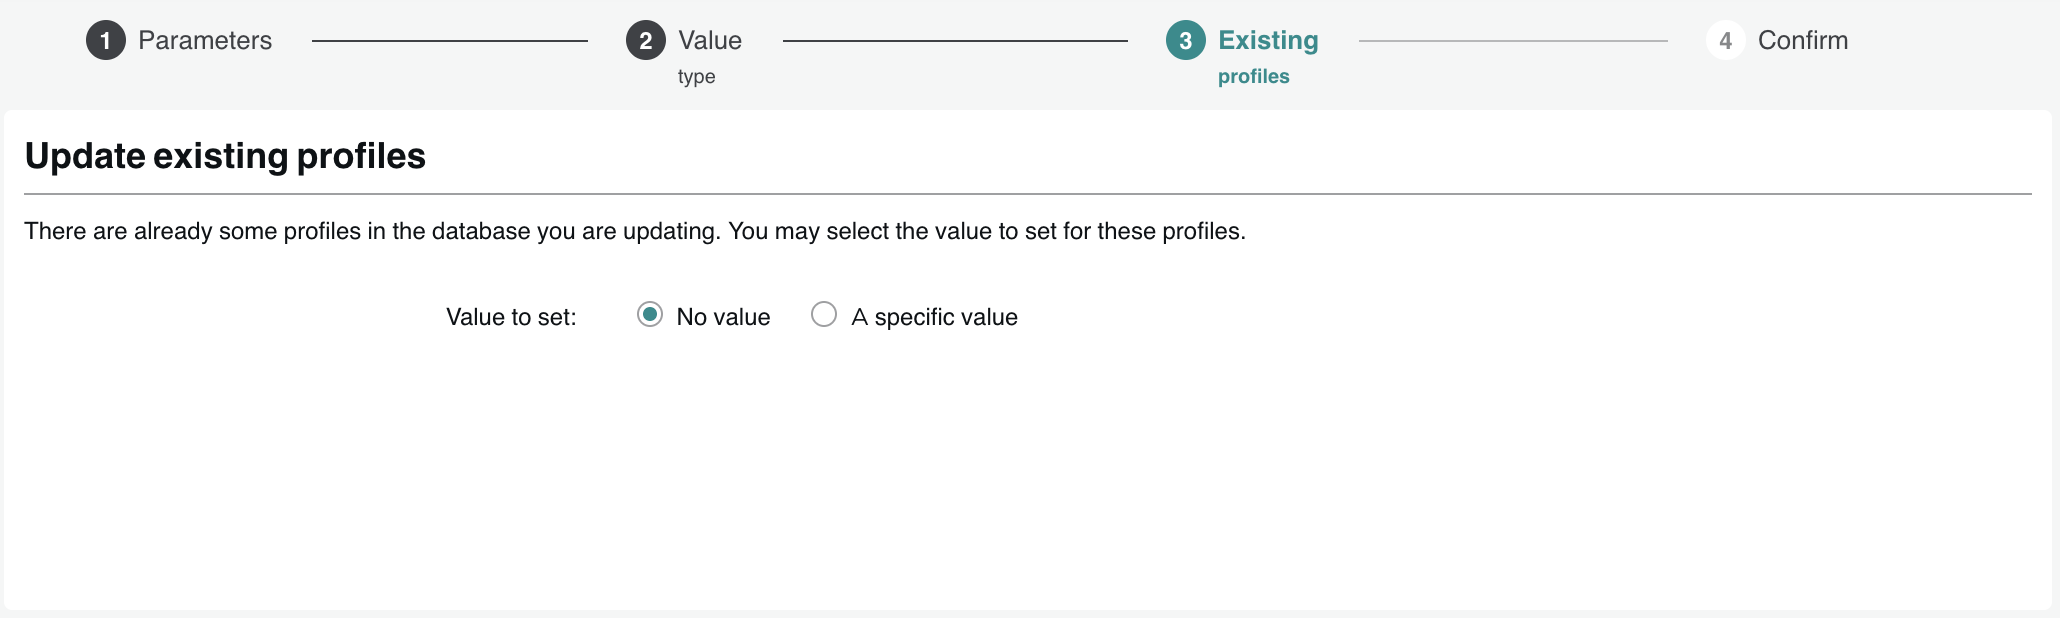
Step 3: Existing Profiles
The purpose of this step is to define what to do for profiles already existing in your database.
Depending on the mandatory or optional nature of the new attributes, you will have the following options:
- Value to set
- Default value: if a default value was defined (at the previous step), it will be displayed. You can choose to update all profiles with this value.
- No value: if an attribute is not mandatory, you can choose to leave the value empty when creating the attribute. (You can populate it at a later stage with the profile import).
- A specific value: you can choose to update all profiles with a specific value that you will directly determine.
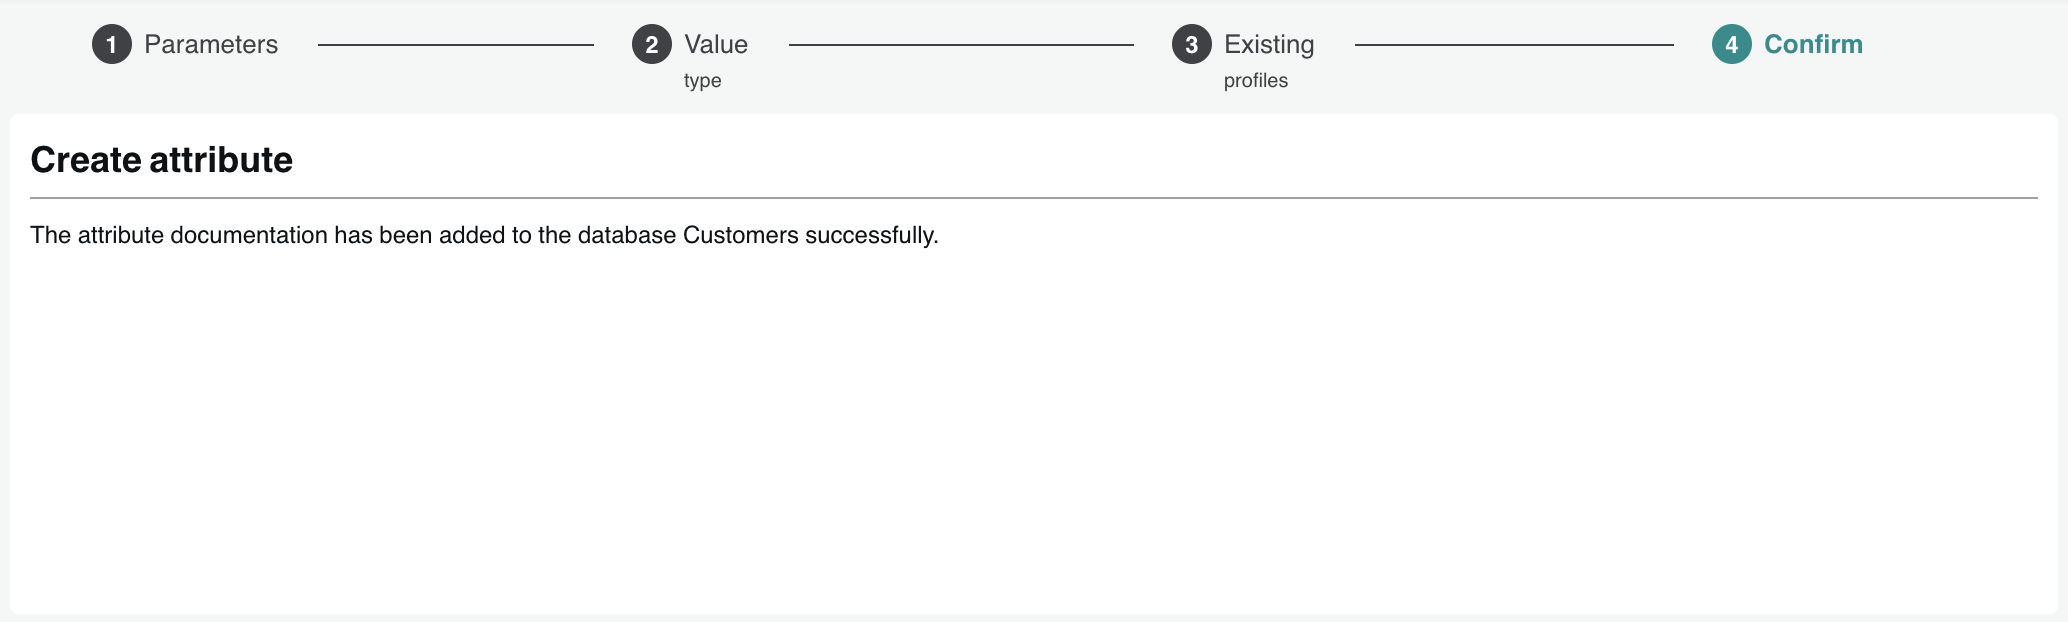
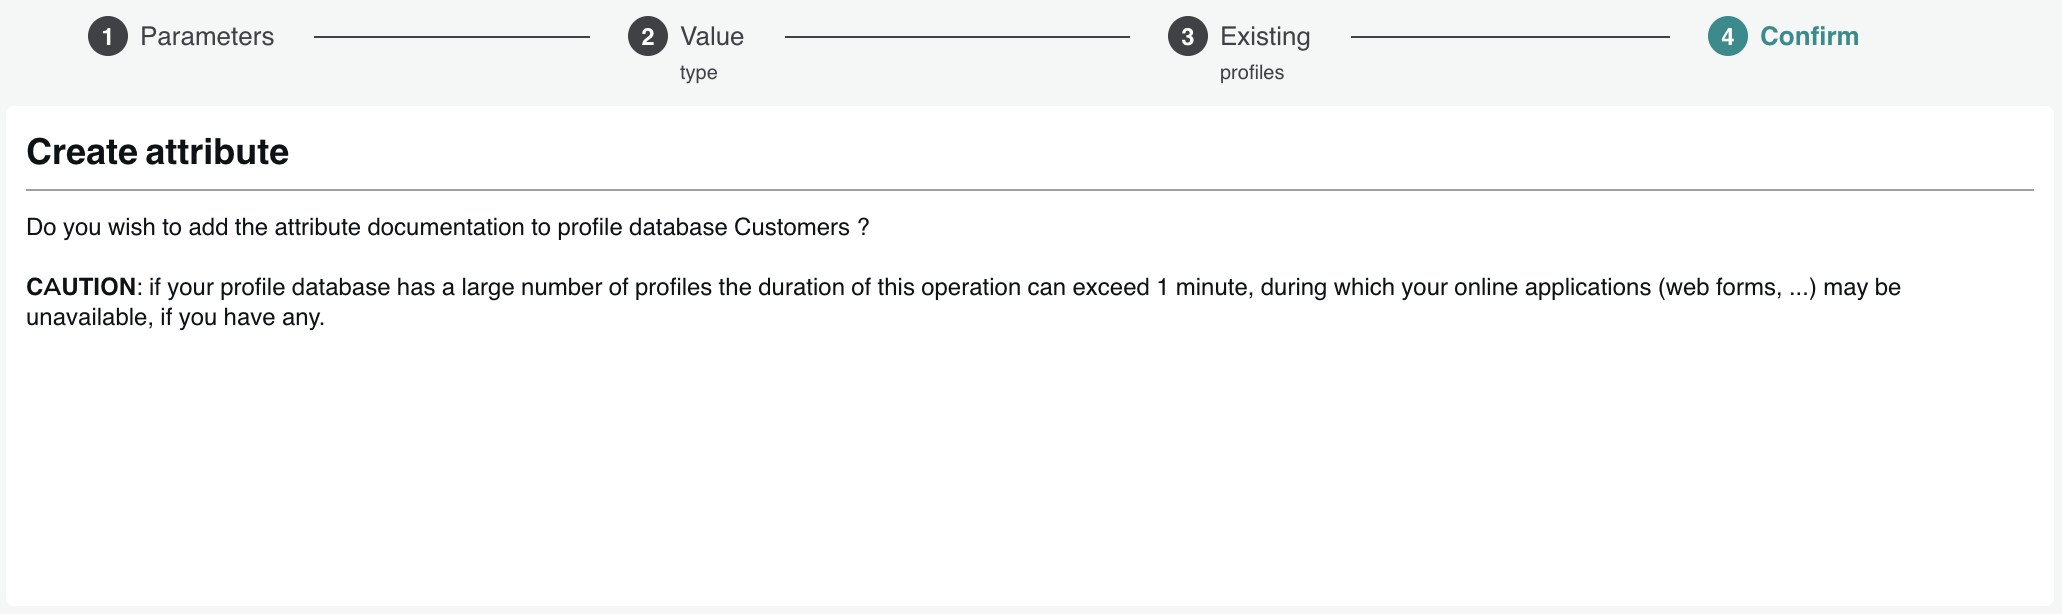
Step 4: Confirmation
Before the actual creation of this new attribute in Actito, the last stage is to confirm whether you really want to create it.
The creation will only be launched after clicking on the Add button.
After the addition of the attribute, a message will confirm the success of the operation.