Profile table creation
To create a database, Admin and Advanced users can go to the Tables structure app (Hub > Data > Tables structure)

Adding a table
In this app, you can see the list of all existing tables within your licence.
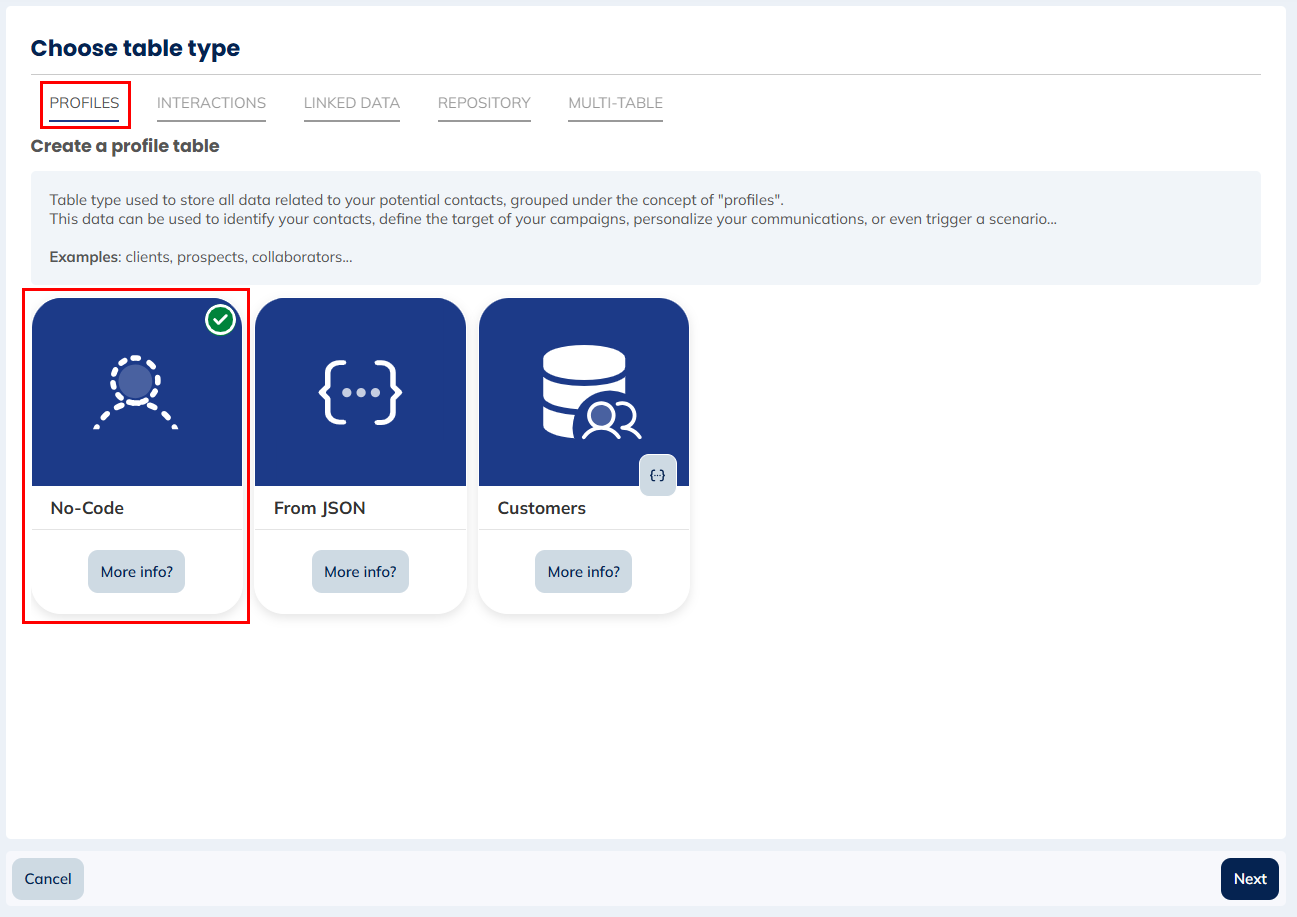
Click on the "Create a table" button to create a new profile table.

Choose the table type "No-Code" in the "Profiles" tab and click on "Next"
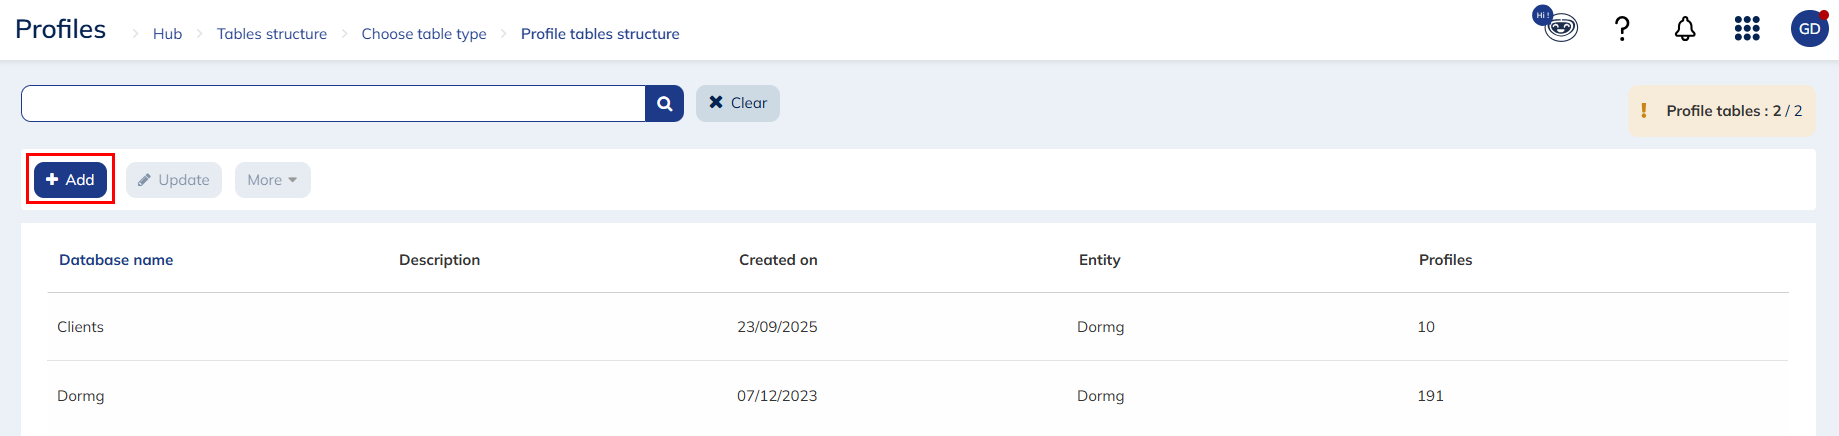
You will be redirected to a dedicated page, showing you the list of all your profiles tables.
To create your new profiles table, click on the "Add" button.
Step 1: Parameters
A database consists of 3 parameters:
- Its name, which cannot include any symbol or space.
- Its description, for information purposes.
- The entity in which the database will be saved. It defines the users' rights.
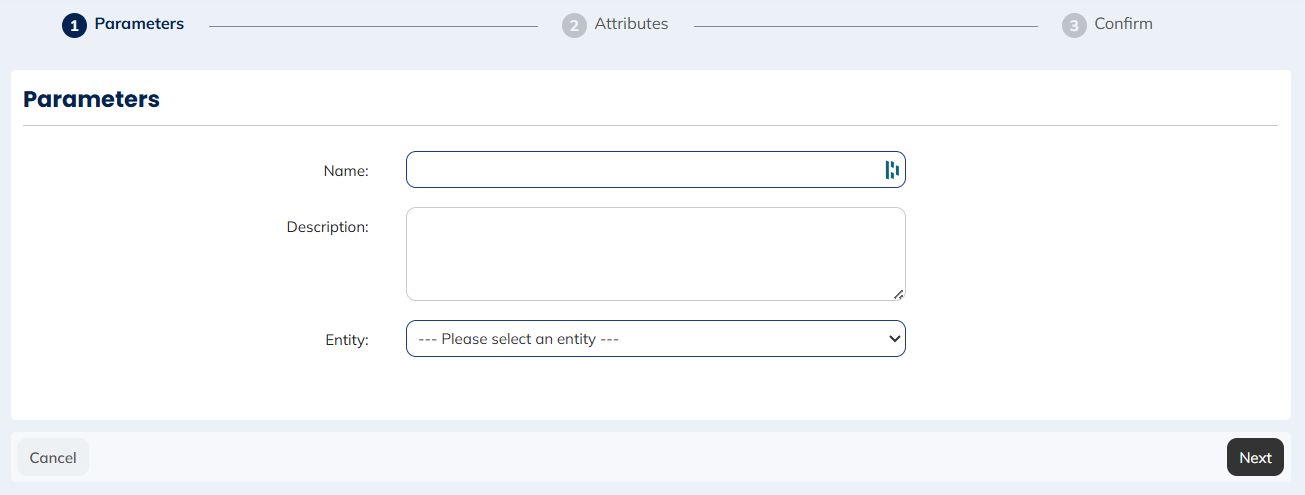
Once all the parameters are encoded, click on the 'Next' button.
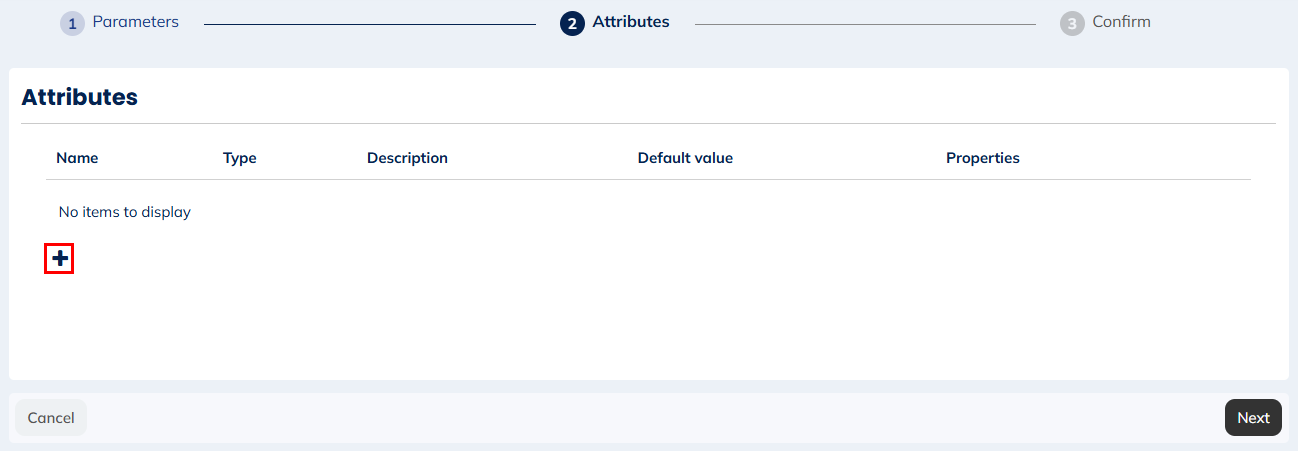
Step 2: Attributes
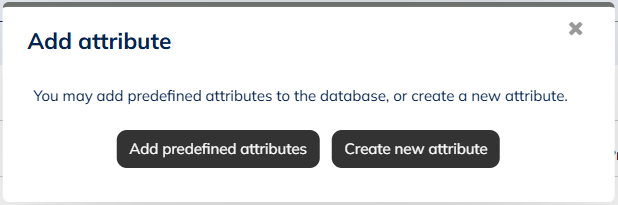
A database is made of attributes. To add an attribute, click on the "+" symbol then choose your preferred option.
Depending on your needs, you have the choice between:
- Directly adding one or more predefined attributes
- Creating an attribute according to your own definition
We advise you to always prefer a predefined attribute to the creation of another attribute. We invite you go to 'Using predefined attributes' to learn more about them.
Step 2a: Adding predefined attributes
The list of all the predefined attributes that you do not have selected yet will be displayed. Select the ones you want to include in the structure of your database.
As soon as you click on the 'Add' button, you will go back to the list of attributes selected for the creation of your database.
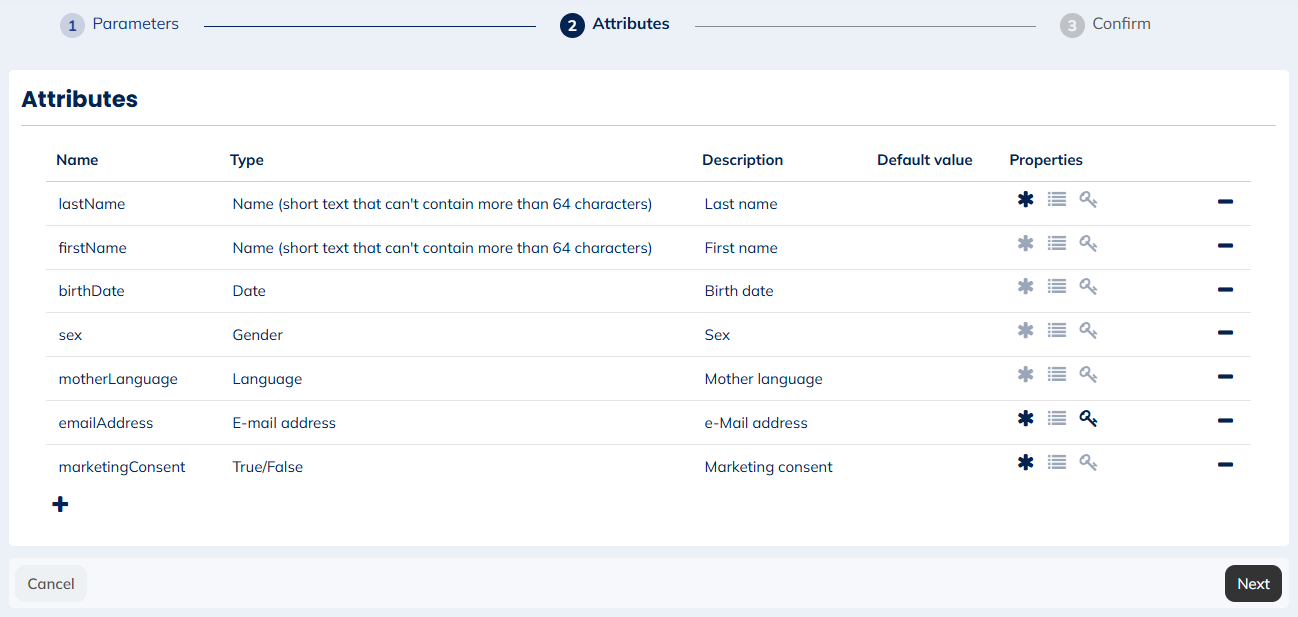
You will find 3 icons in the 'Properties' column:
- Optional
- Multi-valued
- Unique
If the icon is light grey colored, the attribute does not have this property. On the other hand, a black icon means that the property is applied to the attribute.
Please make sure to correctly define the properties of your attributes before finalizing your database.
Step 2b: Creating a new attribute
You can also create specific attributes in your profile table.
Please make sure to check beforehand if the desired attribute does not exist among the Actito predefined attributes that you have not selected yet.
Step 2c: Validating the list of attributes
Once you have created all your attributes, you can see the list of all attributes.
If you wish to delete an attribute before validating the database, click the "-" icon at the right end of the line of the attribute. You will then have to confirm the deletion.
After adding all the necessary attributes, click on the "Next" button.
Step 3: Confirm
This last step allows you to confirm the creation of your database. Your database will be launched as soon as you click the 'Finish' button.
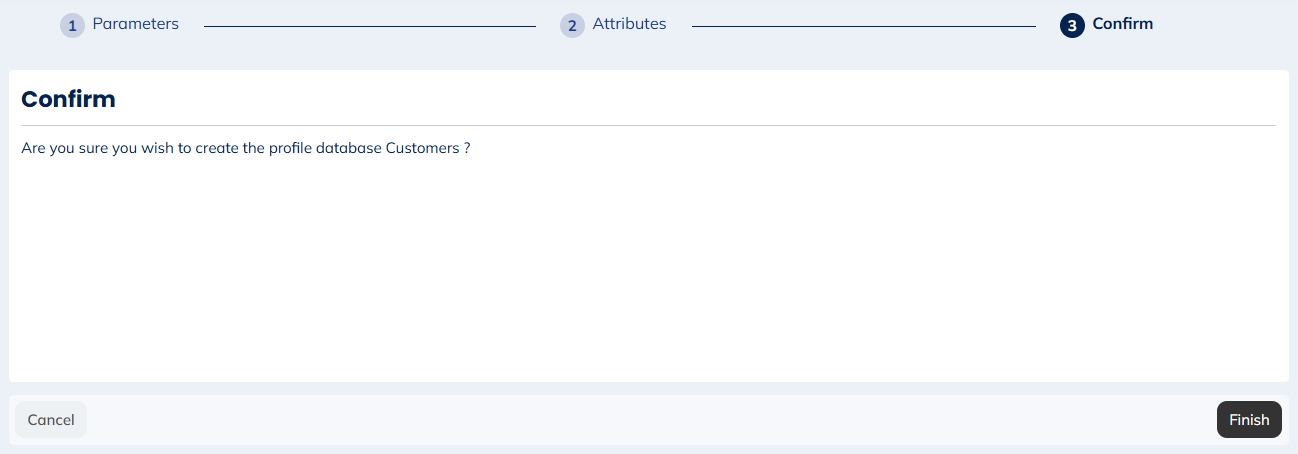
You will receive confirmation as soon as your database is created.
Click on the 'Back' button to return to the management page of the structure of your databases.