Managing "My apps"
My apps (My account > My apps) is the central management module for configuring the apps available in your Actito license. This interface allows you to set up and manage the necessary configurations to send push notifications to your profiles across mobile apps and websites.
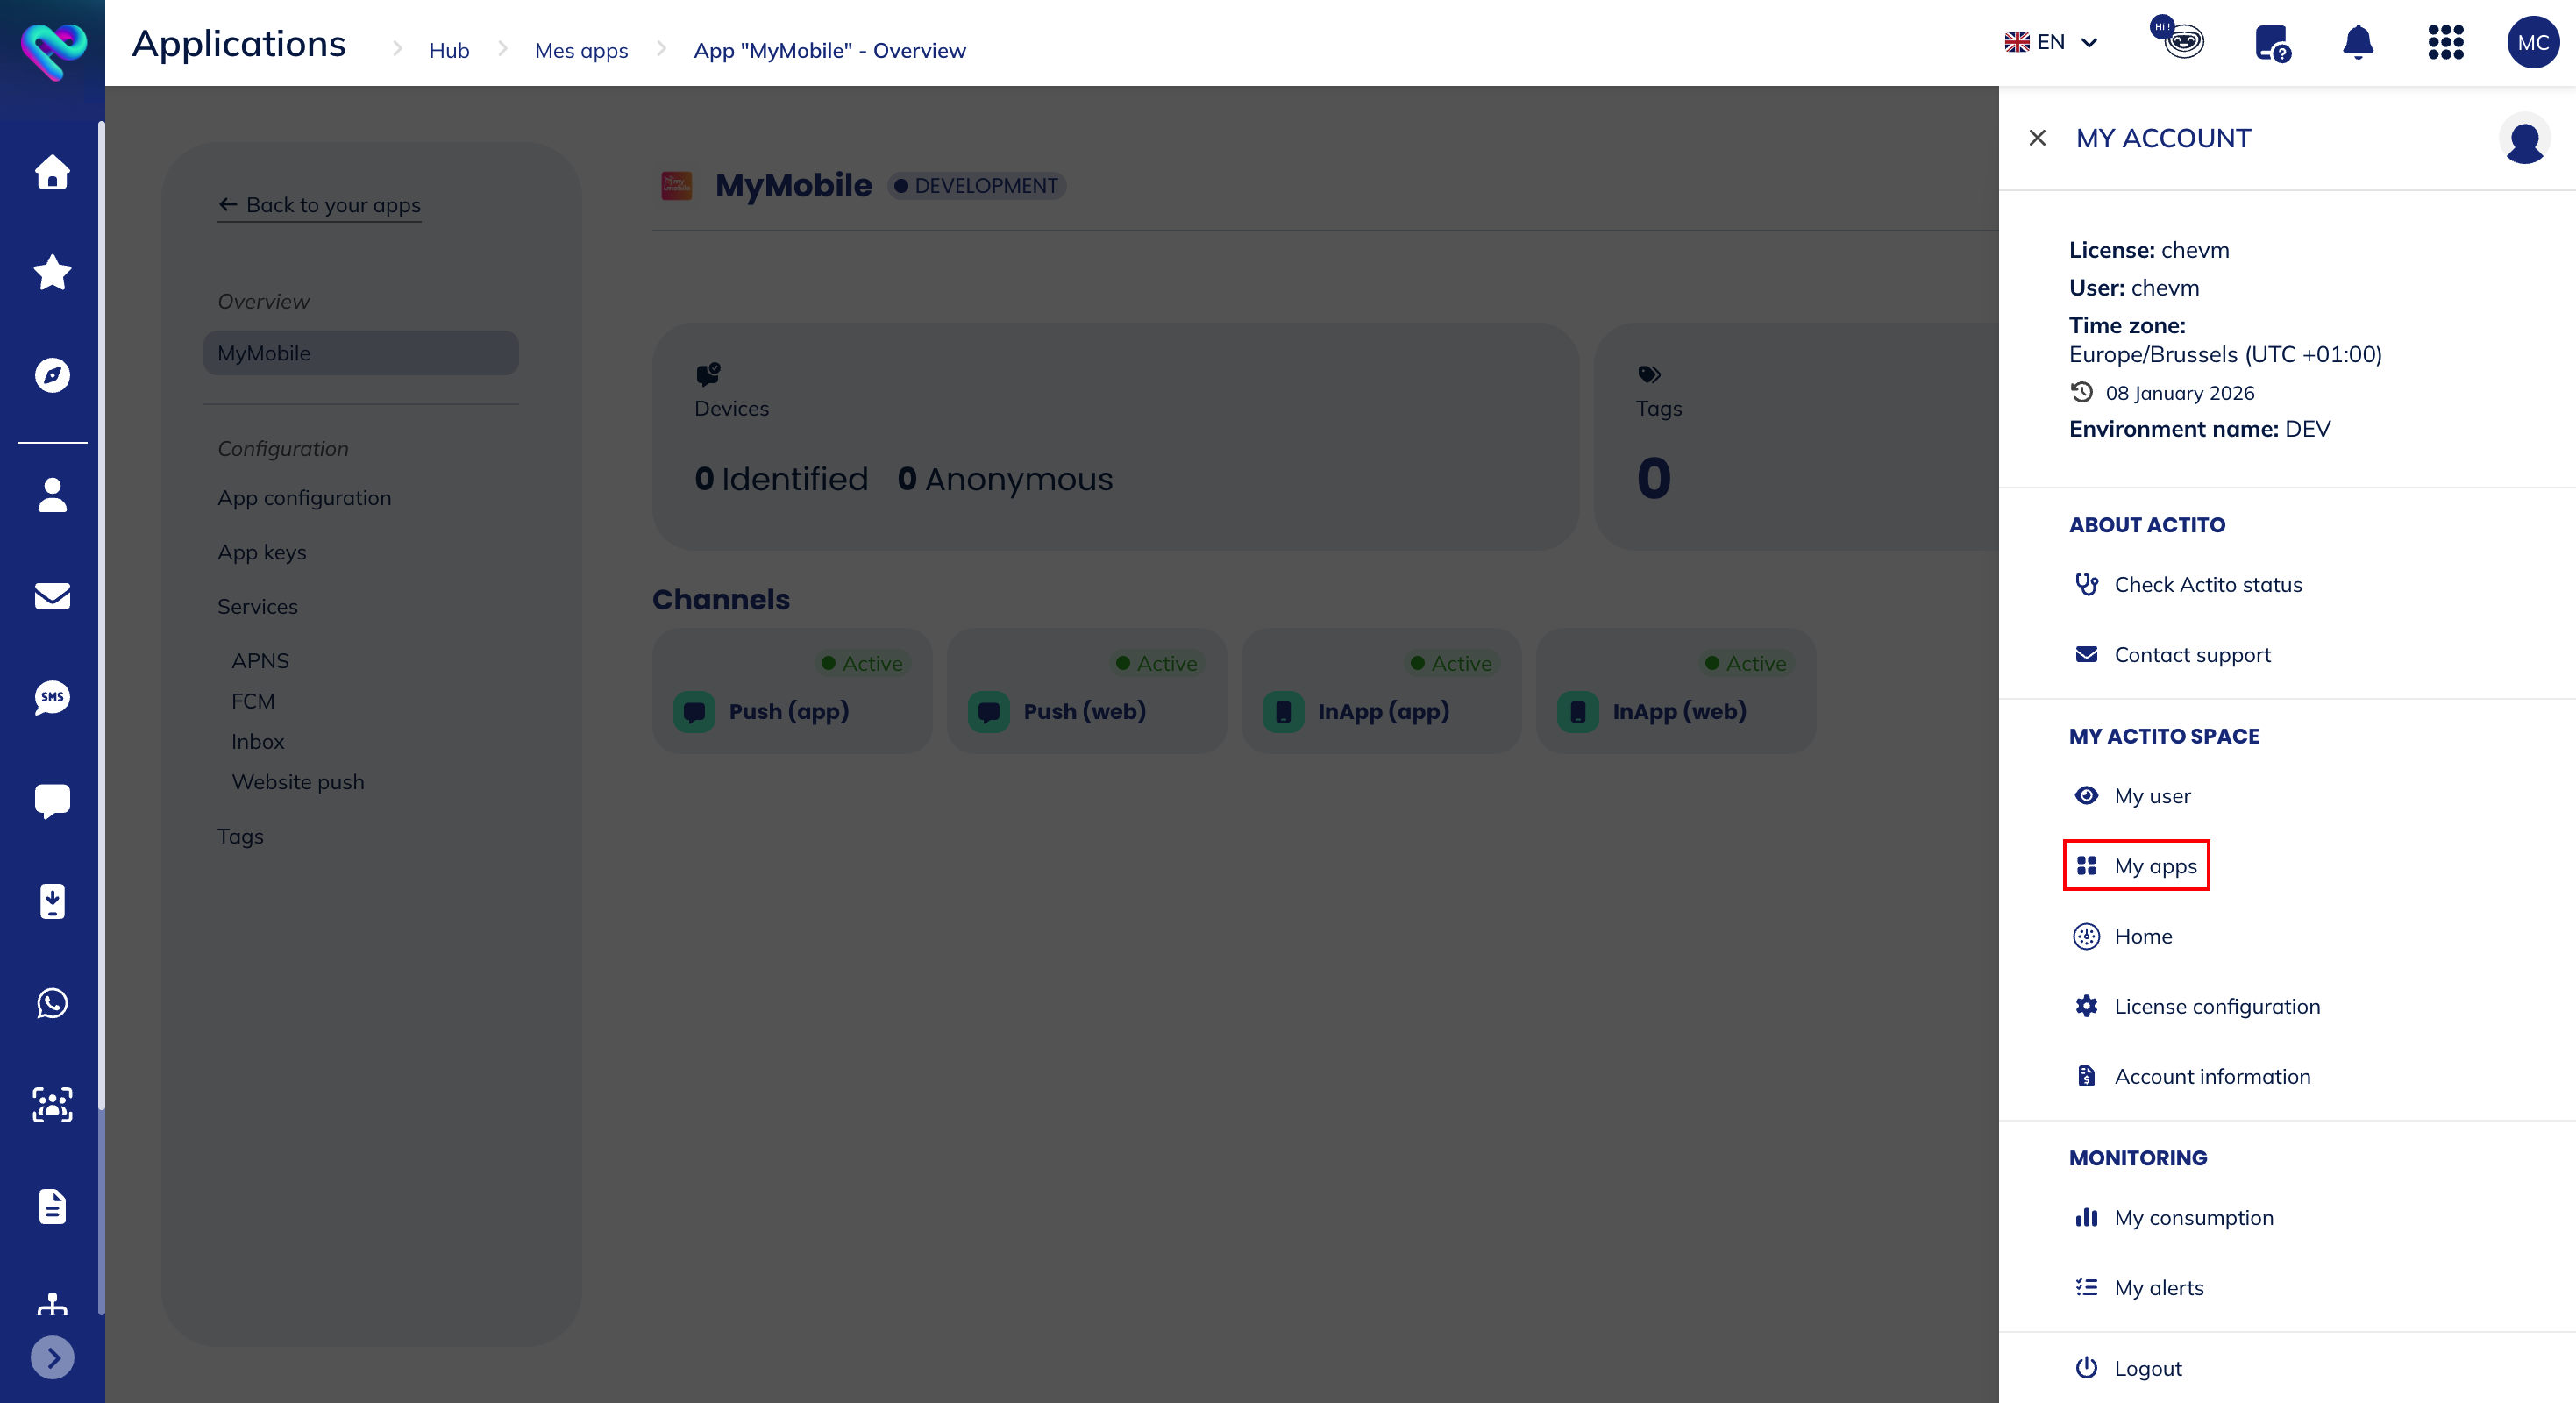
The configuration of an app is needed if you want to be able to send push notifications. You can create up to 5 apps per license.
In addition to the configuration of the app in Actito, you will also have to implement our Software Development Kit (SDK) in your mobile app or website in order to be able to use the push. Please find all the information about SDK implementation for all available frameworks in our technical documentation.
The implementation of the SDK requires specialized technical expertise and must be handled by qualified engineering or development professionals. The creation of the Actito app does not require technical skills; however, it does depend on information provided by your development team.
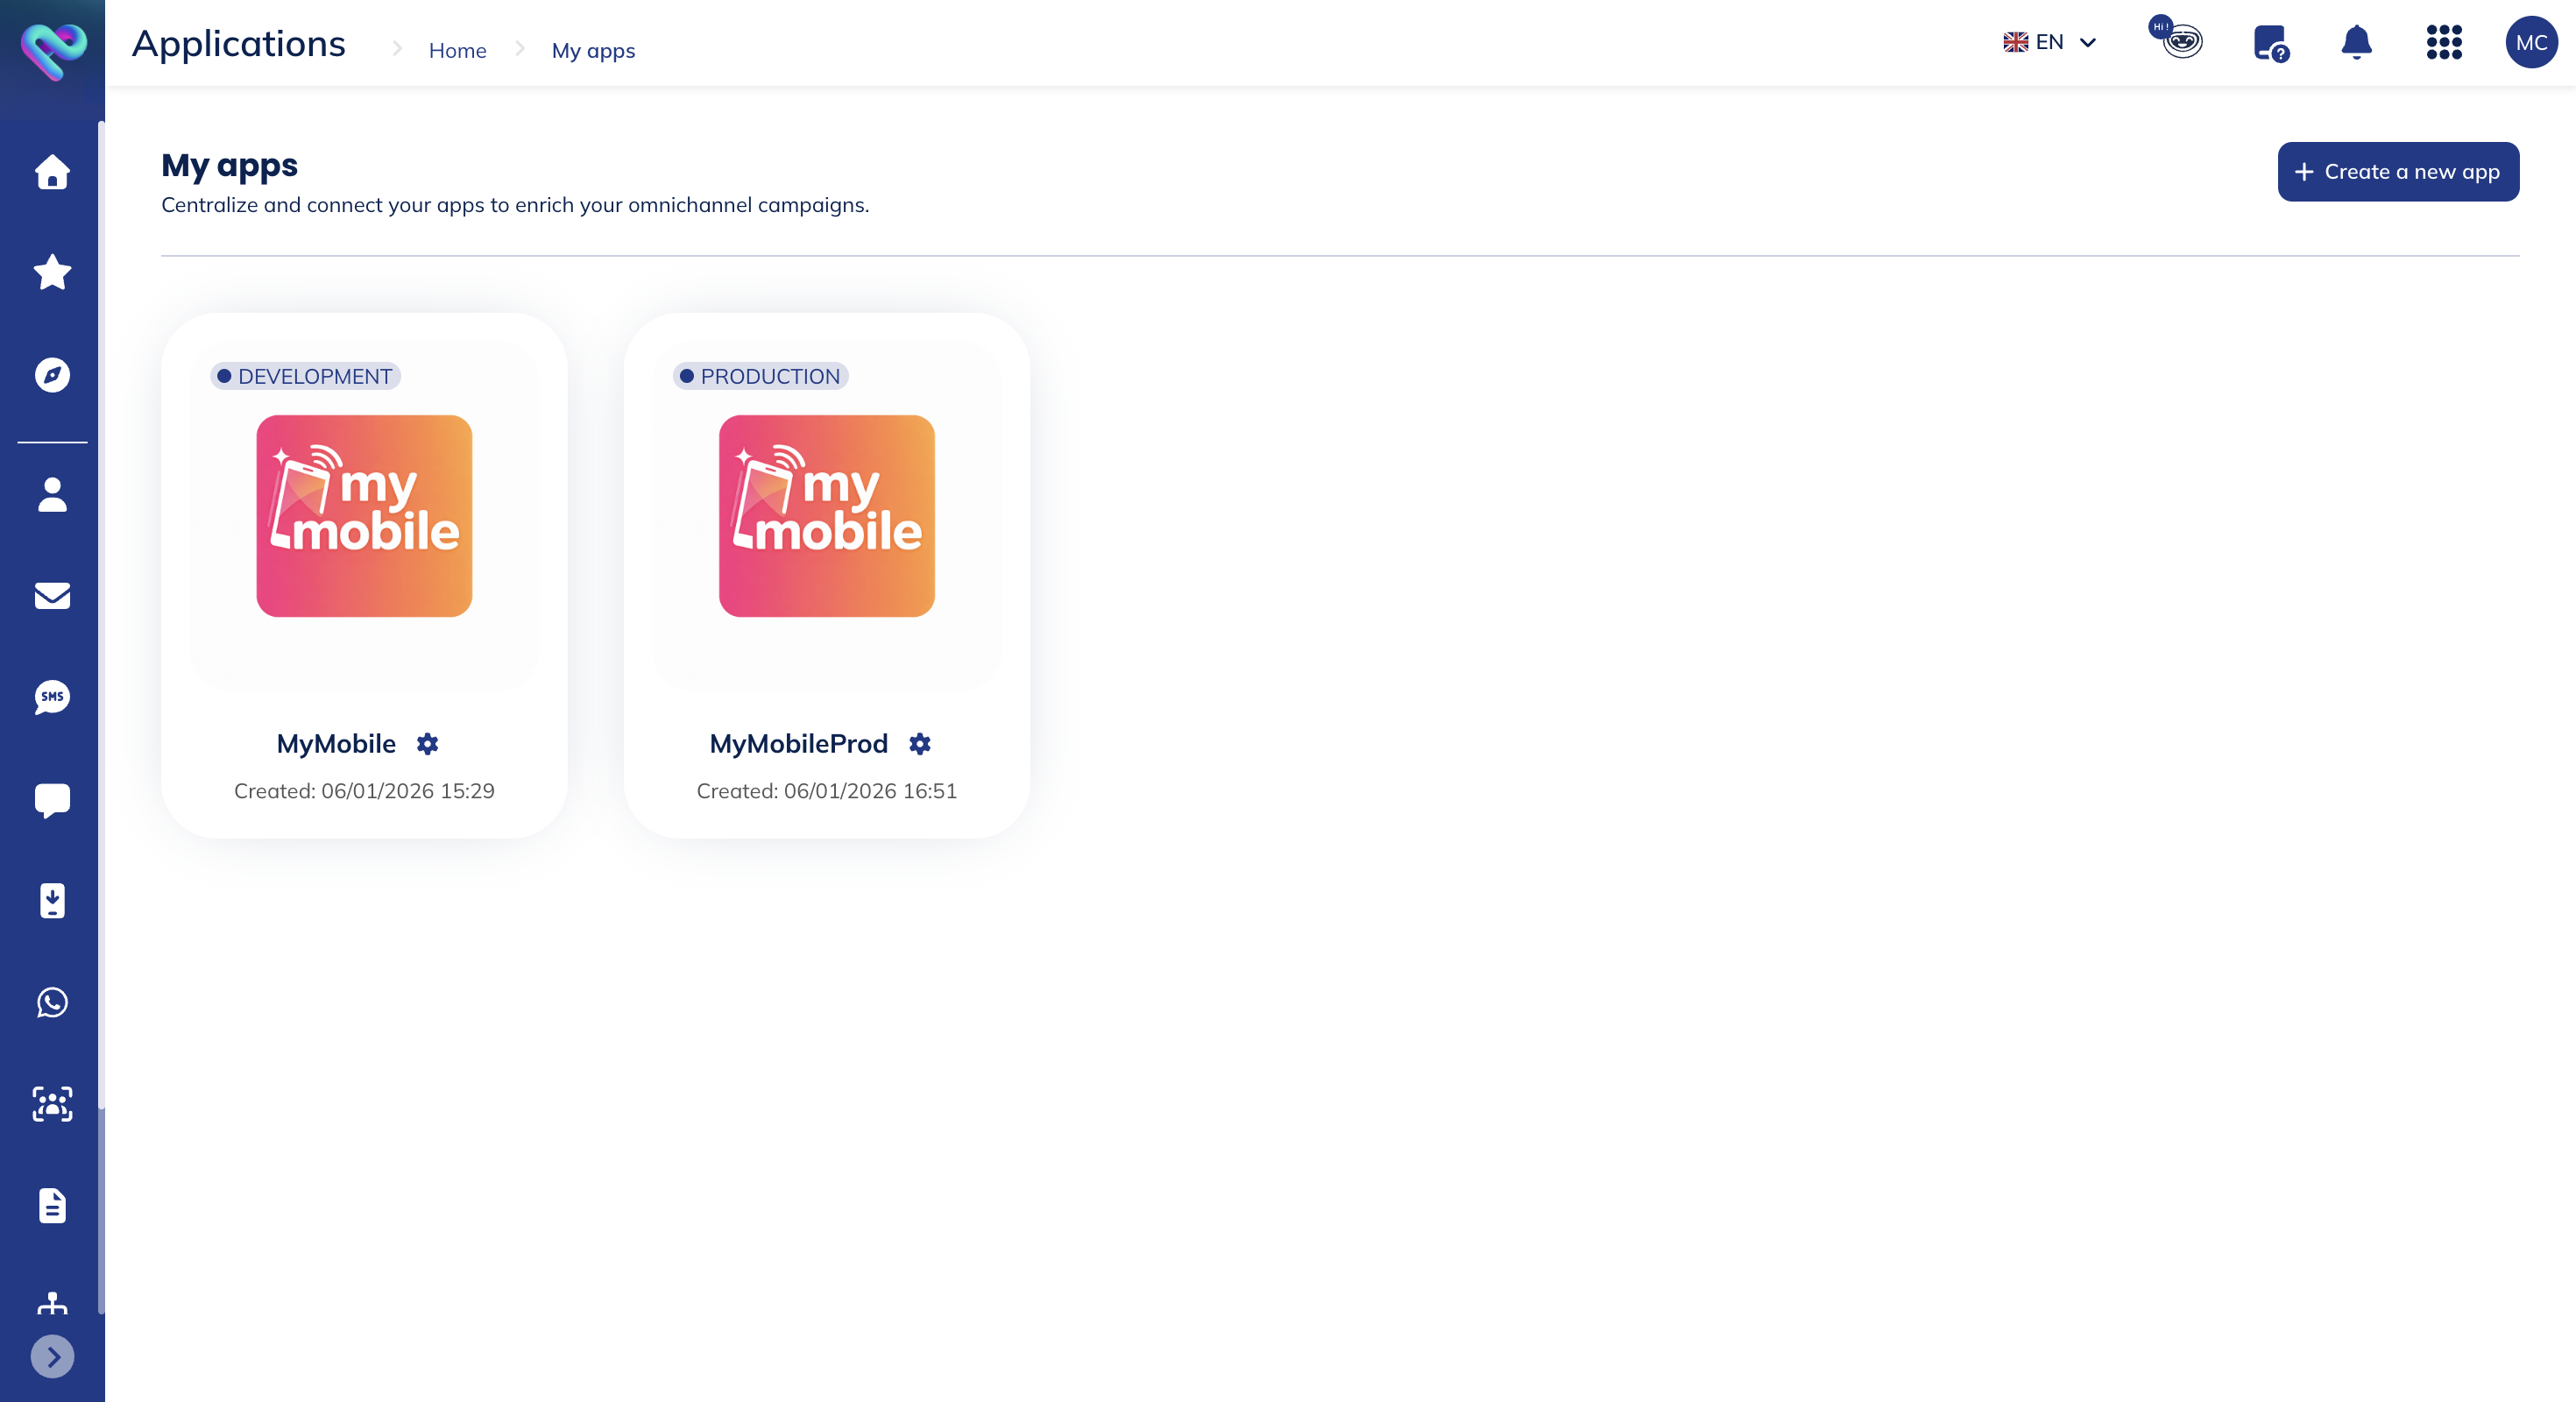
Create an app
In order to create an app, click on the Create a new app button in My apps.
You will have to fill in the information about the app you want to create.
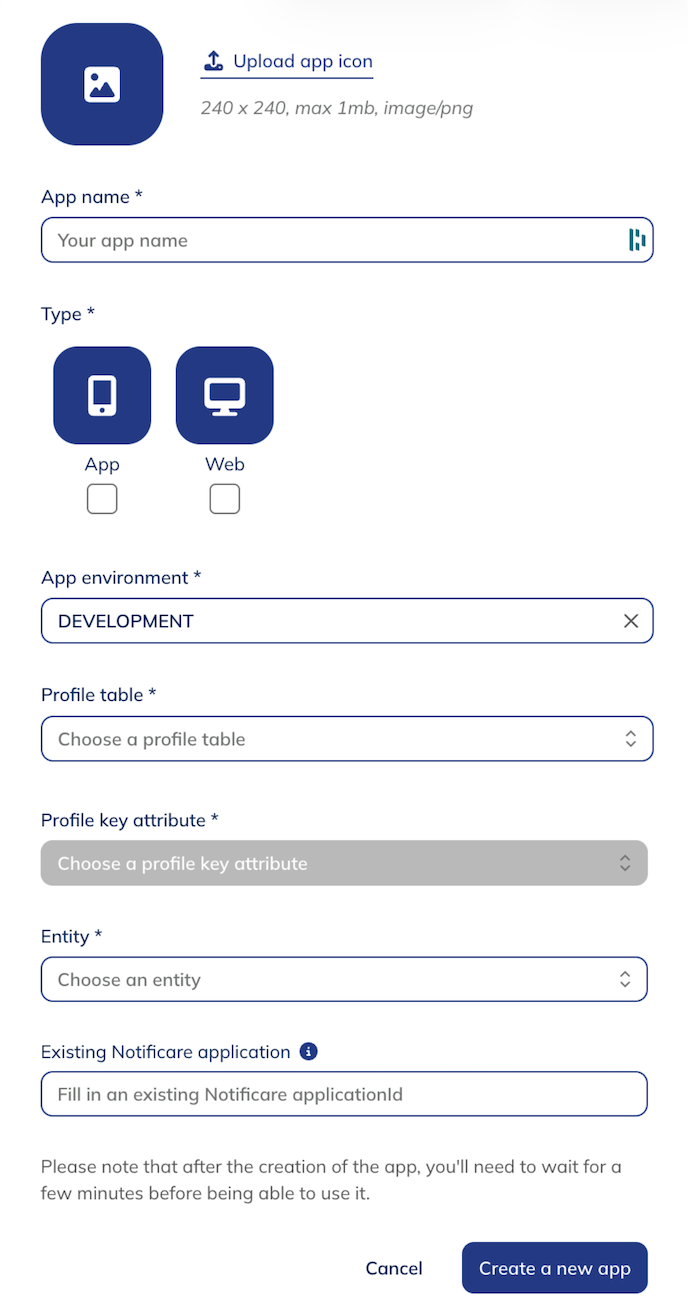
Please find below the information to be completed:
- App icon: an image of 240x240 (.png) of maximum 1mb
- App name: this name will be visible for various automatically generated elements after the app creations
- Devices table: Devices - App name
- Activity table:
App activity - <App name> - Anonymous profile table:
ProfilesAnonymous<App name> - Anonymous devices table:
Devices - <App name> - Anonymous - Anonymous activity table:
App Activity - <App name> - Anonymous
The name of your app will also be the title of your pre-permission prompt if you're using Web Push.
- Type: the type of app depends whether you want to send push notifications on a mobile app, a website or both
- App environment: you need to choose if you want to create a development or production app
The choice of environment is a critical step, particularly for iOS, due to the strict separation enforced by Apple Push Notification service (APNs) between development and production servers. Each environment operates with its own certificates, endpoints, and credentials, and they are not interchangeable. For this reason, you must create two distinct Actito apps: one dedicated to the Development environment for testing, and one dedicated to the Production environment for live operations. Using separate apps ensures proper message delivery, avoids configuration conflicts, and guarantees a smooth and secure transition from testing to go-live.
- Profile table: the profile table that will be linked to your app
- Profile key attribute: the unique attribute that will enable to identify the profiles. This unique key must be known by your mobile app and/or website in order to be able to identify them.
- Entity: the entity of your profile table
- Existing Notificare application: if you want to link this app with an existing Notificare app, please fill this in with the applicationId
Once you click on Create a new app, you will have to wait a few minutes before continuing the configuration of your app.
Overview
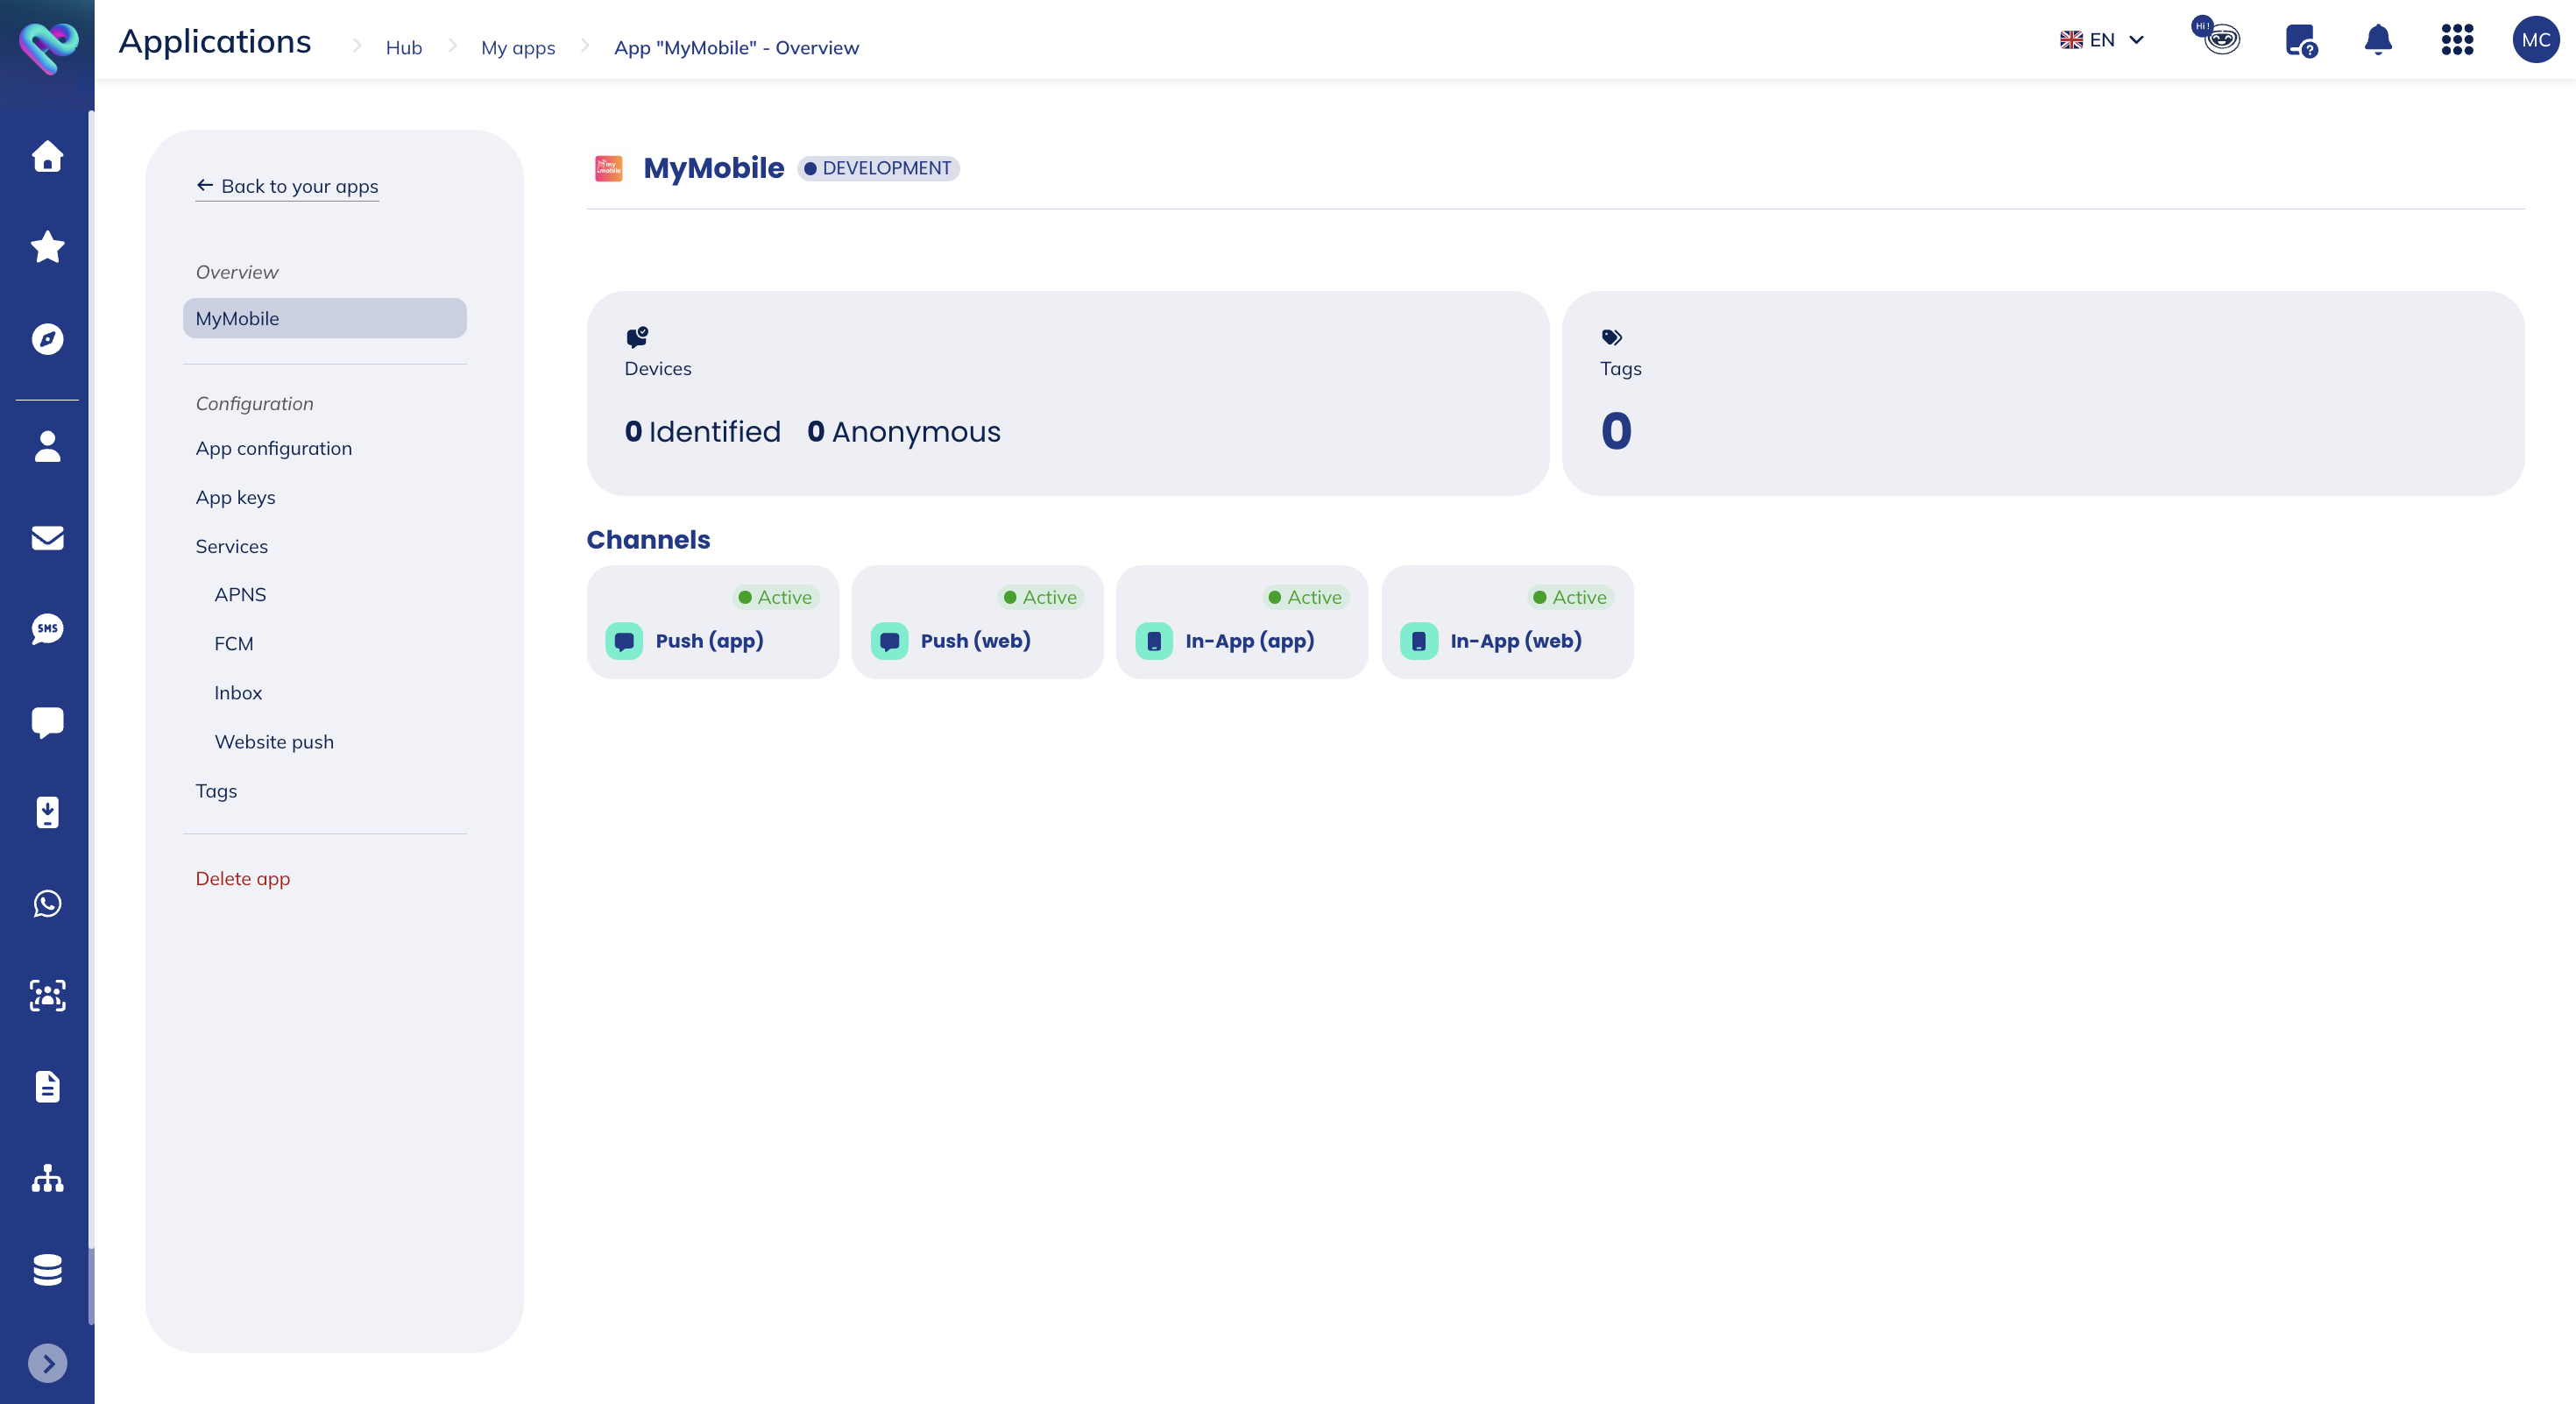
In the overview, you will see different information:
- the number of identified and anonymous profiles linked to your app
- the number of tags linked to your app
- the channels that are available: push and for which type of devices: mobile app and/or website
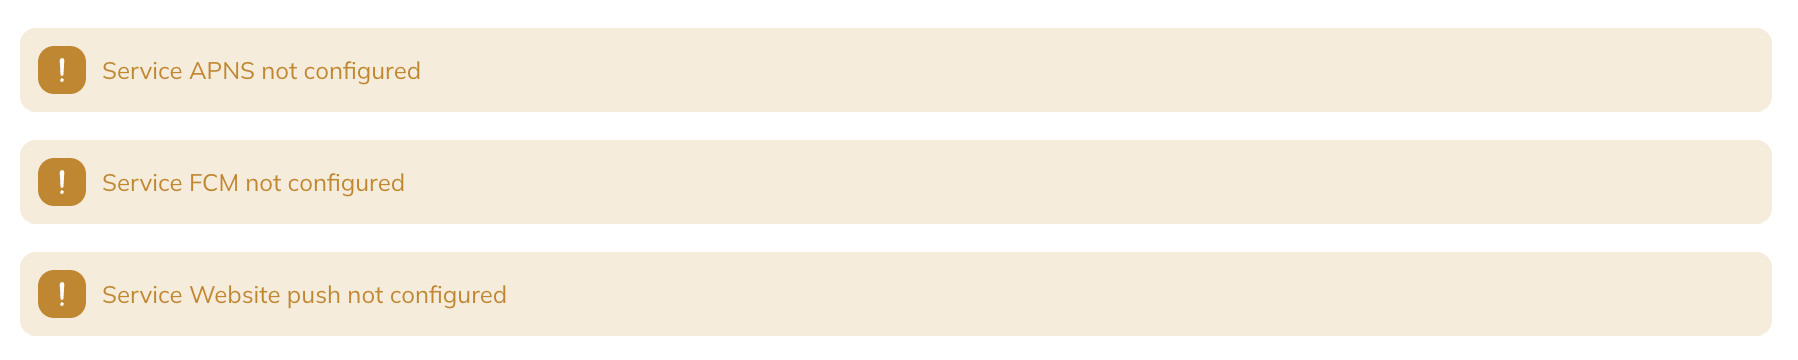
You will also have warnings in the overview, showing you which services need your attention.
App configuration
In the app configuration tab, you will find all the information you filled in when creating your app:
- App icon
- App name
- Type
- App environment
- Entity
- Profile table
- Profile key attribute
You will also have the possibility to see your app's identification number (id).
Moreover, you will have an overview of the automatically generated elements, their names and id (when applicable):
- Devices table
- Activity table
- Anonymous profiles table key
- Anonymous profiles table
- Anonymous devices table
- Anonymous activity table
App keys
In this area you can find the credentials and configuration files needed to use our APIs and SDK.
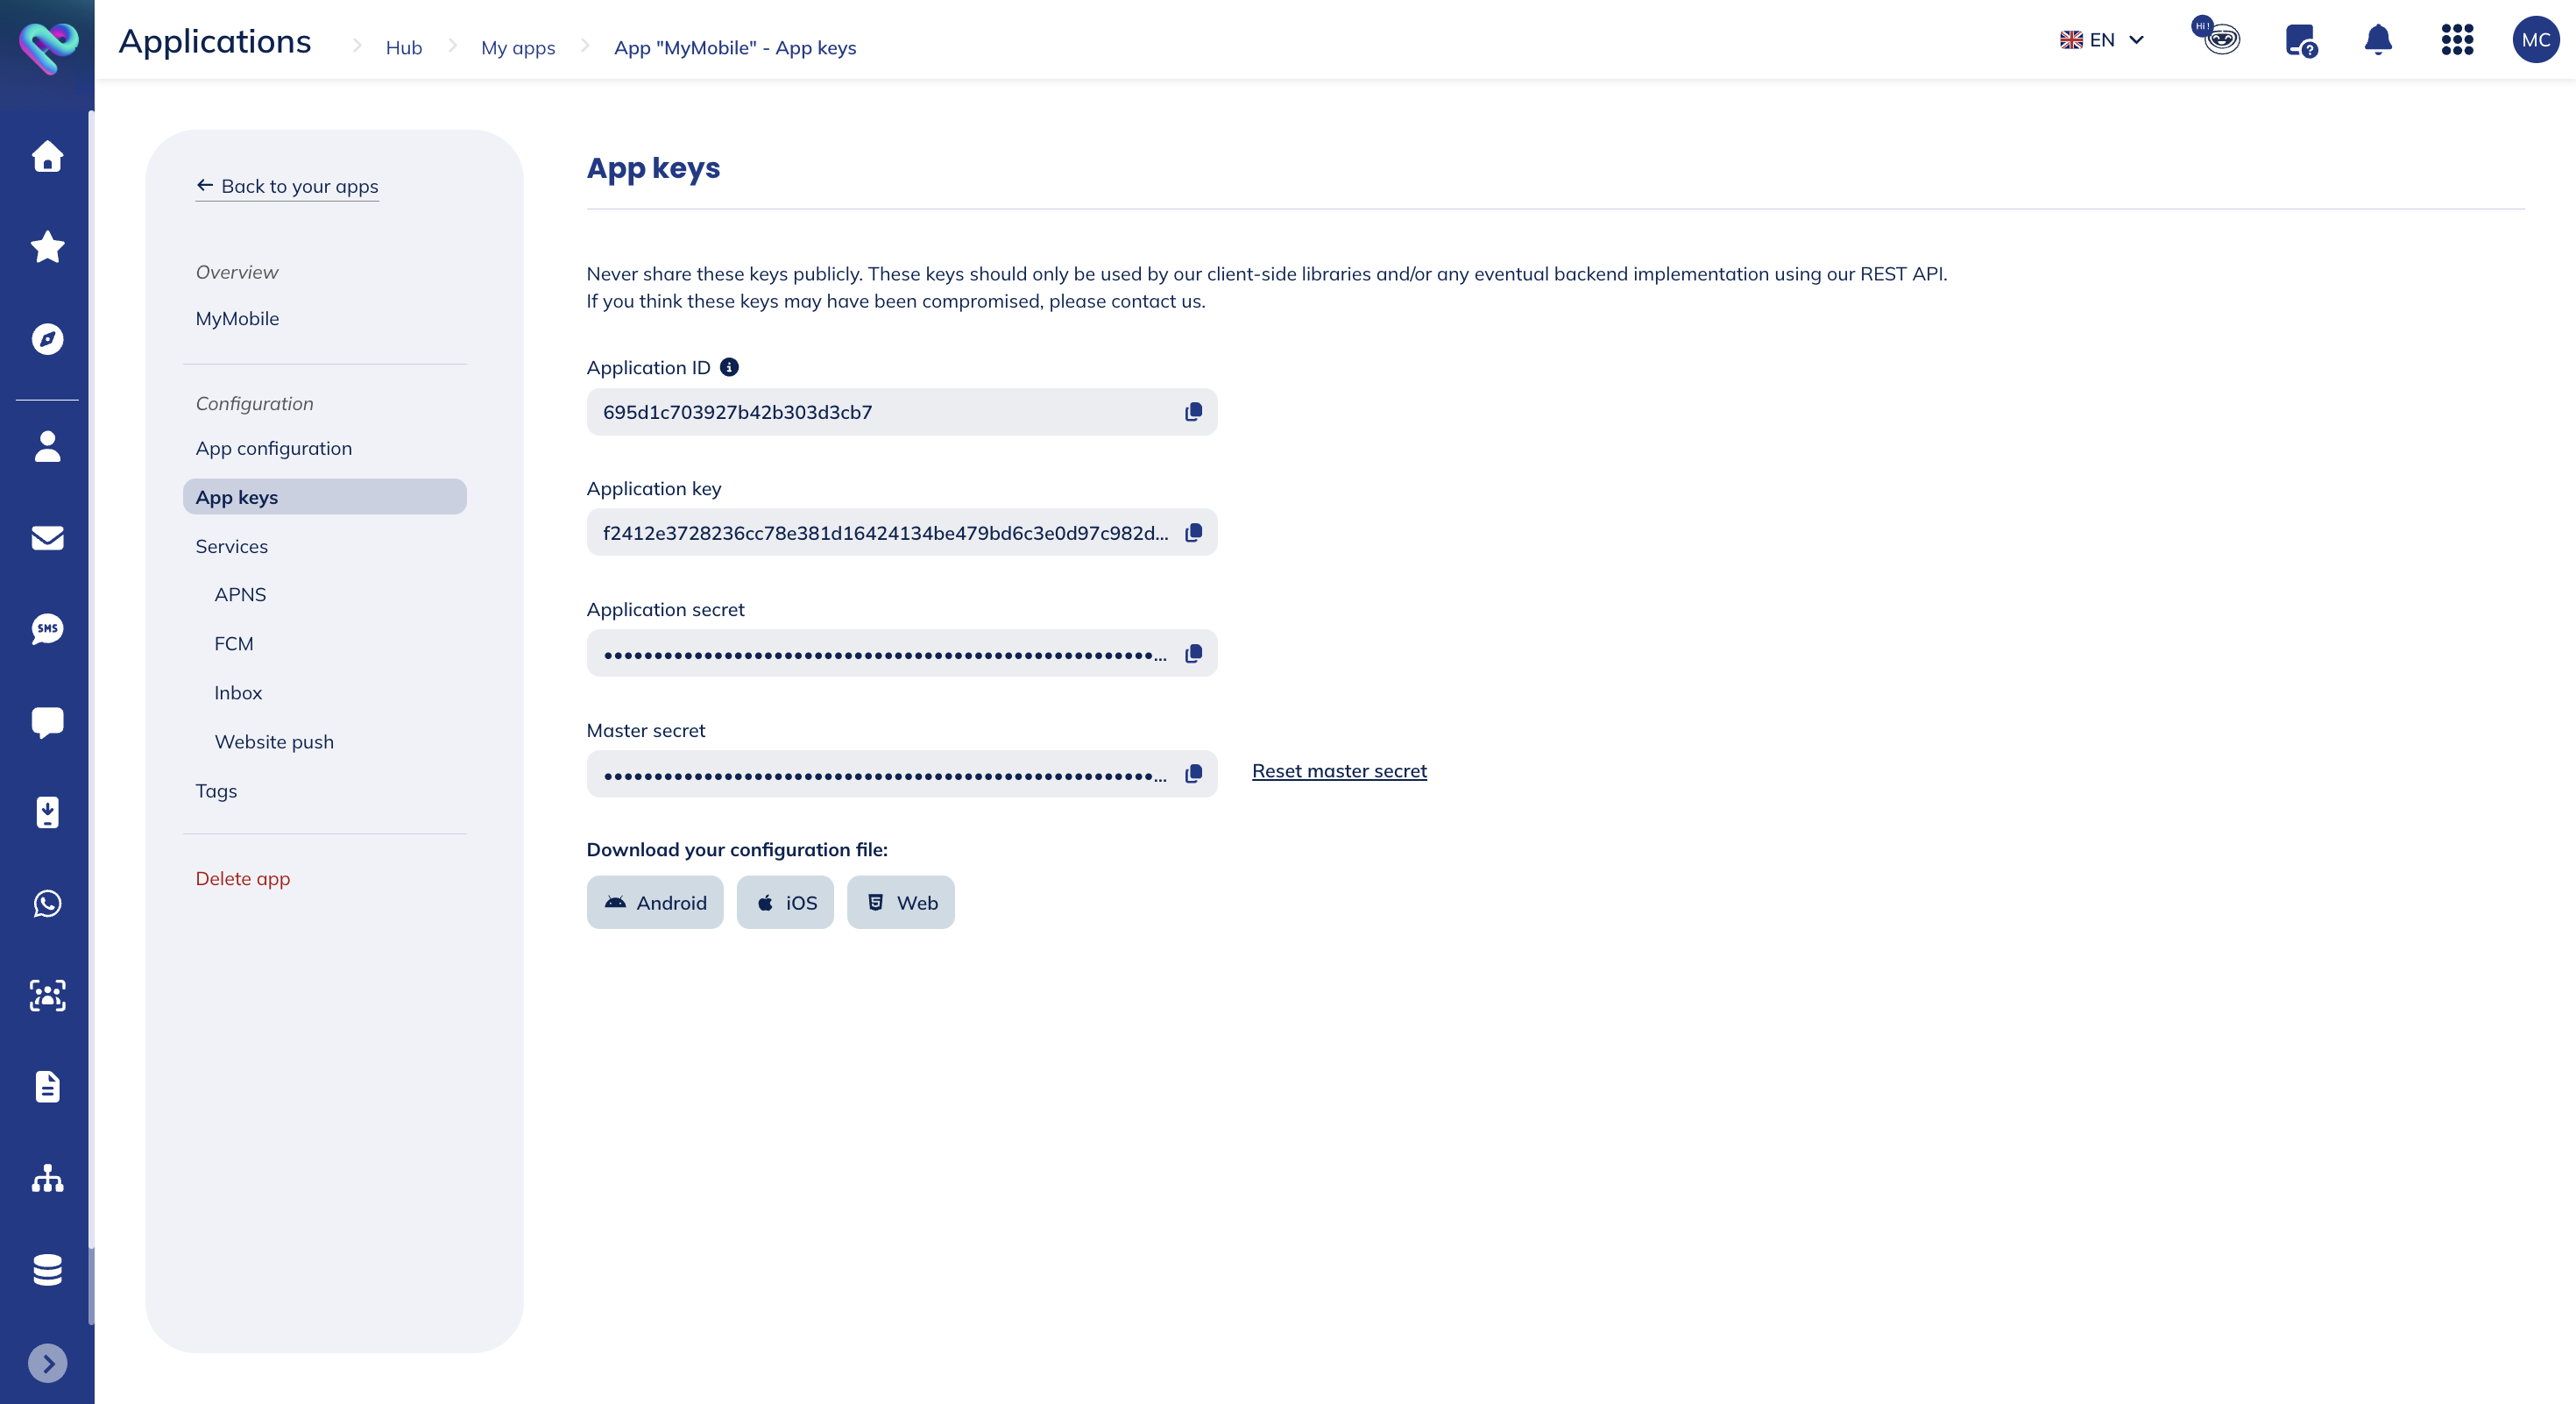
The Application Key and Application Secret are the same for all the accounts with access to the app. They allow you to do device-level requests in our API. Therefore, these are the keys used by our SDK which will be exposed in your application.
The Master Secret however, will give you access to everything in your app and should not be shared publicly anywhere. You should keep it safe in your server whenever you need to use it in a server-side application. Each account with access to an app will have its own Master Secret, and it can be reset whenever you feel it has been compromised. To do that simply click in Reset Master Secret button:
![]()
After resetting a Master Secret, you should replace any usage of that key in any server-side application.
Finally, you can download our libraries' configuration files, ready to be used in your mobile and web applications. Simply pick the file you need from the following section:
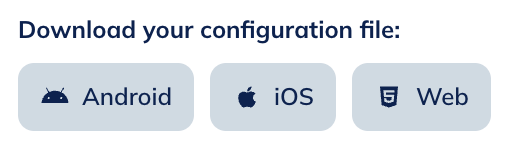
Dropping these files into your projects should be all you need to start developing using our libraries.
Services
In this tab you will see all the services we offer:
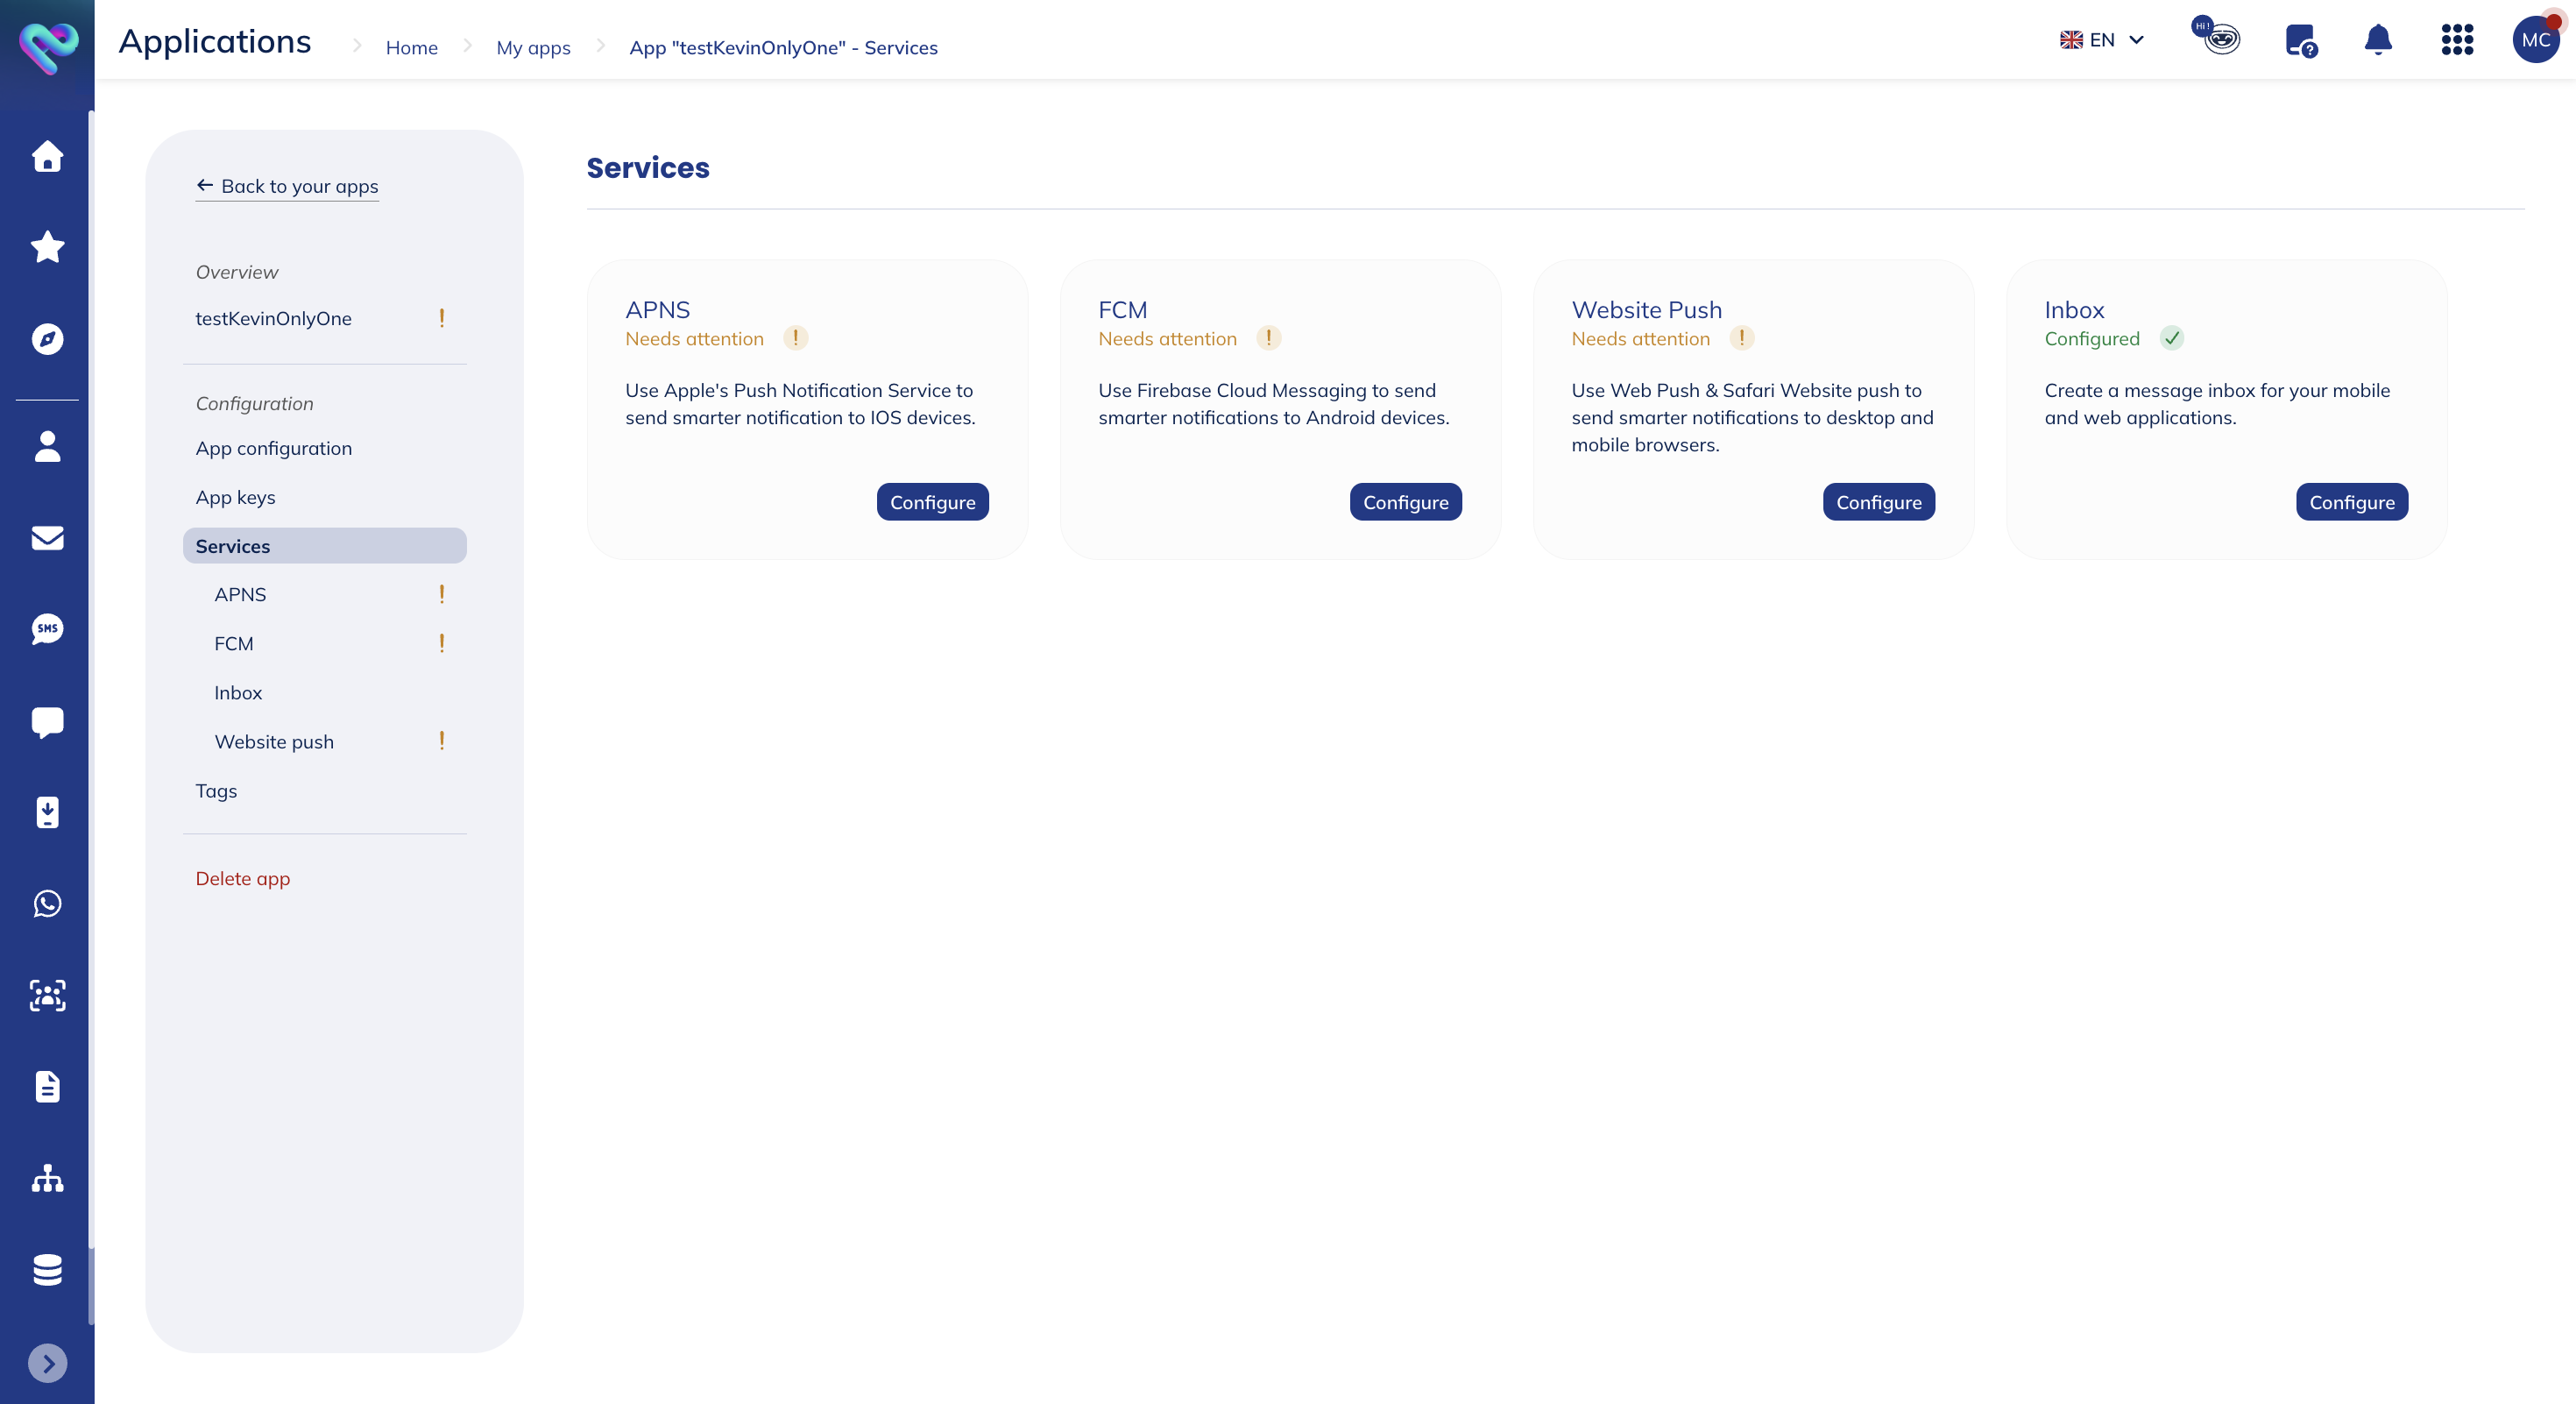
We display information about a service's state:
- If the service is fully configured, it shows the following state: Configured
- If the service is partially configured, expired or not configured at all, it shows the following state: Needs attention
APNS
You have to configure the Apple Push Notification Service (APNS) for your iOS, tvOS and ipadOS apps. This service will be responsible for delivering push remote notifications. In this area you will be able to upload the Authentication Key necessary for our platform to send notifications on your behalf.
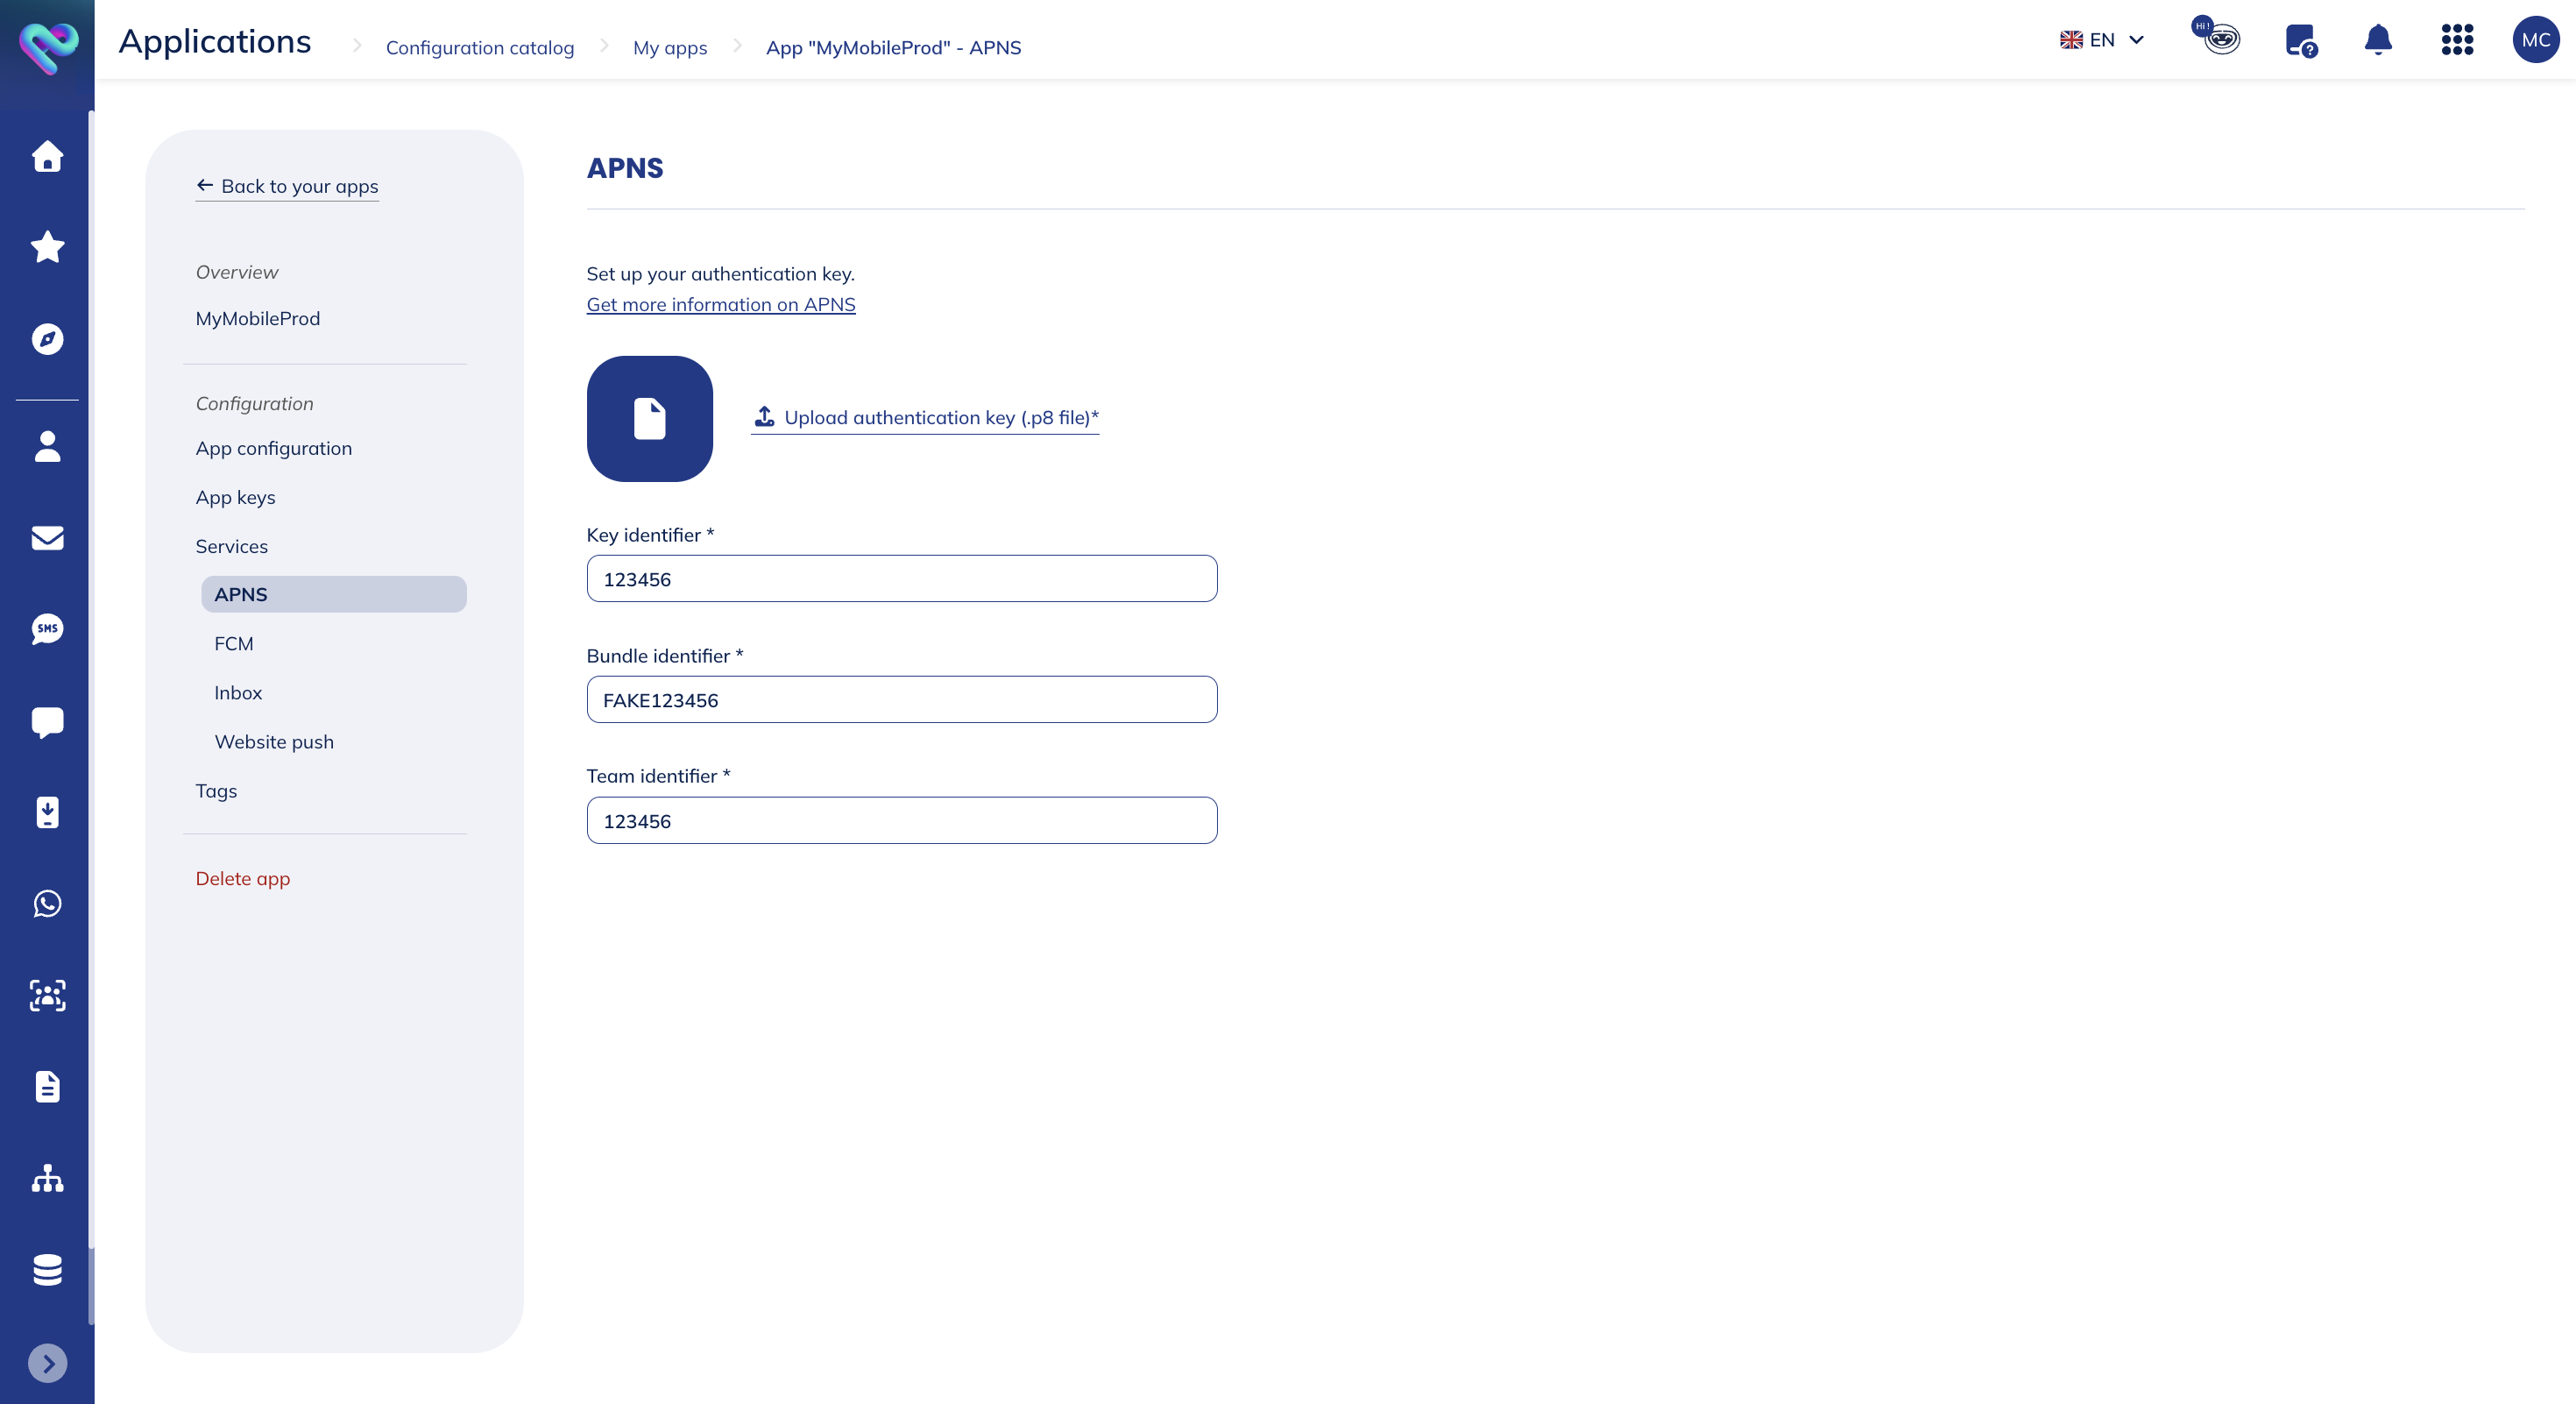
You will have to provide the following information to do the configuration:
- Authentication key (.p8 file): this file must be generated from Apple's Developer Portal. You'll find information about how to generate this key here.
- Key identifier: usually, the key identifier is the name of the .p8 file you will have generated. If not, you can find the identifier in Apple's Developer Portal.
- Bundle identifier: can be found in Apple's Developer Portal or in your app.
- Team identifier: can be found in Apple's Developer Portal.
If the name of your .p8 file and the key identifier do not match, please check if you have received the right file and/or the right key identifier.
Once everything is filled in, click on Save changes.
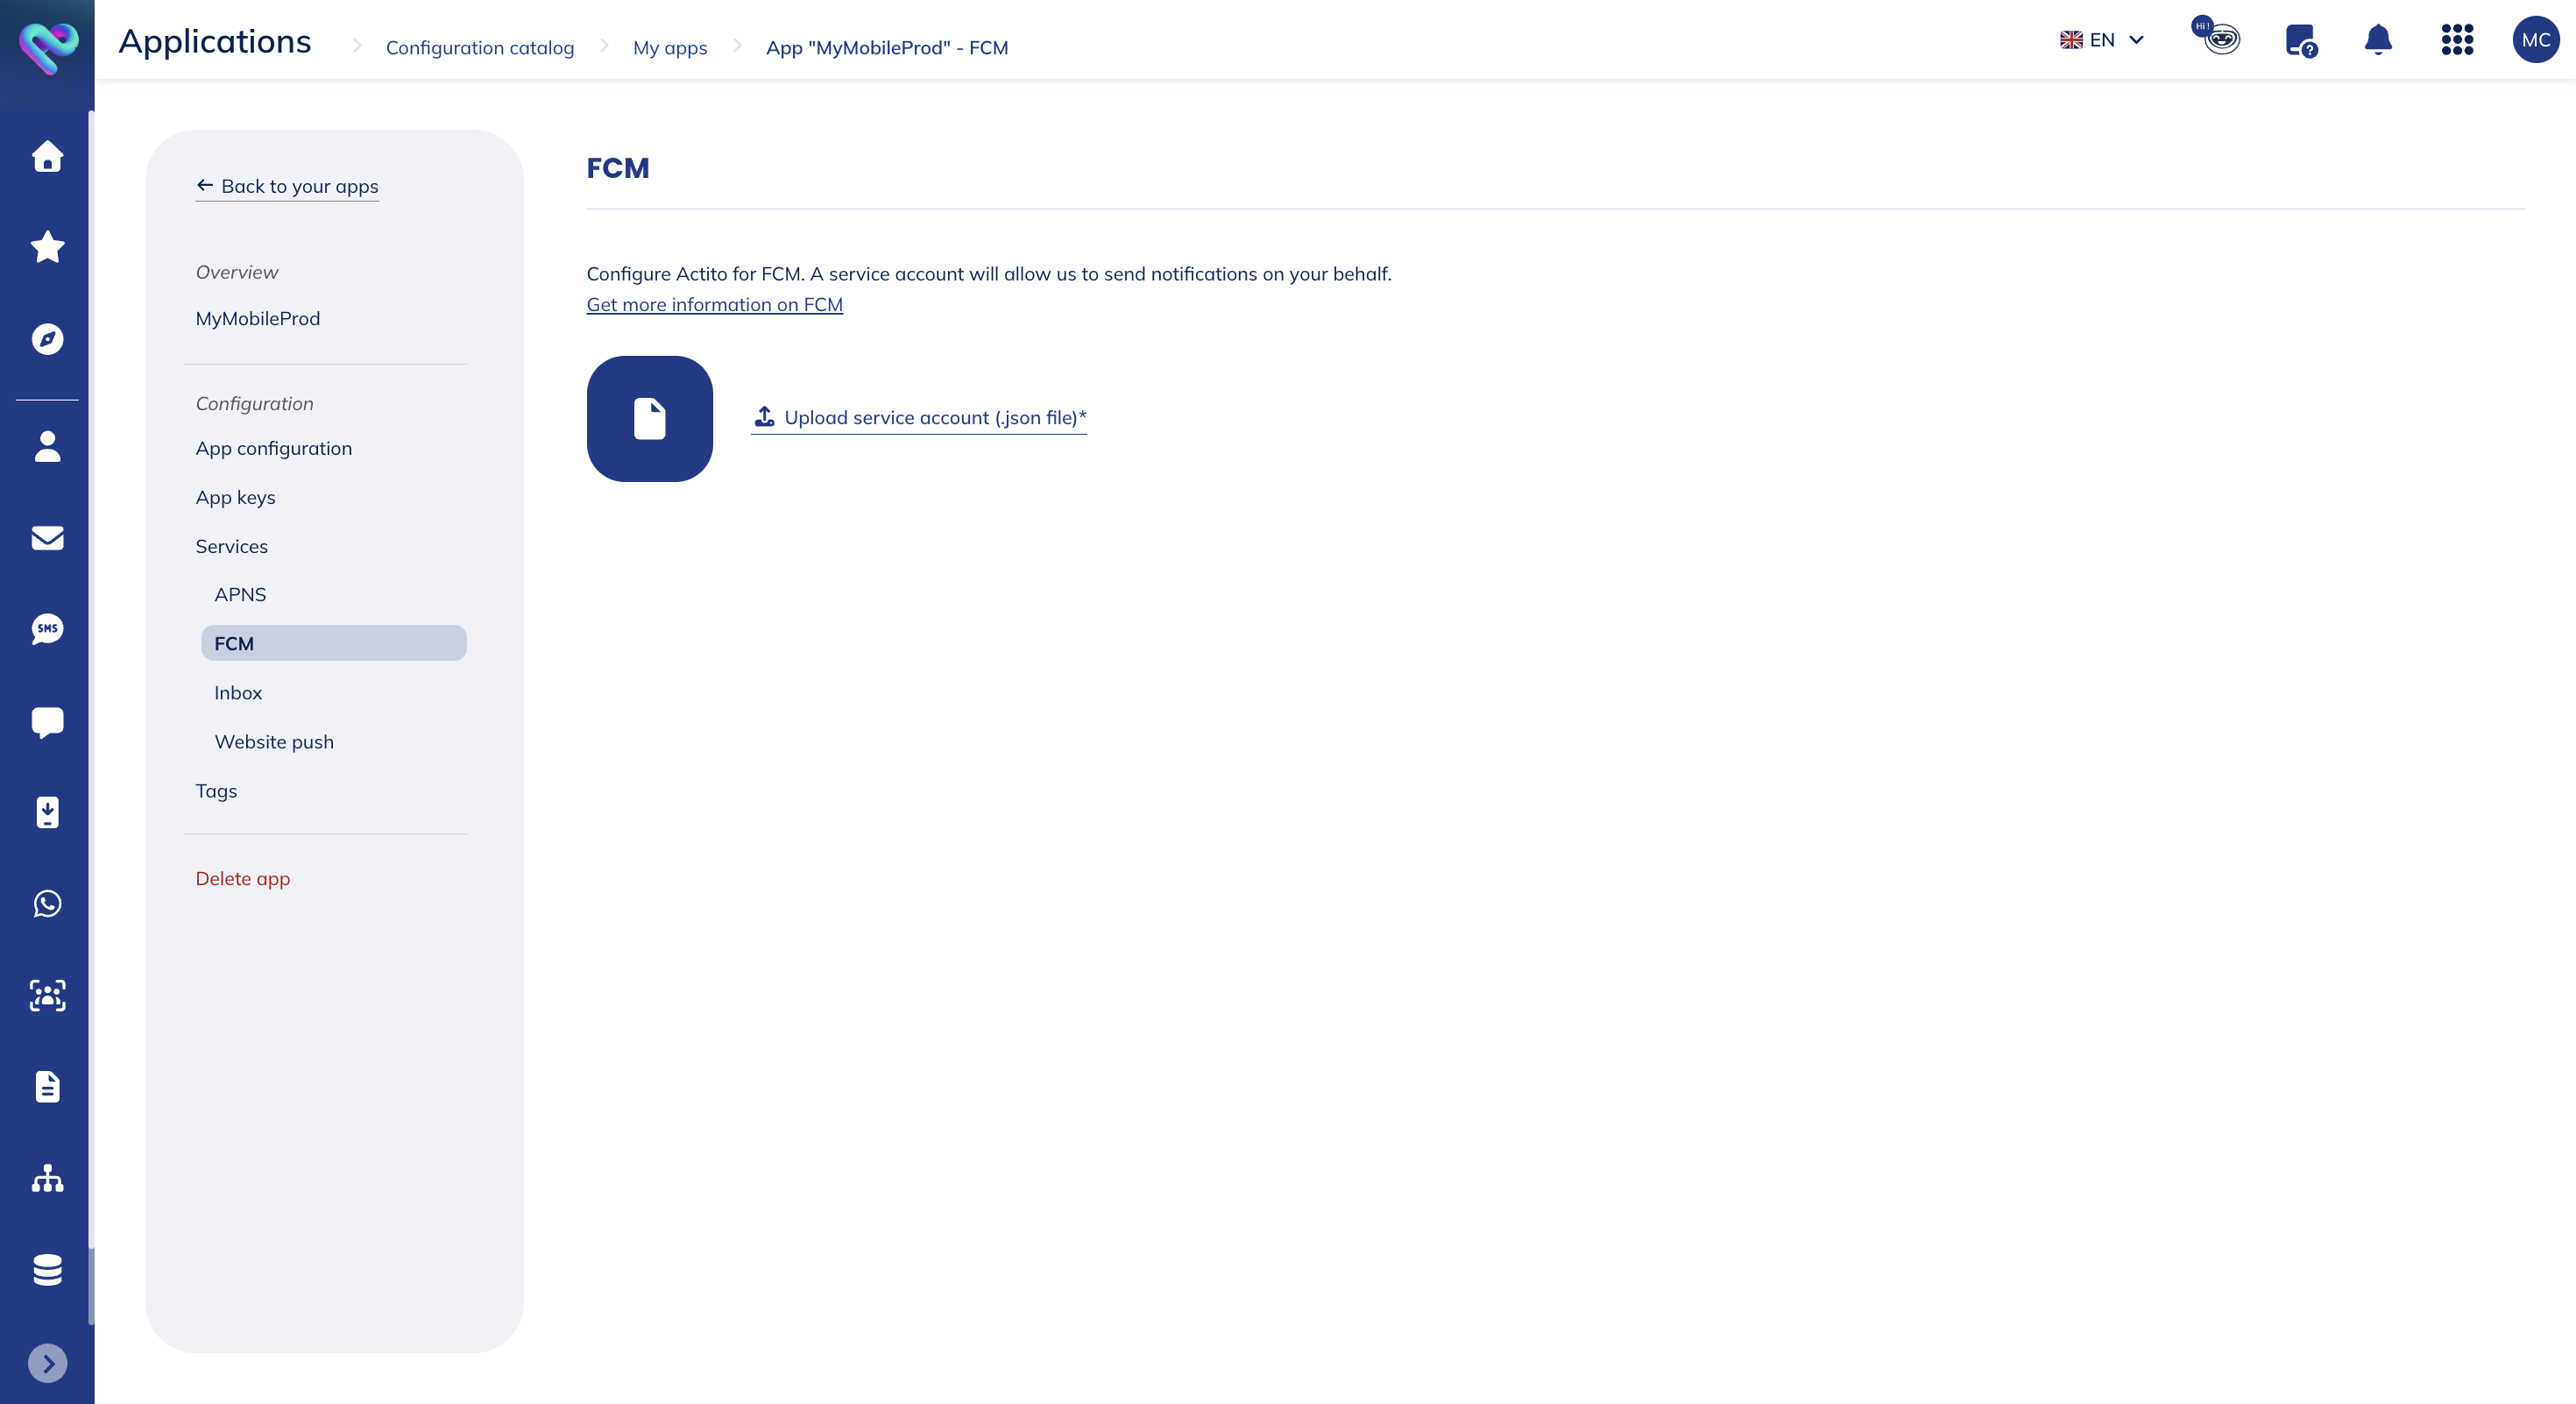
FCM
You have to configure the Firebase Cloud Messaging (FCM) service for your Android apps. This service will be responsible for delivering push remote notifications. In this area you will be able to upload a Service Account file which contains all the information we need to start sending notifications on your behalf.
Actito will use Firebase Cloud Messaging v1 API to send notifications to Android apps. For FCM v1, you will need to generate a service account, generate a key and export a .json file that you will upload into Actito. To learn how to generate these files please read this article.
Once you have the file, you will have to upload it:
Inbox
The Inbox service will enable you to manage this functionality, enabled by default, for your app. It allows you to build an inbox in your app. Apps or websites with an in-app inbox, enjoy higher conversions since messages can be opened as many times as users want.
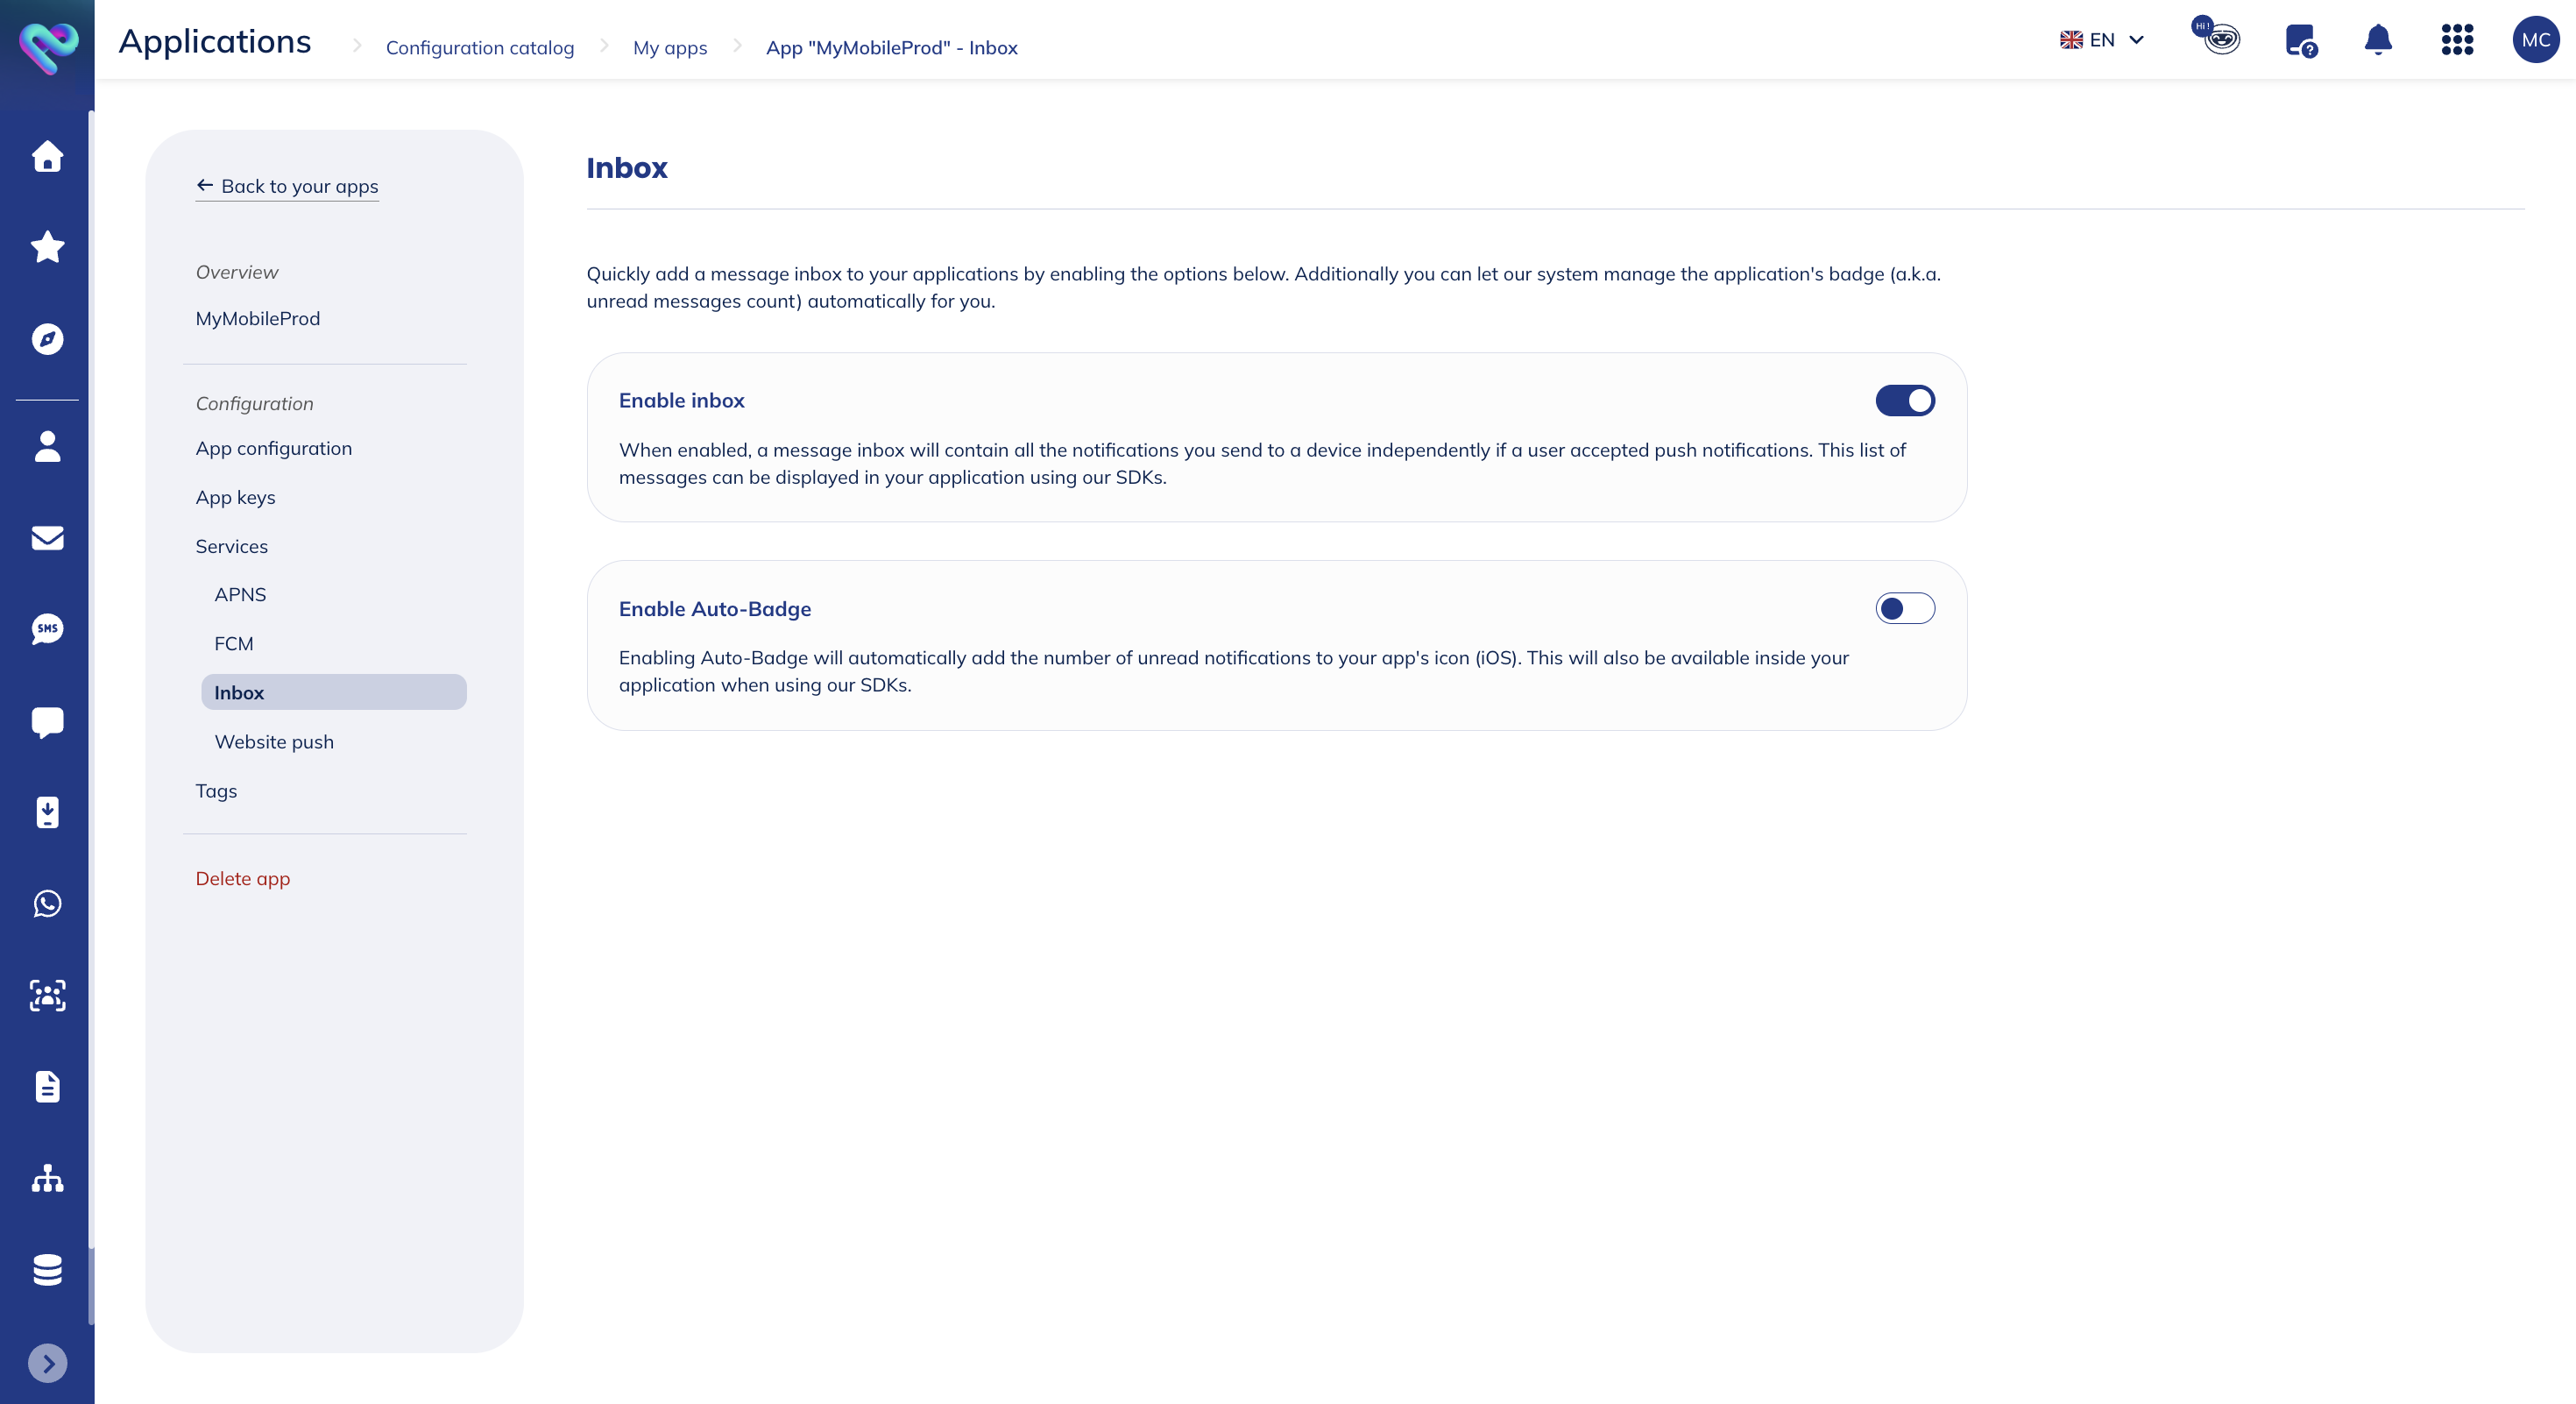
You will have the possibility to activate or deactivate:
- The inbox: when enabled, a message inbox will contain all the notifications you send to a device independently if a user accepted push notifications. This list of messages can be displayed in your application using our SDKs.
- The auto-badge: enabling auto-badge will automatically add the number of unread notifications to your app's icon (iOS). This will also be available inside your application when using our SDKs.
Website push
You will have to configure the website push service to support Web Push and Safari Website Push.
General
Actito supports a multi-domain configuration, and you should provide all the domains where you want to support web push. If you run our library in a domain not specified here, you will receive 403 responses.
You should also provide at least one domain in the following section:
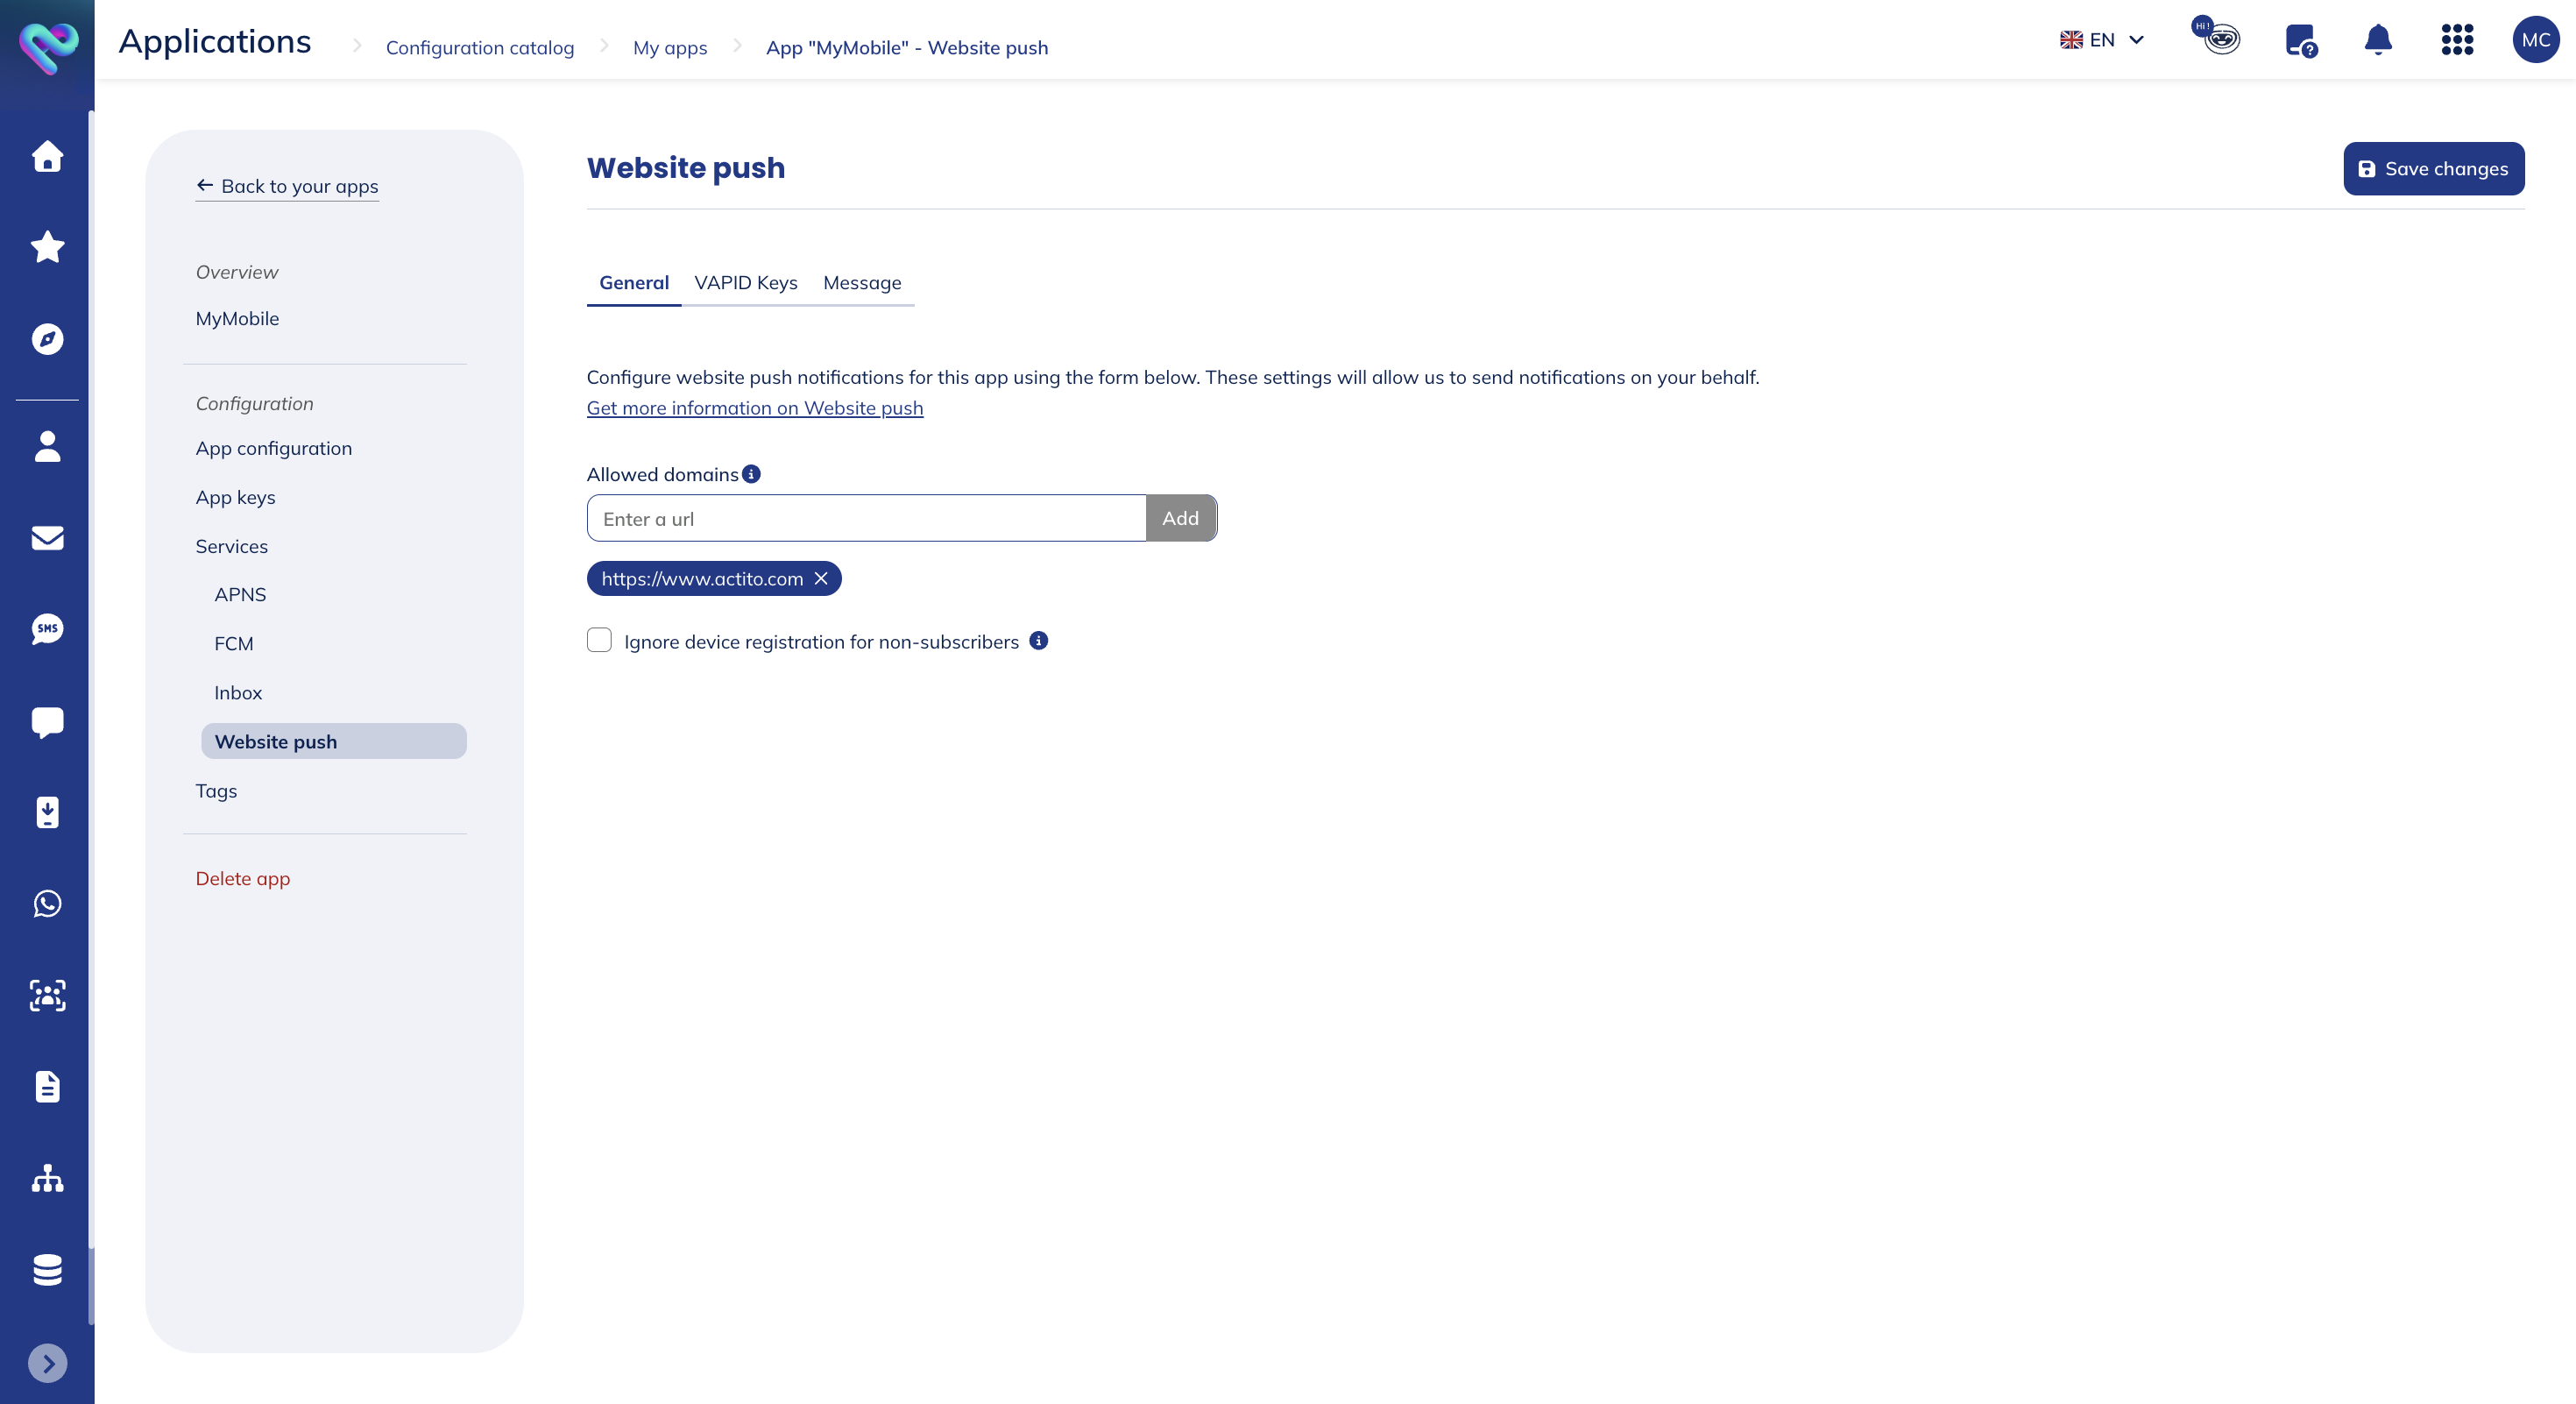
Web Push requires your website to use an SSL certificate. In other words, your website has to be on HTTPS to receive push notifications. You can however use HTTP if you are running in localhost while developing.
When using our Web SDK, by default, we will register all visitors of your website or web app as push devices. This enables you to take advantage not only of Web Push but also of all the other features of Actito (Tags, Inbox, etc.), since a push device is required for every feature to work.
Exceptionally, in our Web SDK, you can choose to prevent devices from being registered for those users that do not grant permission for Web Push notifications. This only makes sense if the only users you care about are the ones that subscribe for web push notifications. Obviously, when you choose to do that, you will not be able to provide any functionality for those users that do not accept the web push notification prompt.
If you understand the ramifications of this choice, you can indeed prevent device registration for non-subscribers by checking the box for the following option:

This option will only have any effect when you use our SDK 5.0.0 or higher. For older version of our SDK, this option is defined in the configuration file of our library.
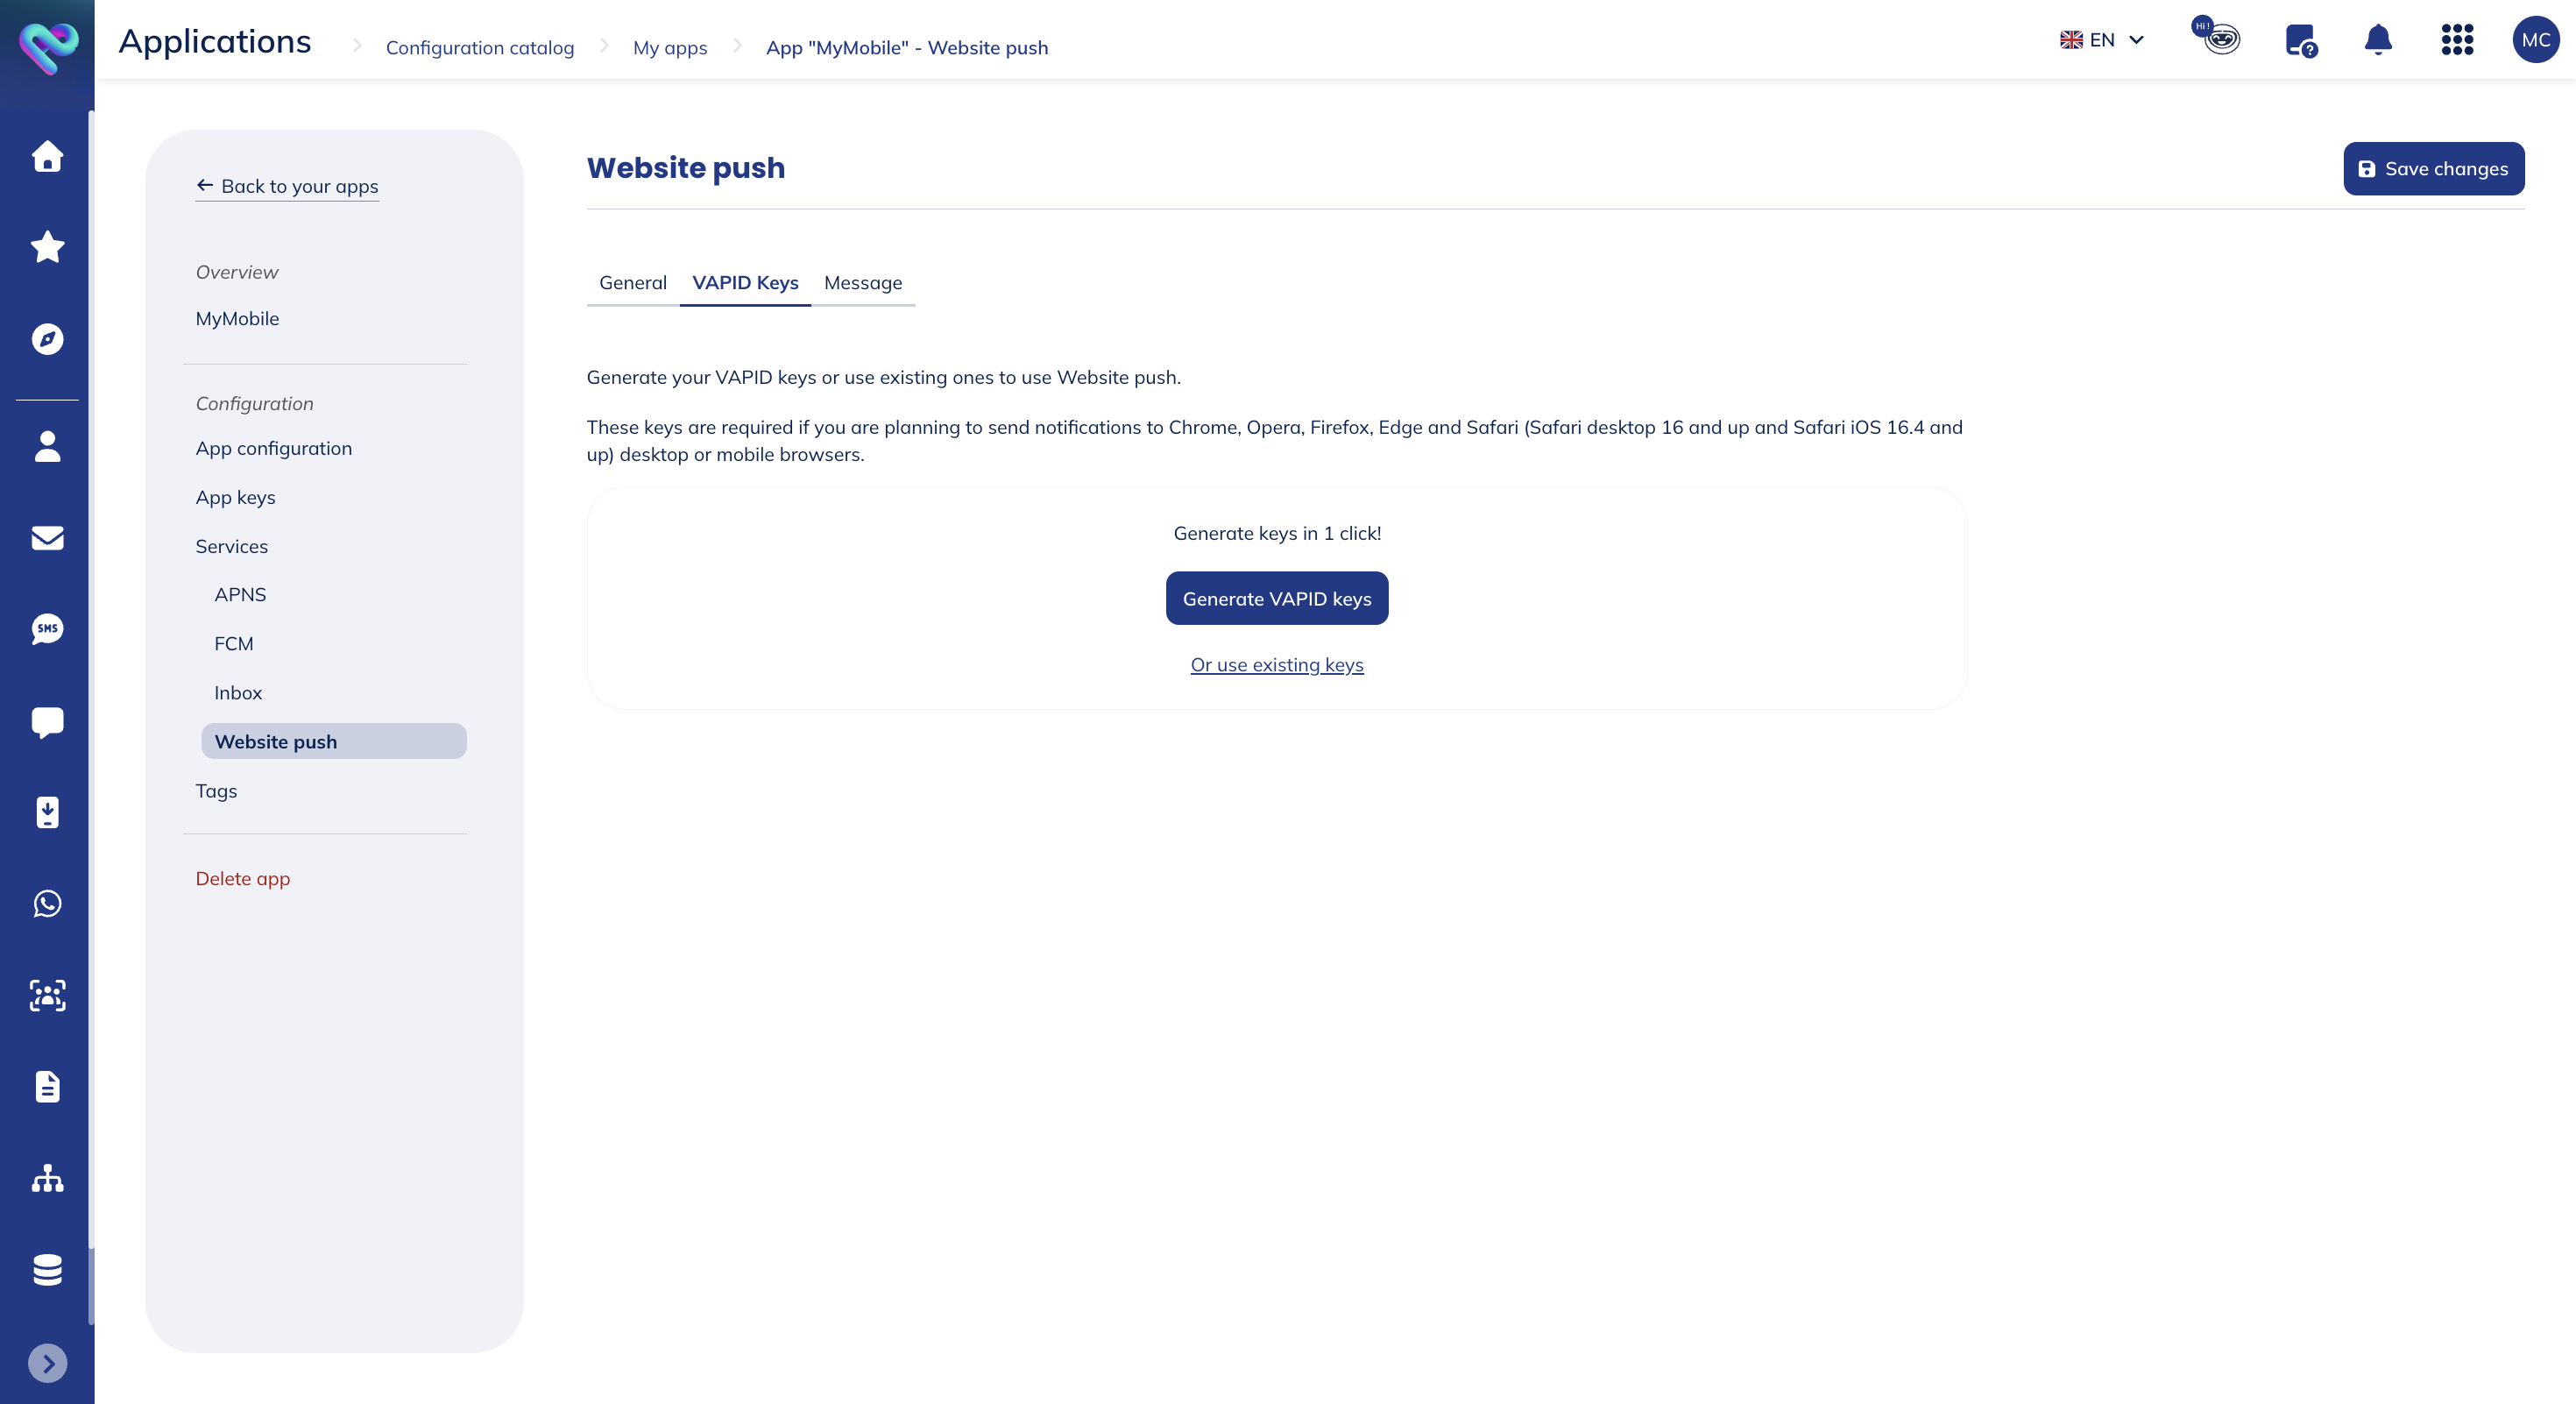
VAPID Keys
To receive push notifications in web apps running in Chrome, Edge, Opera, Firefox, Safari 16 (desktop) and Safari 16.4 (iOS) you only need to provide (or generate) VAPID credentials.
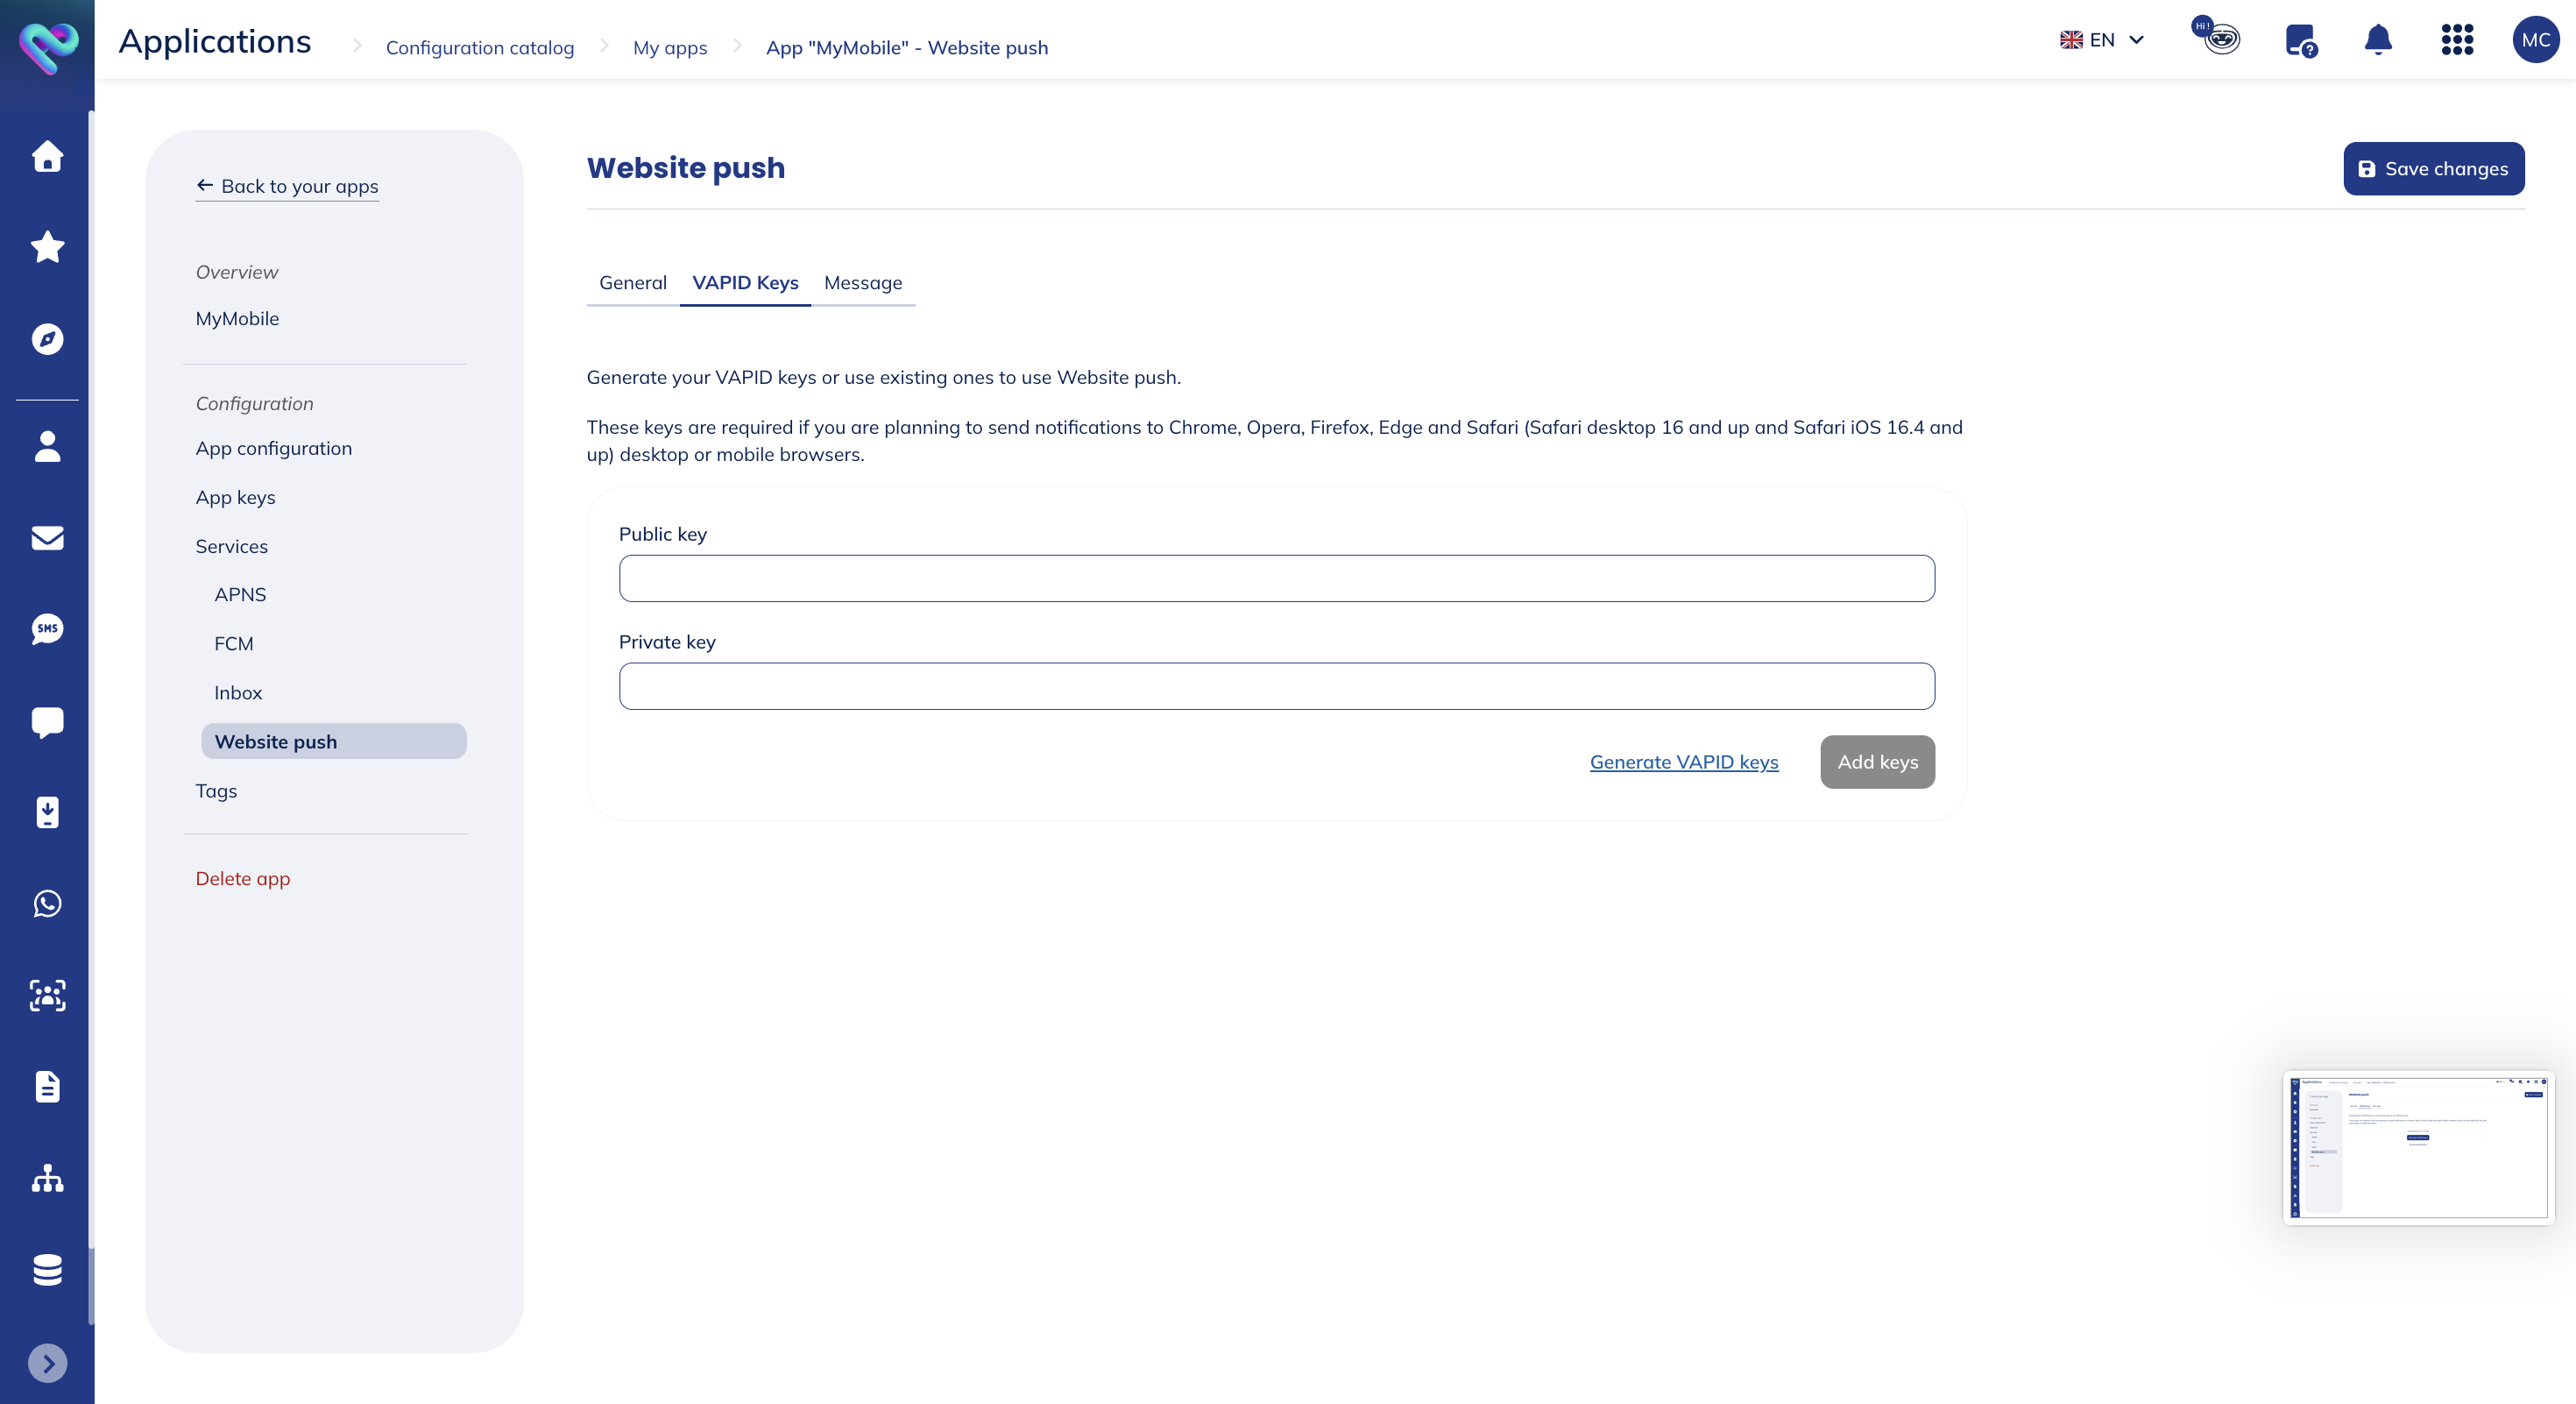
If you already have VAPID credentials generated in another provider, click on Use existing key and paste the Public Key and Private Key in the following fields:
If this is the first time you are setting up your web app to receive push notifications, then you should simply generate new VAPID credentials, by clicking the following button:
Once you've pasted your keys or generate new keys, you will see your VAPID configured as follows:
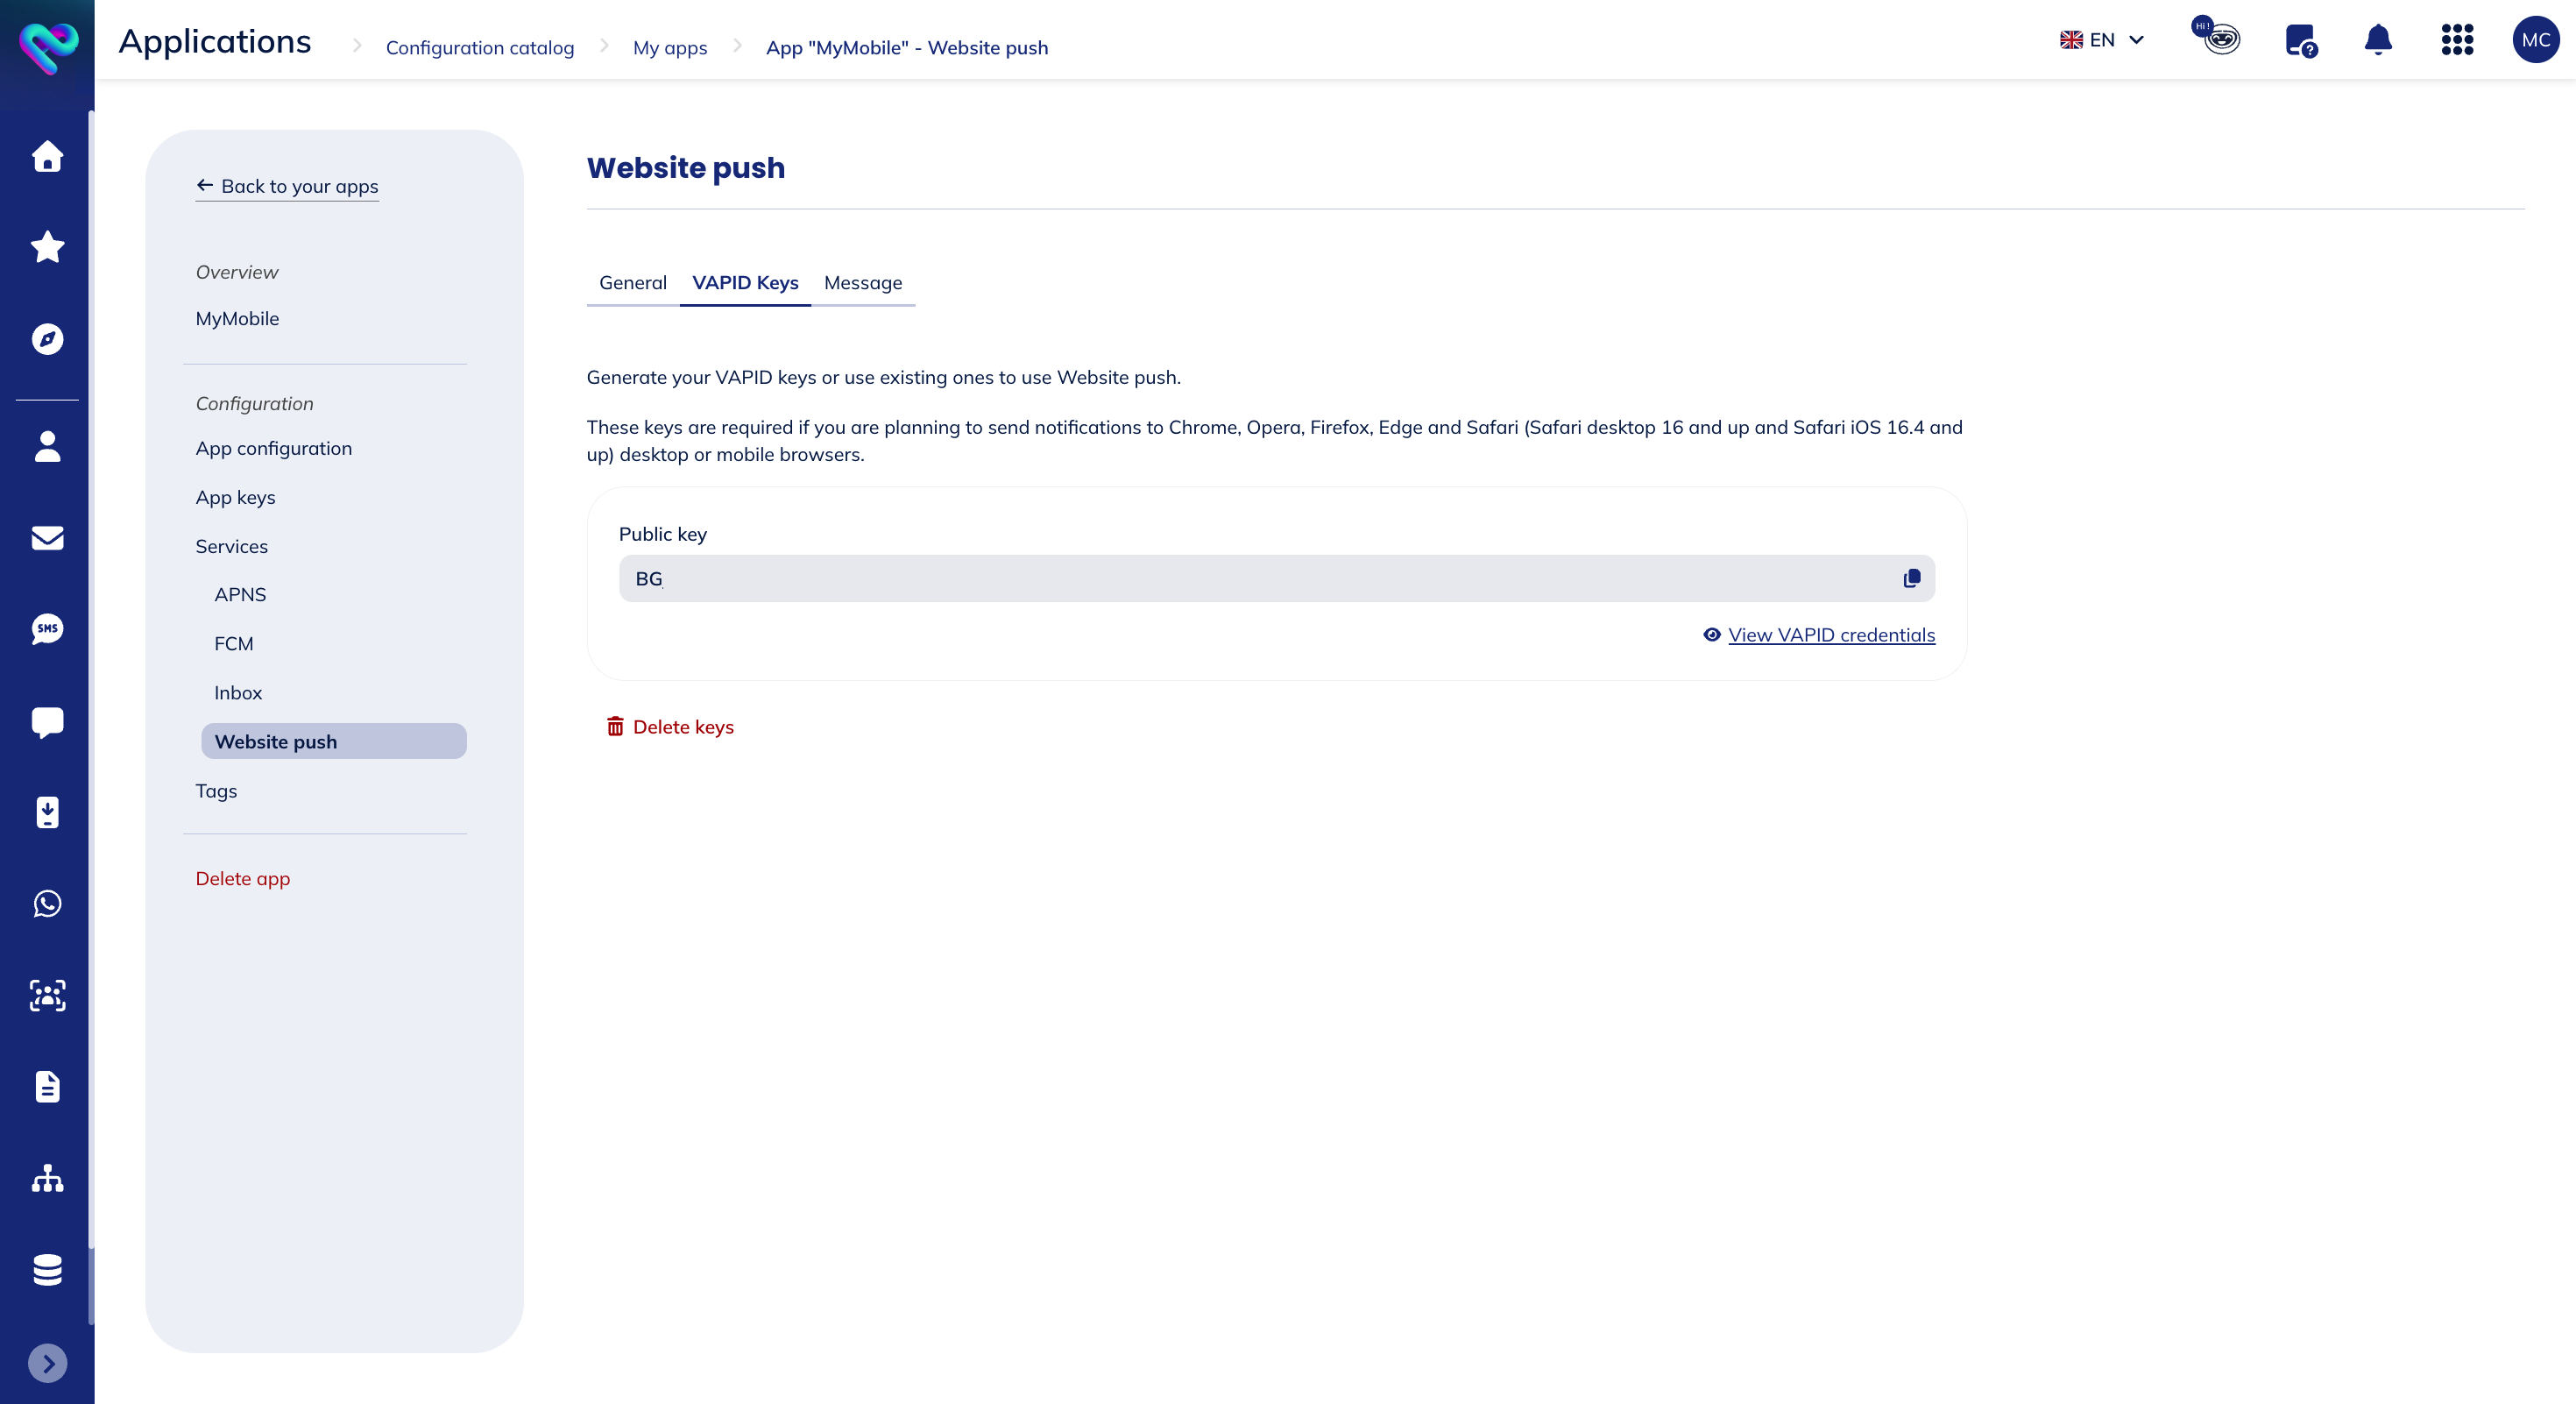
You can retrieve stored VAPID keys by clicking on the View VAPID credentials button, and delete keys by clicking on Delete keys.
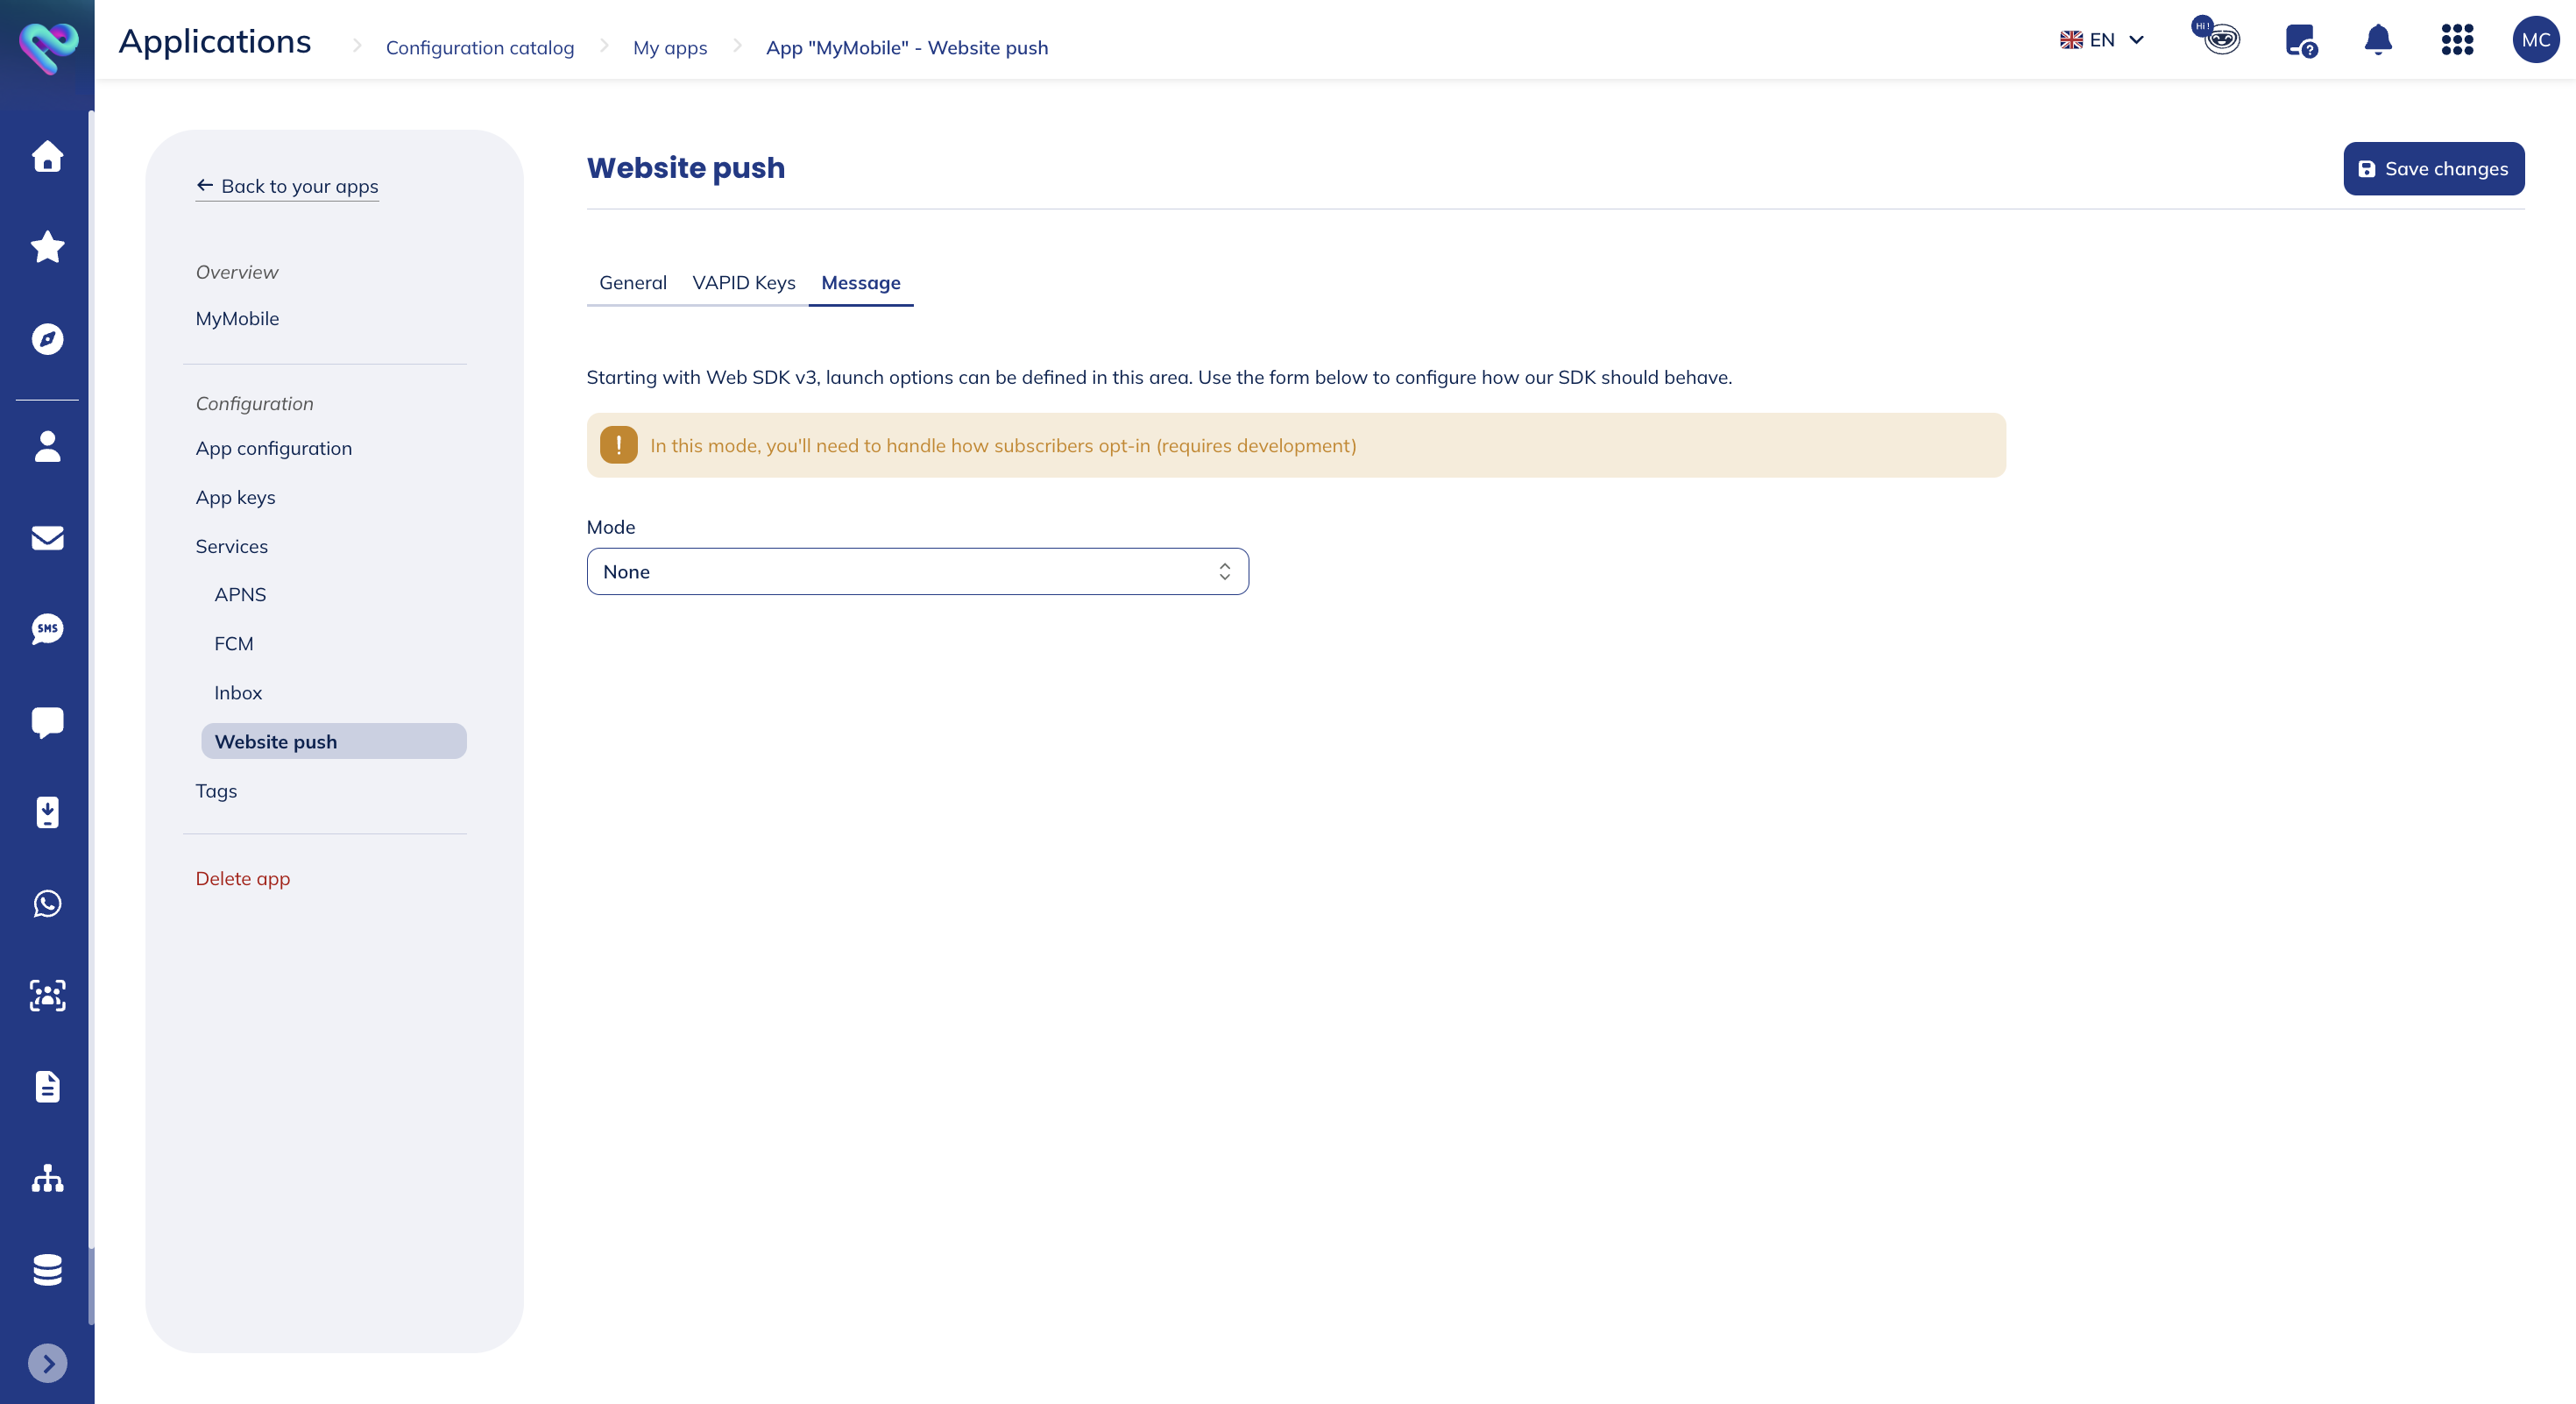
Message
The message for the launch mode should be defined in this service. This will define how our library launches. You have three different options at your disposal: none, button or dialog.
If you want to deal with the push permission dialogue yourself, you should select the None mode:
This article will guide you through the steps to create a custom pre-permission prompt.
If instead you want to use one of two managed solutions we offer, you can either select the Dialog mode:
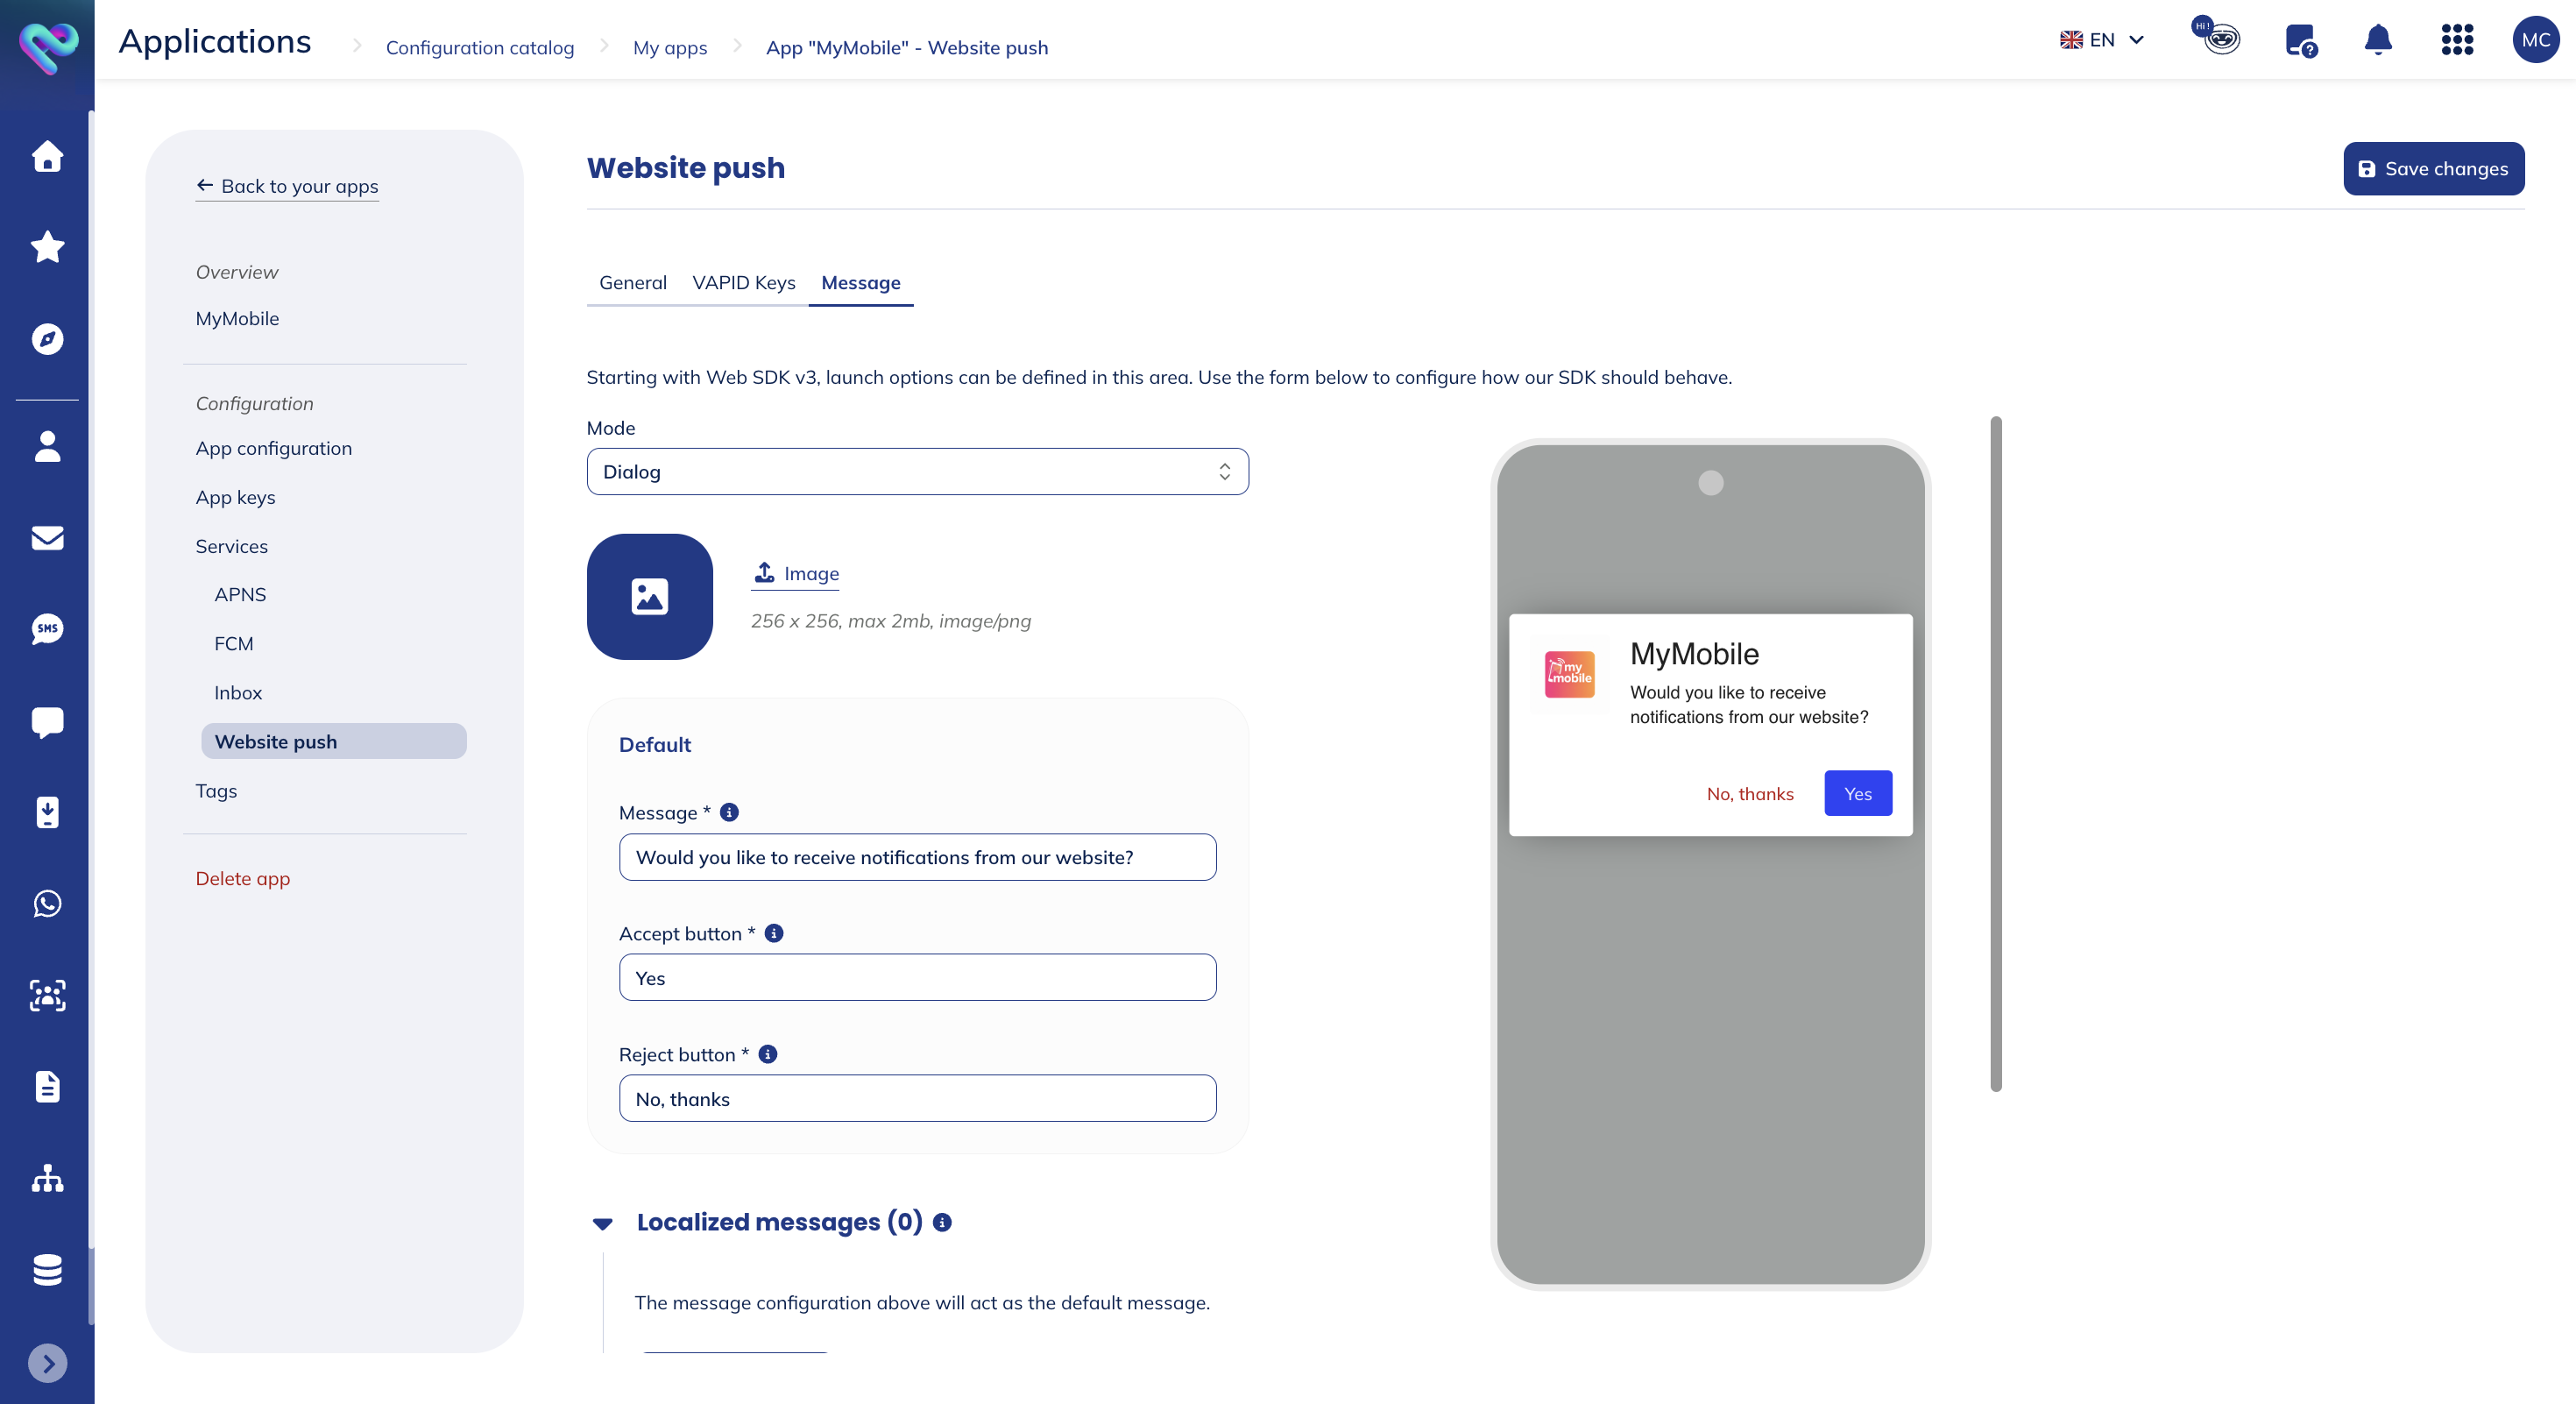
For this mode, you will have to define:
- An image
- The message: this text will be displayed in the dialog window, and it should convince the user to accept notifications
- The accept button: the text appearing on the button to accept notifications
- The reject button: the text appearing on the button to reject notifications
- Localized messages (optional): use this option to localize content in multiple languages. When localized content is created, we will display this content based on the language/region combination used at launch or use the default one if none is provided.
- Show after (optional): the amount of seconds we should wait before displaying the dialog. This might be useful if you don't want the user to be prompted as soon as the page loads.
- Retry after (optional): the amount of hours we should wait before displaying the dialog again after the user dismisses it
Or the Button mode:
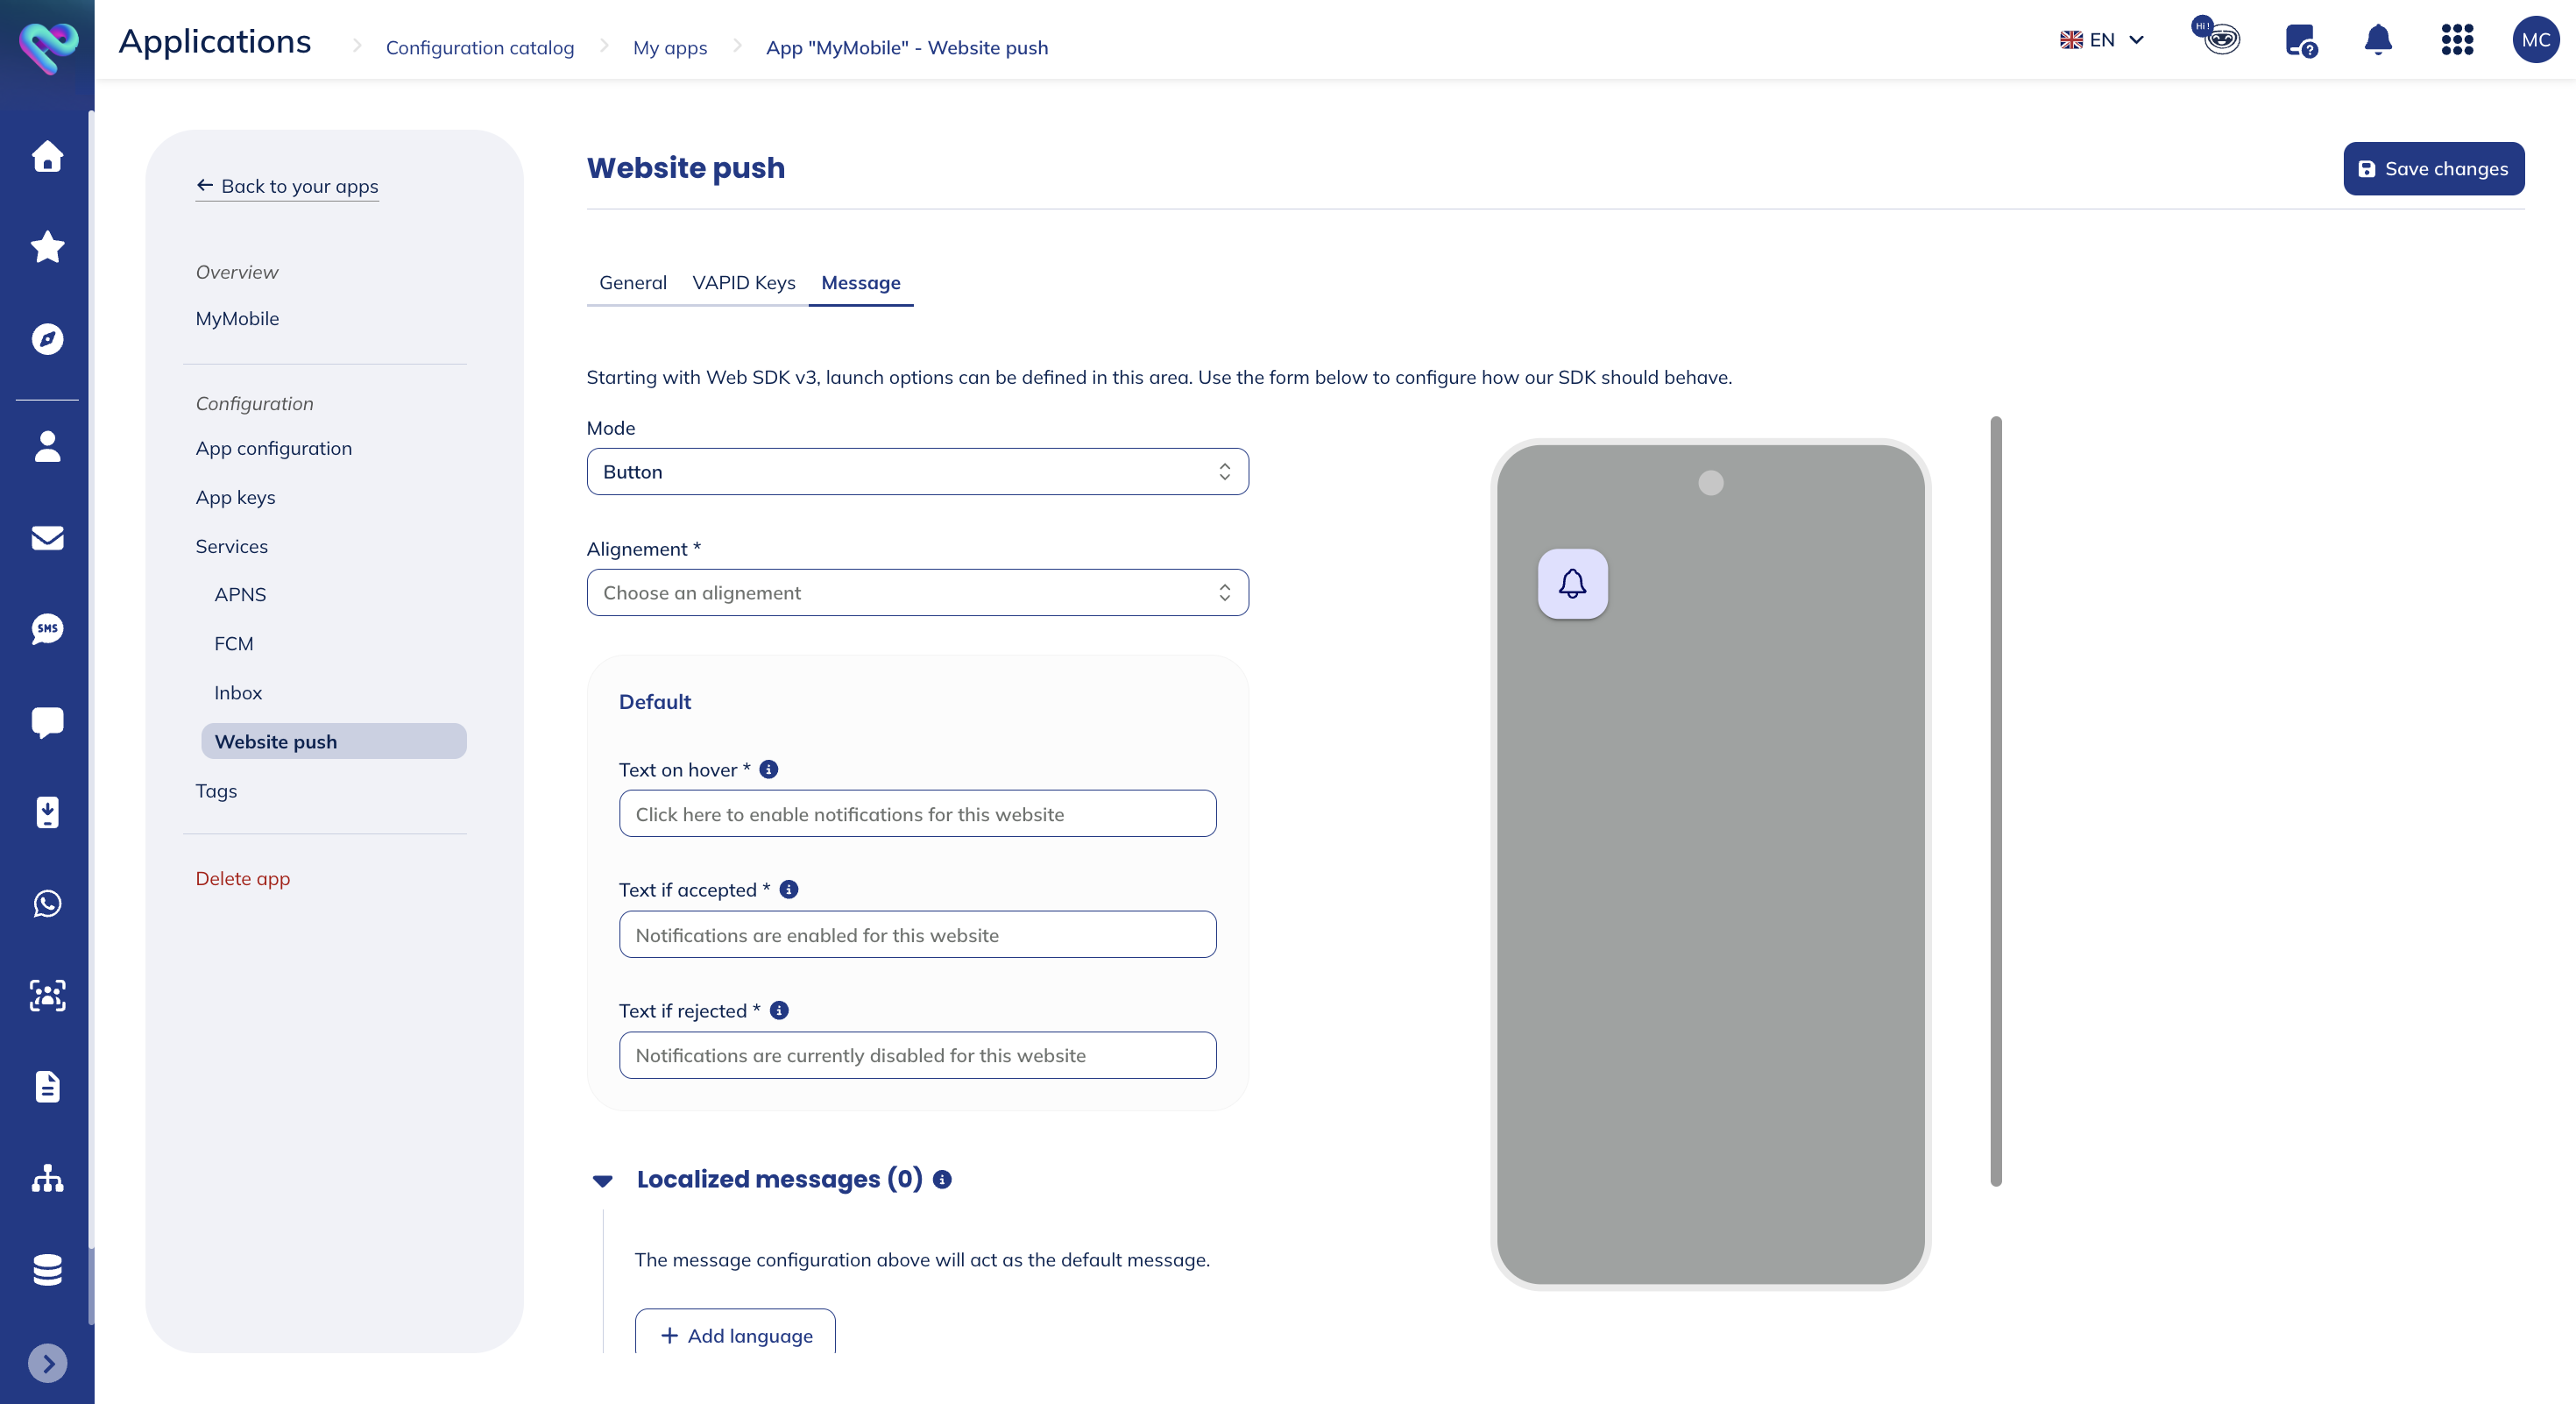
For this mode, you will have to define:
- The alignement: top left, top right, bottom left or bottom right
- The text on hover: the text appearing when hovering over the button when the user hasn't accepted or rejected notifications yet
- The text if accepted: the text appearing when hovering over the button if the notifications have been accepted
- The text if rejected: the text appearing when hovering over the button if the notifications have been rejected
- Localized messages (optional): use this option to localize content in multiple languages. When localized content is created, we will display this content based on the language/region combination used at launch or use the default one if none is provided.
Once you've provided all the information required, click on the Save changes button to store your changes.
Deleting an app
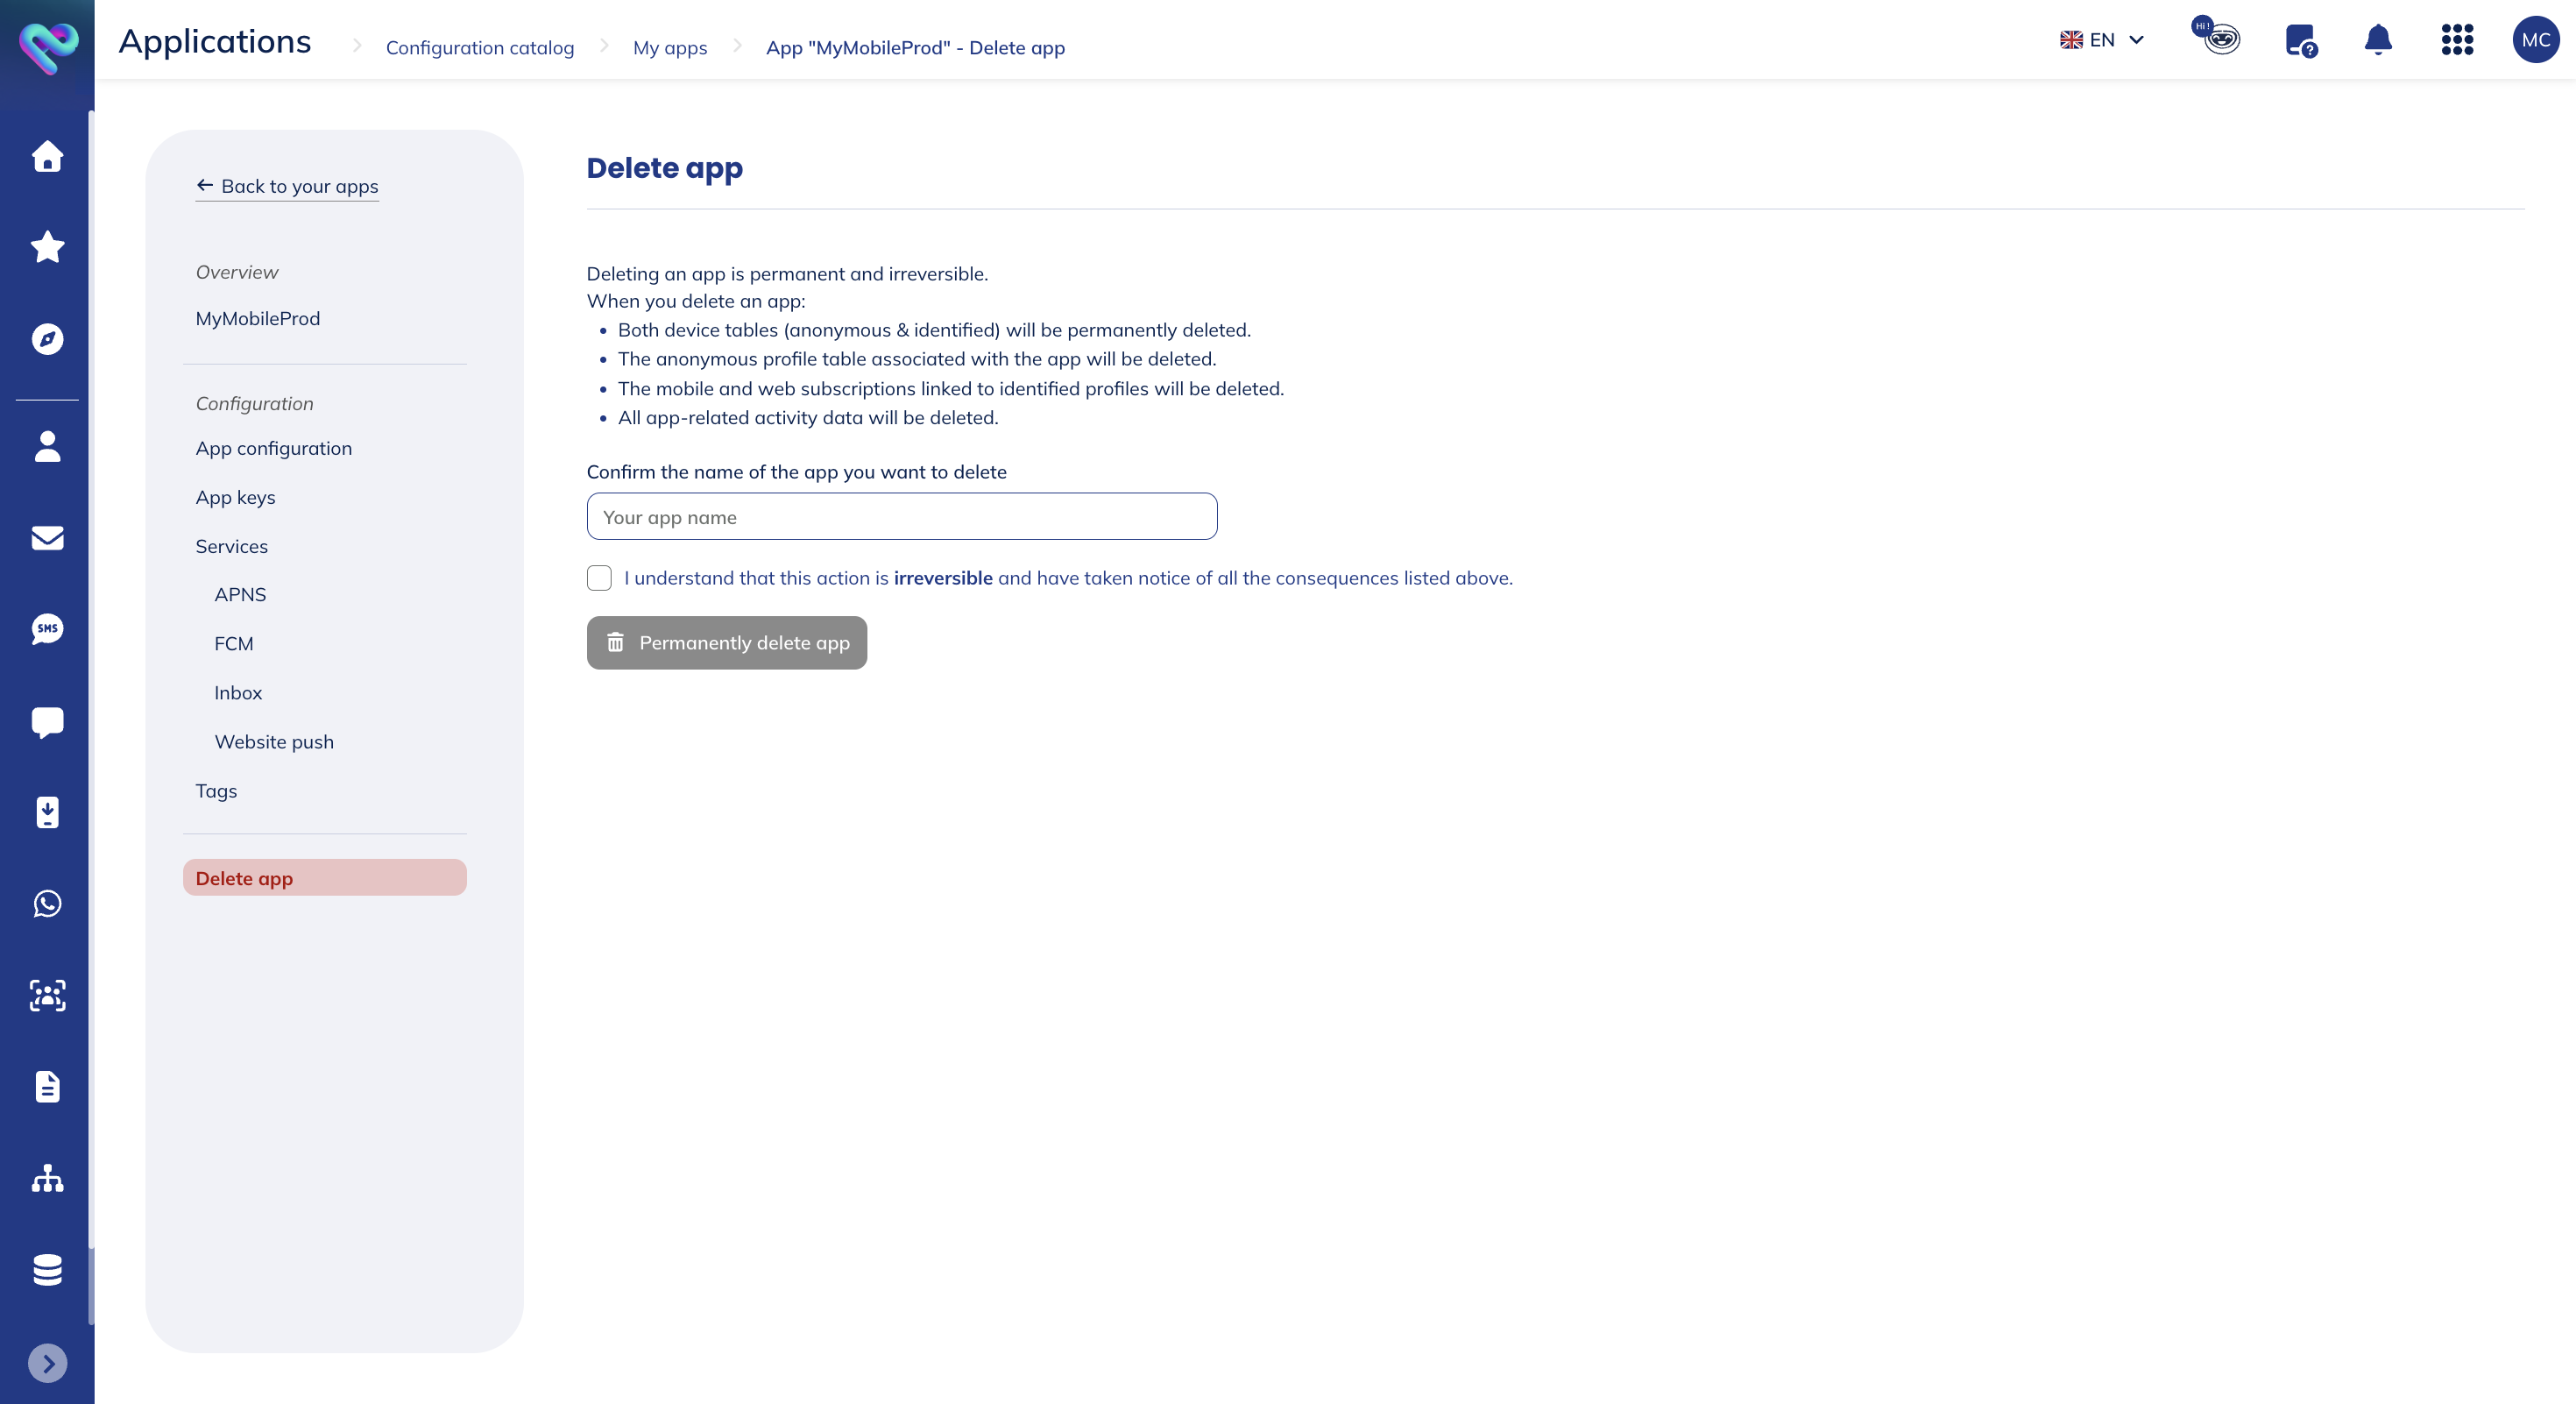
The deletion of an app is permanent and irreversible. When you delete an app:
- both devices tables (identified & anonymous) are permanently deleted
- both app activity tables (identified & anonymous) are permanently deleted
- the anonymous profile table associated to your app is permanently deleted
- the mobile app and web subscriptions linked to identified profiles are deleted
You will have to confirm the deletion by typing the names app and ticking the box where you consent to the consequences of the deletion.
Tags
The tags tab enables you to view and search the tags linked to your app. Note that only the first 50 tags are displayed. You can use the search bar to search for tags that start with your input.
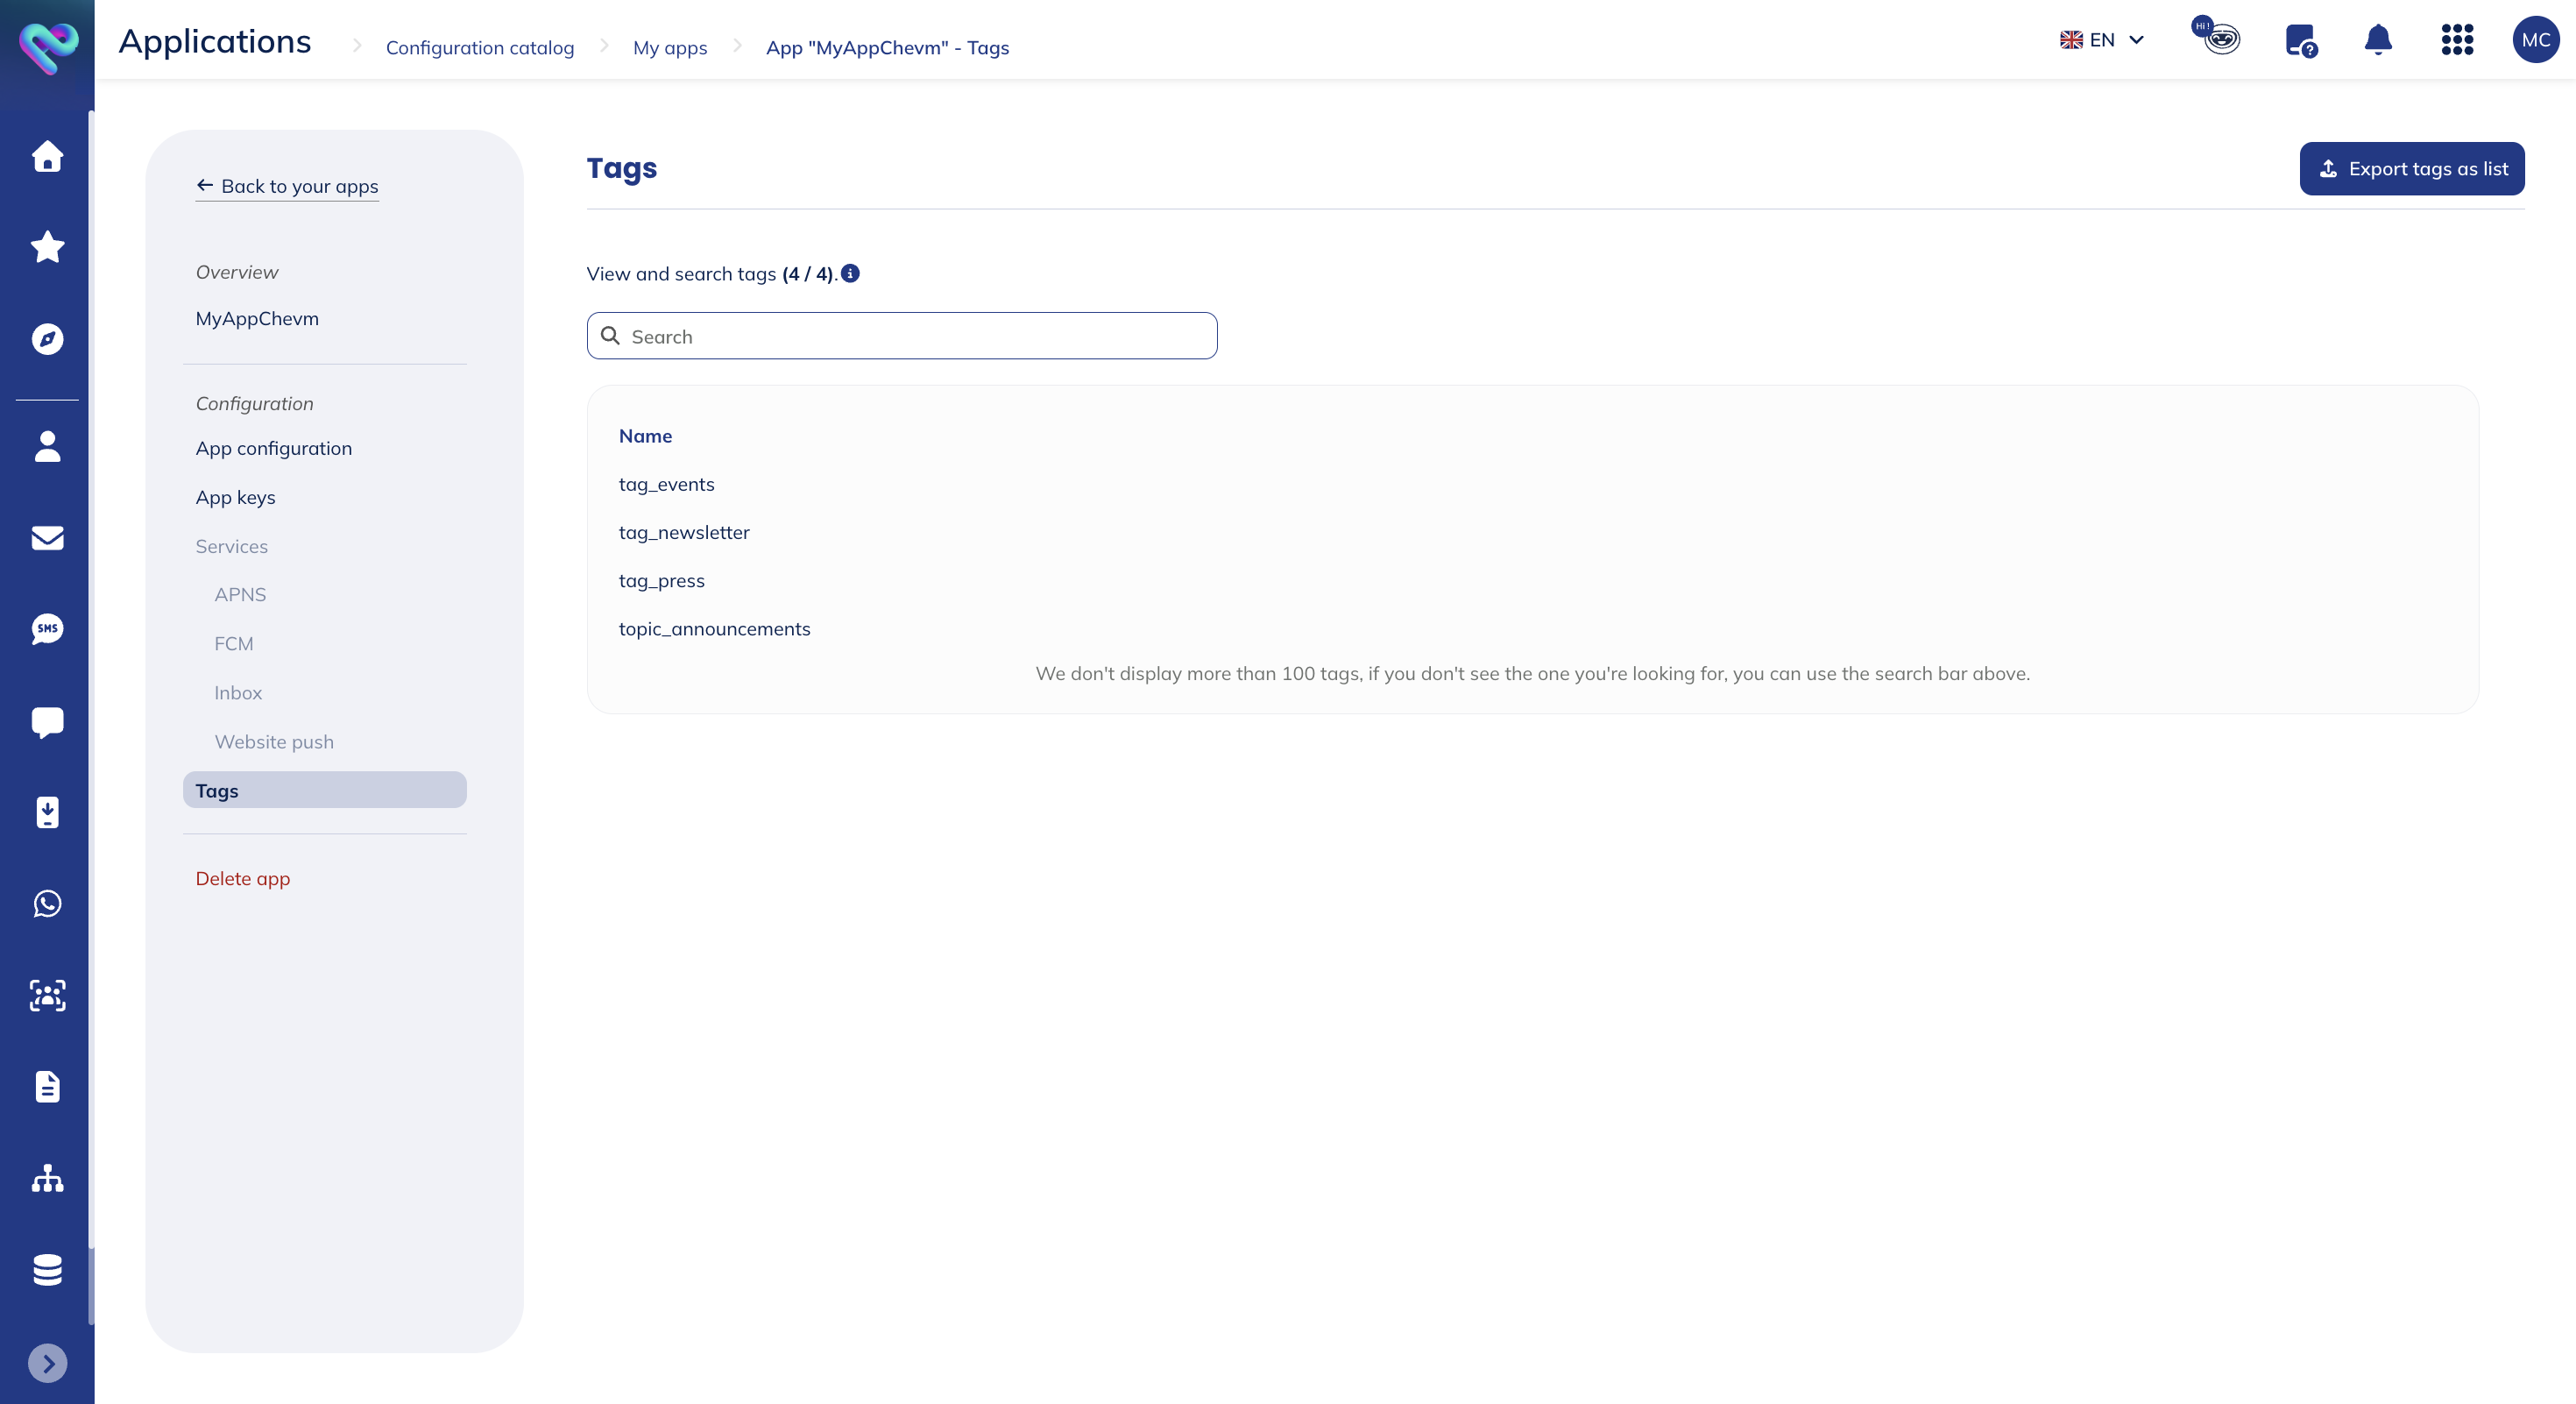
The list will display the name of the tag.